Turned shrink boxes – FineWoodworking
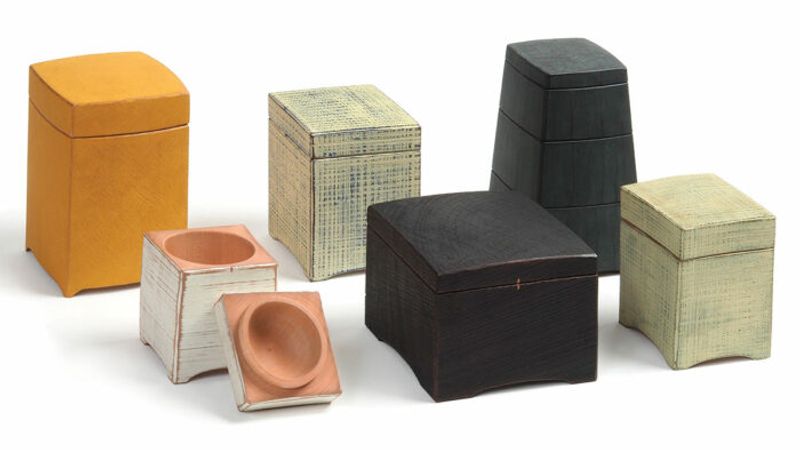
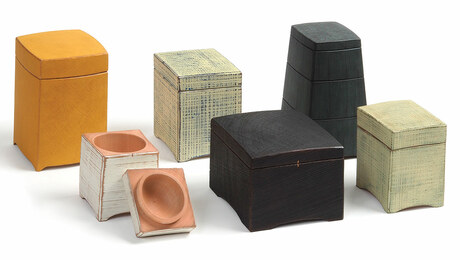
Synopsis: A variation on the traditional Scandinavian shrink pot, these shrink boxes by Mark Gardner are turned from green wood. The inside is hollowed on the lathe; the outside is bandsawn to shape; the bottom is made of dried wood and fitted to the body before the green wood dries. As the box dries, the bottom is locked into place.
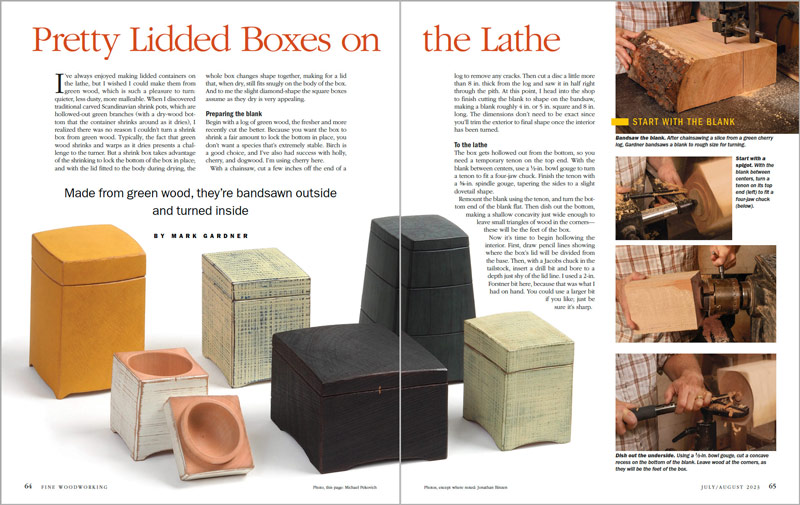
I’ve always enjoyed making lidded containers on the lathe, but I wished I could make them from green wood, which is such a pleasure to turn: quieter, less dusty, more malleable. When I discovered traditional carved Scandinavian shrink pots, which are hollowed-out green branches (with a dry-wood bottom that the container shrinks around as it dries), I realized there was no reason I couldn’t turn a shrink box from green wood. Typically, the fact that green wood shrinks and warps as it dries presents a challenge to the turner. But a shrink box takes advantage of the shrinking to lock the bottom of the box in place; and with the lid fitted to the body during drying, the whole box changes shape together, making for a lid that, when dry, still fits snugly on the body of the box. And to me the slight diamond-shape the square boxes assume as they dry is very appealing.
Preparing the blank
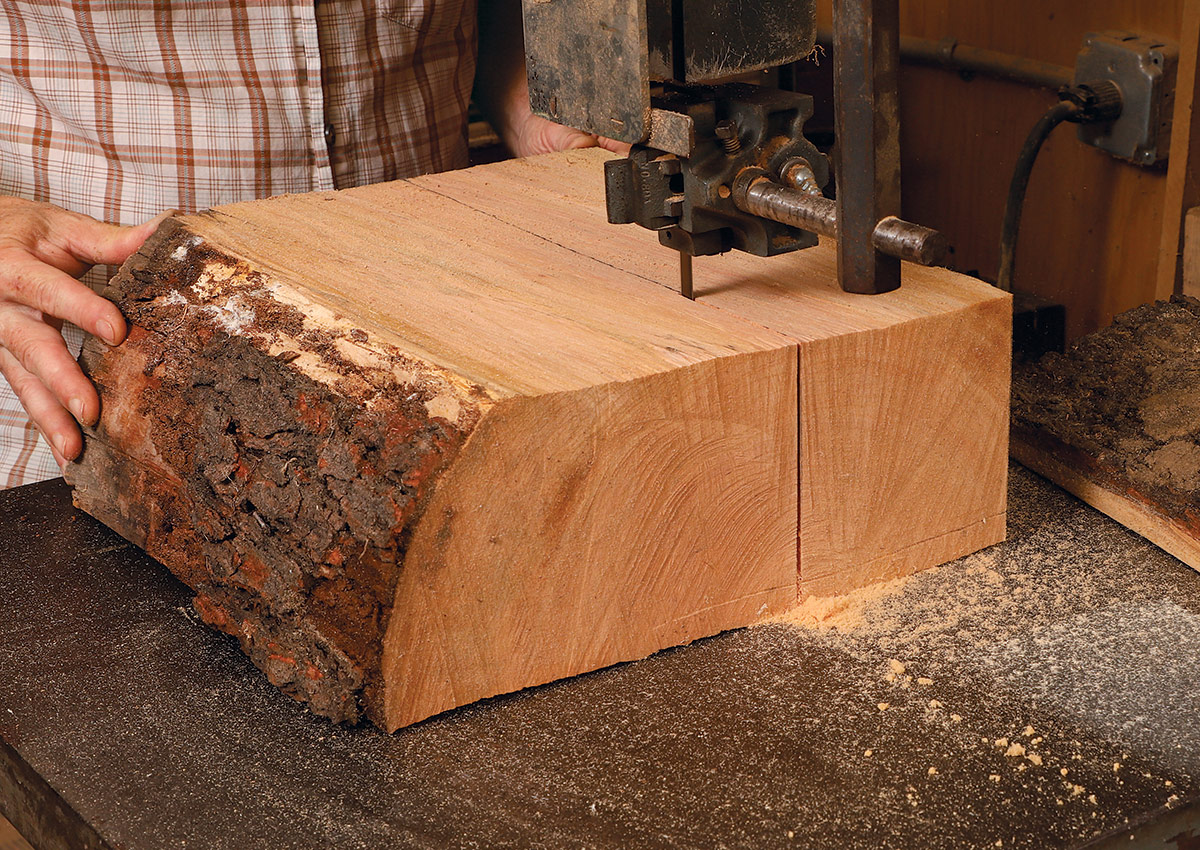
Begin with a log of green wood, the fresher and more recently cut the better. Because you want the box to shrink a fair amount to lock the bottom in place, you don’t want a species that’s extremely stable. Birch is a good choice, and I’ve also had success with holly, cherry, and dogwood. I’m using cherry here.
With a chainsaw, cut a few inches off the end of a log to remove any cracks. Then cut a disc a little more than 8 in. thick from the log and saw it in half right through the pith. At this point, I head into the shop to finish cutting the blank to shape on the bandsaw, making a blank roughly 4 in. or 5 in. square and 8 in. long. The dimensions don’t need to be exact since you’ll trim the exterior to final shape once the interior has been turned.
To the lathe
The box gets hollowed out from the bottom, so you need a temporary tenon on the top end. With the blank between centers, use a 1/2-in. bowl gouge to turn a tenon to fit a four-jaw chuck. Finish the tenon with a 3/8-in. spindle gouge, tapering the sides to a slight dovetail shape.
Remount the blank using the tenon, and turn the bottom end of the blank flat. Then dish out the bottom, making a shallow concavity just wide enough to leave small triangles of wood in the corners—these will be the feet of the box.
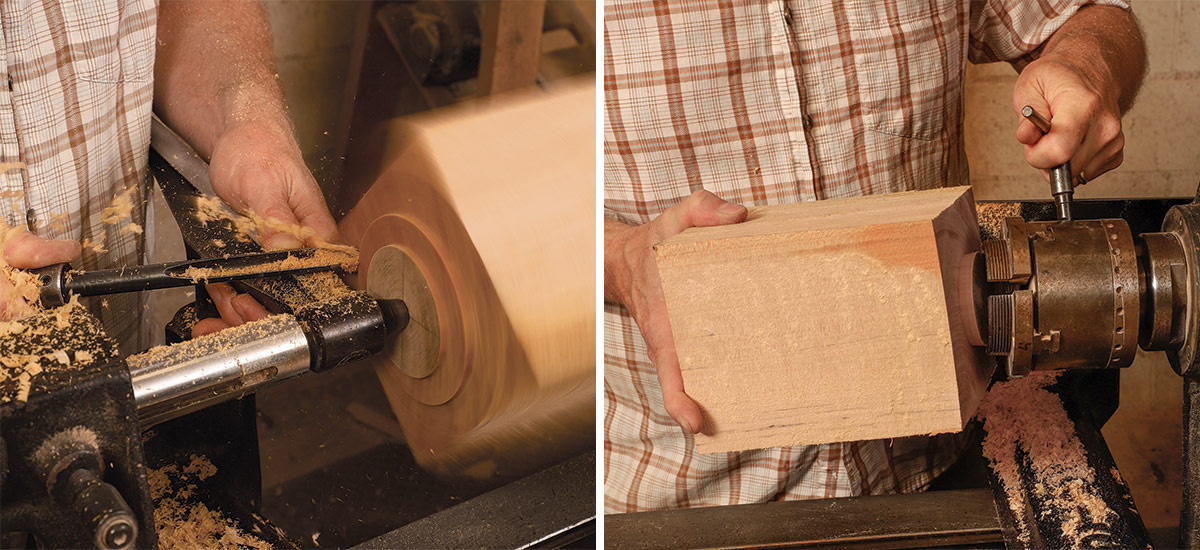
Now it’s time to begin hollowing the interior. First, draw pencil lines showing where the box’s lid will be divided from the base. Then, with a Jacobs chuck in the tailstock, insert a drill bit and bore to a depth just shy of the lid line. I used a 2-in. Forstner bit here, because that was what I had on hand. You could use a larger bit if you like; just be sure it’s sharp.
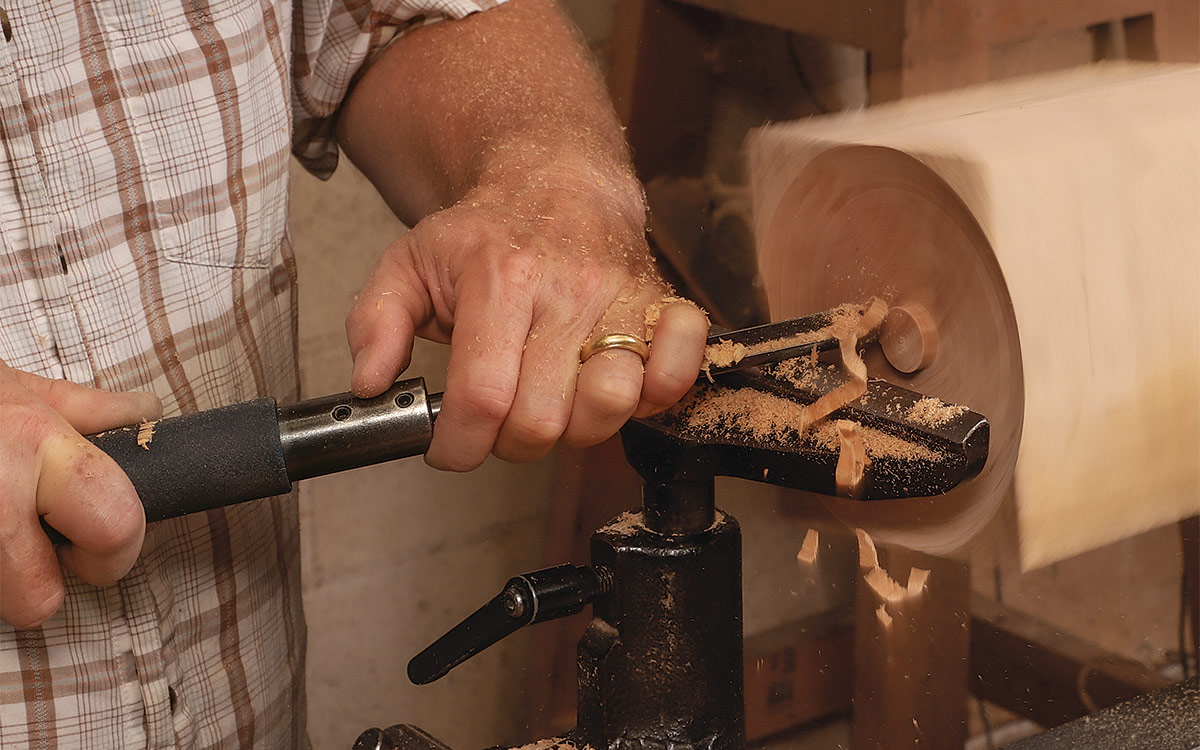
With the hole drilled, I use a hollow-turning tool to widen the cavity, taking the walls to about 1/2 in. thick at their thinnest. The hollowing tool I use has a 3/16-in. round-nose scraper-style cutter, which cuts quickly but tends to leave slight tool marks. I remove them by following up with a large straight scraper that has been ground on the left side. Do your best to make the inside of the box an even cylinder. You can check it by placing a straightedge against the inside wall of the box; let part of the straightedge extend from the box so you can sight past it to the lathe bed. If it lines up with the ways, the interior is cylindrical.
To cut the groove for the box bottom, I use a small custom-made hooked scraper. The depth of the groove should be between 1/16 in. and 1/8 in., depending on how much you expect the wood to shrink. Dogwood, for example, shrinks more than birch or cherry, so I would make the grooves in a dogwood box a bit deeper. Experience will be a big help here. If you want to predict shrinkage in a particular species, you can turn a test cylinder, slice off a section (imagine an onion ring), and let it dry for a couple of weeks to see how much it shrinks. Make a tracing of the ring right after it is sliced off so you can compare the dry ring to the tracing.
—Mark Gardner turns boxes and bowls in Saluda, N.C.
Photos, except where noted: Jonathan Binzen
For the full article, download the PDF below:
From Fine Woodworking #304
Sign up for eletters today and get the latest techniques and how-to from Fine Woodworking, plus special offers.
Download FREE PDF
when you enter your email address below.

