Tool Test: Table Saw Miter Gauges

Synopsis: A replacement miter gauge can be a great option for this useful accessory, mostly because aftermarket gauges claim to be more precise and better made than the ones that come with your table saw. To test this, Asa Christiana examined two dozen aftermarket gauges and came up with 10 that were capable of doing precise work.
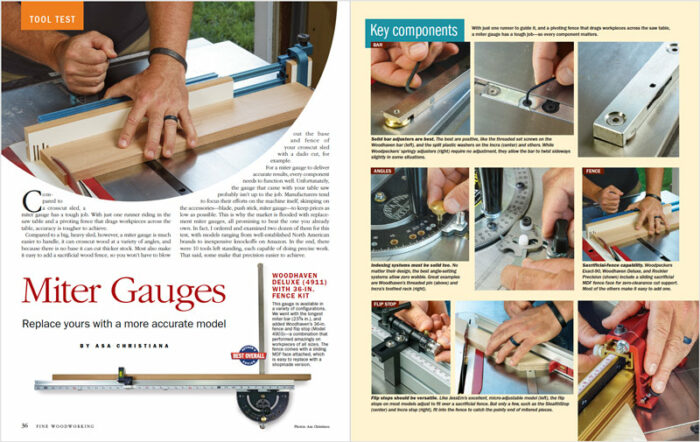
Then he put those 10 to more rigorous testing. Models tested include Woodhaven Deluxe 4911; Harvey MG-36 PRO; Incra Miter 1000HD; Jessem Mite-R-Excel II; Kreg Precision System; Powertec 71766; Rockler Precision Miter Gauge with Telescoping Fence; Woodpeckers Exact-90; Woodpeckers Stealth-Stop; Wood River Snap-Set.
Compared to a crosscut sled, a miter gauge has a tough job. With just one runner riding in the saw table and a pivoting fence that drags workpieces across the table, accuracy is tougher to achieve.
Compared to a big, heavy sled, however, a miter gauge is much easier to handle, it can crosscut wood at a variety of angles, and because there is no base it can cut thicker stock. Most also make it easy to add a sacrificial wood fence, so you won’t have to blow out the base and fence of your crosscut sled with a dado cut, for example.
For a miter gauge to deliver accurate results, every component needs to function well. Unfortunately, the gauge that came with your table saw probably isn’t up to the job. Manufacturers tend to focus their efforts on the machine itself, skimping on the accessories—blade, push stick, miter gauge—to keep prices as low as possible.
This is why the market is flooded with replacement miter gauges, all promising to beat the one you already own. I ordered and examined two dozen of them for this test, with models ranging from well-established North American brands to inexpensive knockoffs on Amazon. In the end, there were 10 tools left standing, each capable of doing precise work. That said, some make that precision easier to achieve.
Great expectations
A good aftermarket miter gauge should beat a stock model in every way. First, the miter bar needs reliable adjusters to perfect its fit in the miter slot. Second, you should be able to rely on the head returning to a perfect 90° and other common angles every time you reset it, without the need for test cuts.
Metal fences are an asset
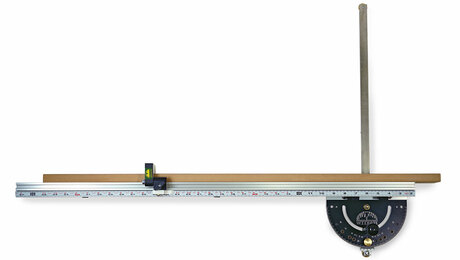
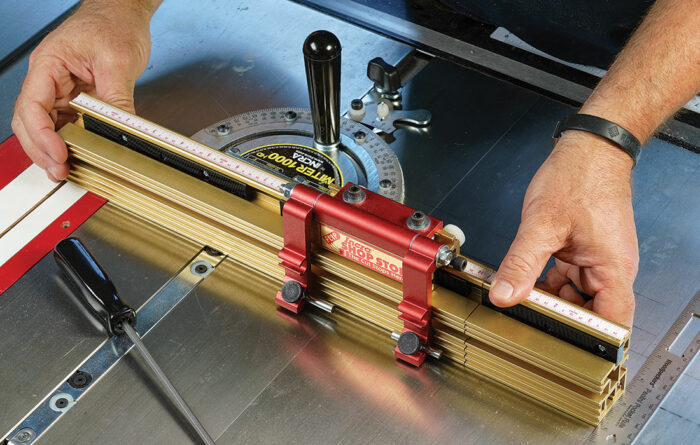
The best miter gauges have a long, straight, solid fence attached to the head, with a reliable stop system built in. Before I did this test, I used to think that a miter gauge didn’t need one of these fences, because a sacrificial wood fence can be screwed directly to the head, providing the same workpiece support while adding zero-clearance cut support and a place to clamp on stop blocks.
I was wrong. Turns out those long, extruded-aluminum fences keep your sacrificial fence straighter and more accurate (see “Testing revealed helpful tips”. And they include a flip stop, which is handier than a clamped-on block.
SawStop owners beware
While the extruded aluminum fences are an asset, they can cost you some money if you happen to run one into the blade of a SawStop table saw and trigger the brake (other saws will cut into the aluminum without a problem).
But all of the fences adjust side to side on their brackets, so this SawStop issue should be easy to avoid—if you are paying attention. On some fences, the end stays in the same position relative to the blade at both 45° and 90°, which is a nice bonus.
Adding a sacrificial fence
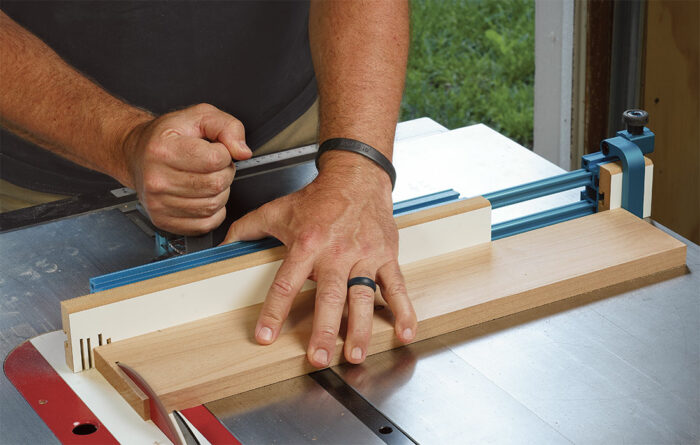
To create a zero-clearance blade slot and avoid chipping out at the back edge of your crosscuts, you’ll need to attach a sacrificial wood fence to the metal one, extending it an inch or so past the blade. A few of the miter gauges in the test came with sacrificial fences, others offer them as options, and some require you to make your own.
These are attached using T-slots in the metal fences, which accept common nuts and fasteners. The T-slots let you slide the sacrificial fence right and left, allowing you to cut a new zero-clearance blade slot when you need one.
—Asa Christiana is Fine Woodworking’s editor-at-large.
Photos: Asa Christiana.
For more photos and details, click on the “View PDF” button below:
Sign up for eletters today and get the latest techniques and how-to from Fine Woodworking, plus special offers.
Download FREE PDF
when you enter your email address below.

