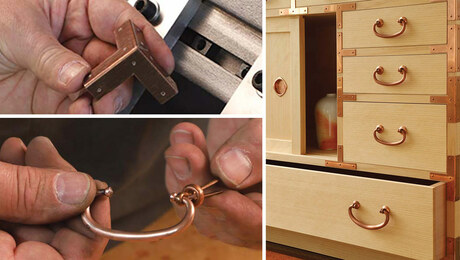
Build a handsome tool chest
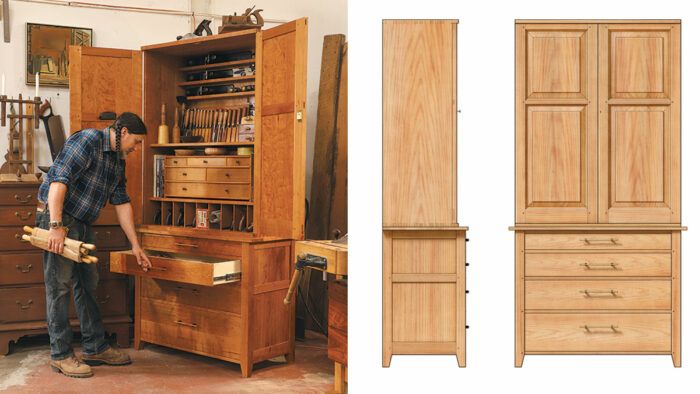
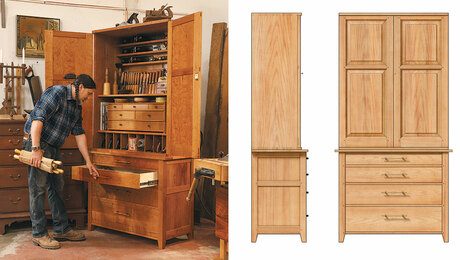
Synopsis: This chest-on-chest tool cabinet has a traditional solid-wood upper carcase, but the lower cabinet has a hybrid structure. To accommodate large drawers filled with heavy items while also supporting a tool-filled upper case, this part of the chest combines a solid-wood frame-and-panel outer carcase with a biscuit Baltic-birch plywood interior case.
The result is a cabinet that looks traditional on the outside but is modern and extremely sturdy on the inside. This article focuses on the construction of the lower cabinet.
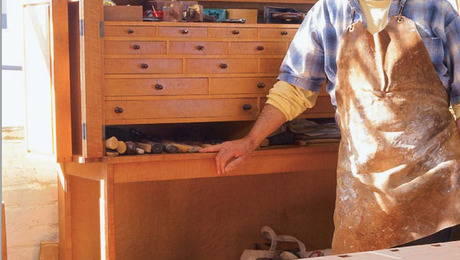
When it came time to build a permanent cabinet for my hand tools, I wanted something that reflected my love of traditional joinery and Shaker and American period furniture. A chest-on-chest design fits the bill nicely. For the upper cabinet, I designed a through-dovetailed, solid-plank carcase with fielded frame-and-panel doors—very traditional in appearance and construction.
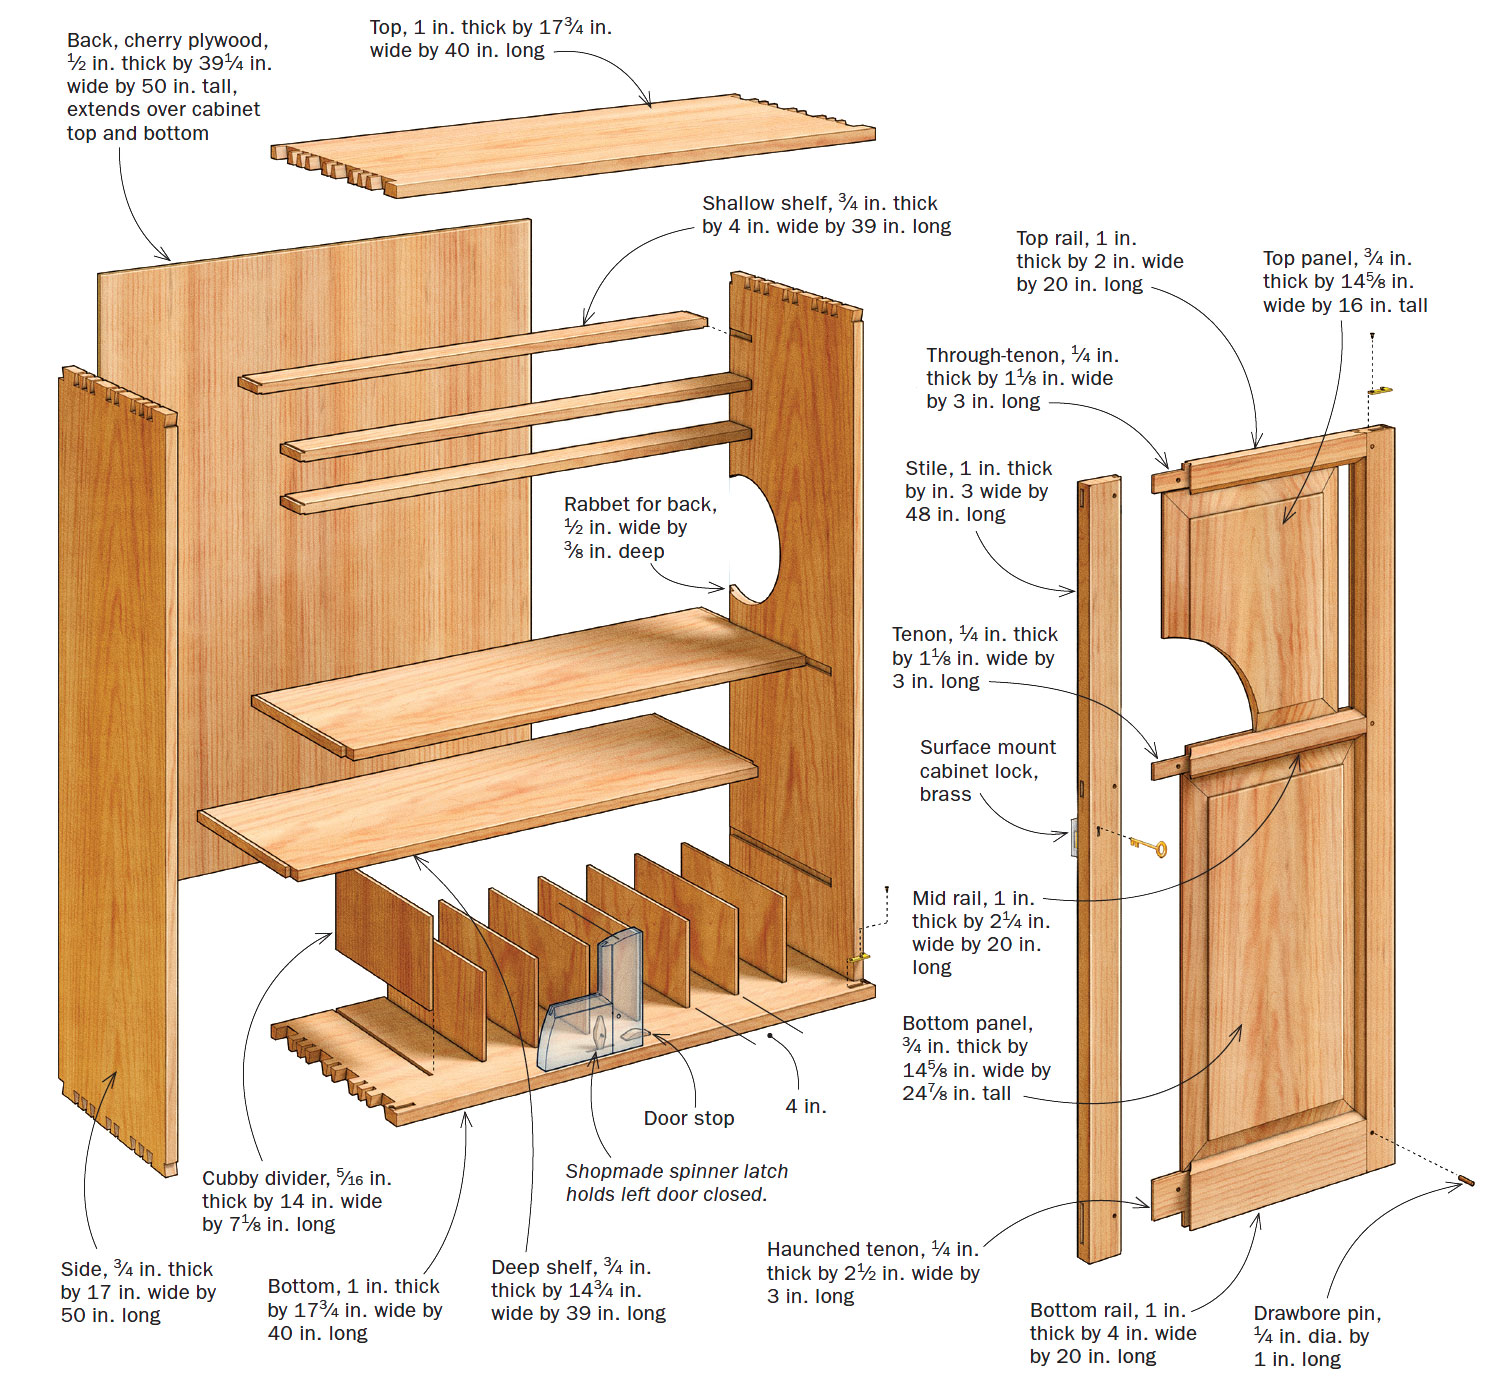
But for the lower cabinet, which would contain large drawers with heavy loads while also supporting an upper cabinet full of tools, I chose a hybrid structure, one that combines a solid-wood frame-and-panel outer carcase with a biscuit Baltic-birch plywood interior case.
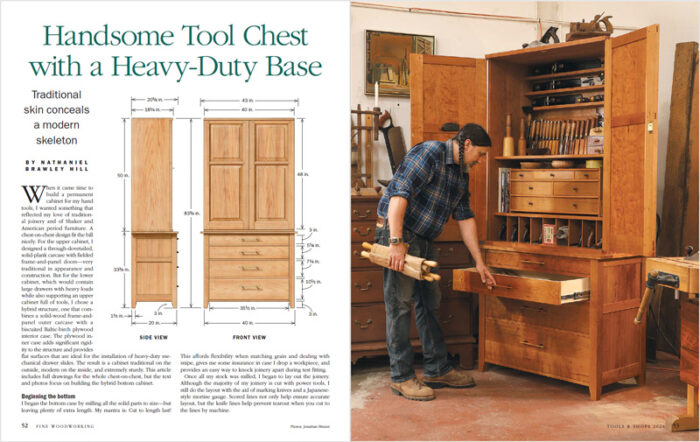
The plywood inner case adds significant rigidity to the structure and provides flat surfaces that are ideal for the installation of heavy-duty mechanical drawer slides. The result is a cabinet traditional on the outside, modern on the inside, and extremely sturdy. This article includes full drawings for the whole chest-on-chest, but the text and photos focus on building the hybrid bottom cabinet.
Traditional Upper CabinetWith its through-dovetailed carcase and raised frame-and-panel doors, the figured cherry upper chest hews to tradition in construction and appearance. |
Beginning the bottom
I began the bottom case by milling all the solid parts to size—but leaving plenty of extra length. My mantra is: Cut to length last! This affords flexibility when matching grain and dealing with snipe, gives me some insurance in case I drop a workpiece, and provides an easy way to knock joinery apart during test fitting.
Once all my stock was milled, I began to lay out the joinery. Although the majority of my joinery is cut with power tools, I still do the layout with the aid of marking knives and a Japanese-style mortise gauge. Scored lines not only help ensure an accurate layout, but the knife lines help prevent tear-out when you cut to the lines by machine.
With the legs, I crosscut the bottom end square and left some extra length at the top. Then I clamped them together side by side and marked the locations of the mortises on all four at the same time. Afterward, I unclamped the legs and used my mortising gauge to strike the width of the mortises while at the same time striking the groove for the side panels.
To set the gap between the mortise gauge’s two cutters, I used the hollow chisel bit I would be mortising with, making the layout match my tooling. Next, with the gauge at that same setting, I marked out the grooves on the rails themselves (slipping a 1⁄8-in. spacer between the gauge and the workpiece to account for the inset of the rails).
I carried these marks around both ends of the rail, which laid out the thickness of the tenons so they precisely matched the mortise layout.
Leg and rail joinery
With the layout complete, I dove into the joinery. On a hollow chisel mortiser, I cut mortises in the legs for the rails and the drawer dividers. Then I moved to the router table to cut the panel grooves in the legs and rails using a slot-cutting bit. These are stopped grooves, so I marked the beginning and end of the bit’s cutting radius on the router table and the fence. After cutting the grooves in the legs, I readjusted the height of the cutter to groove the rails.
The sides are a sandwich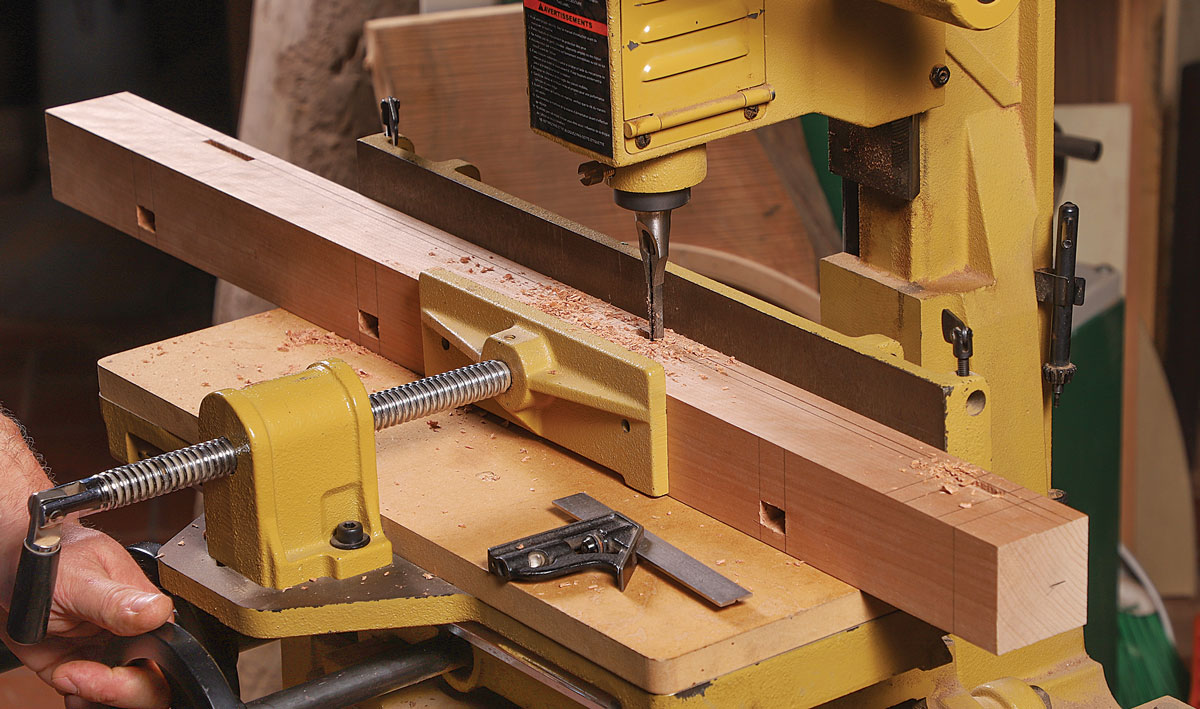 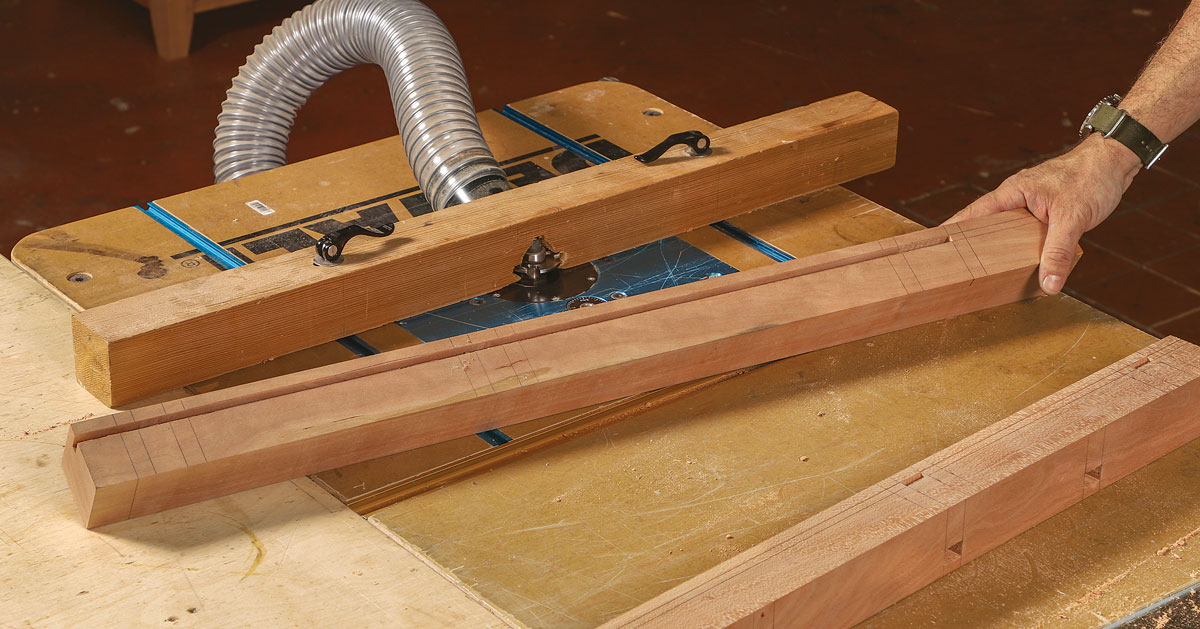 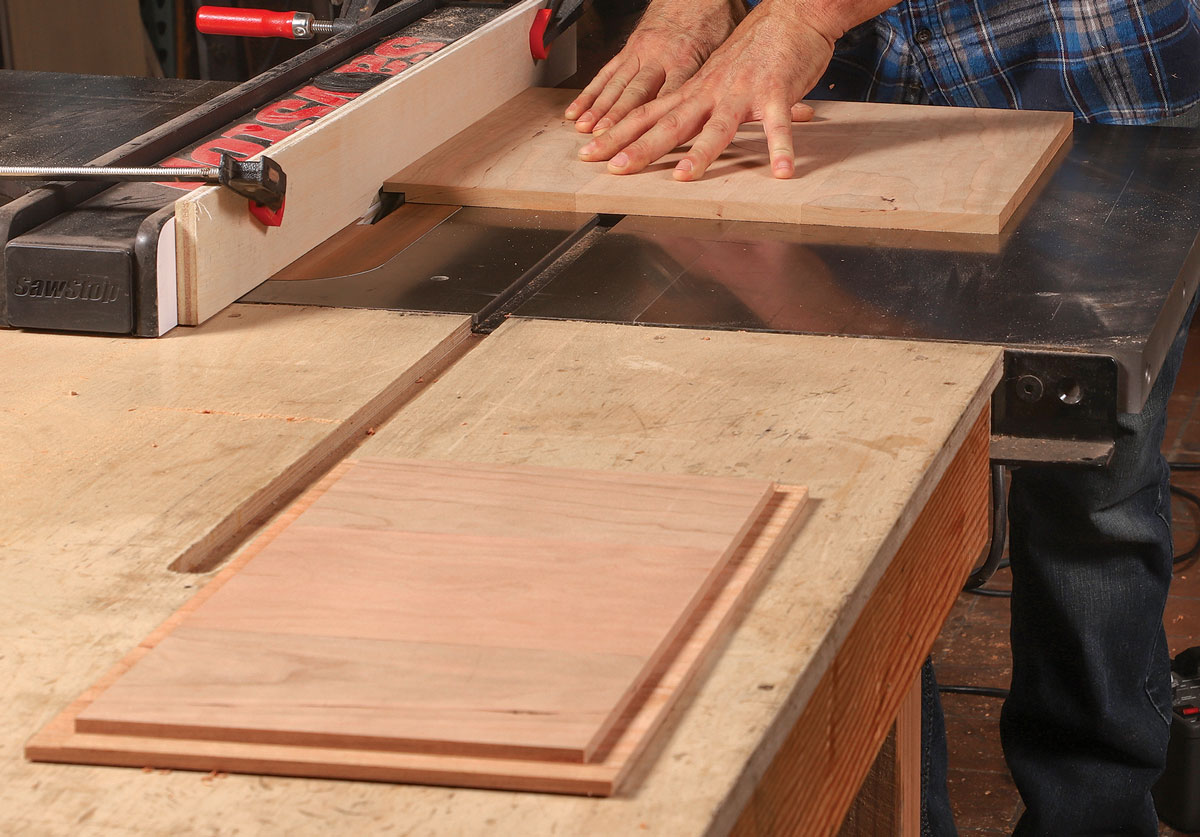 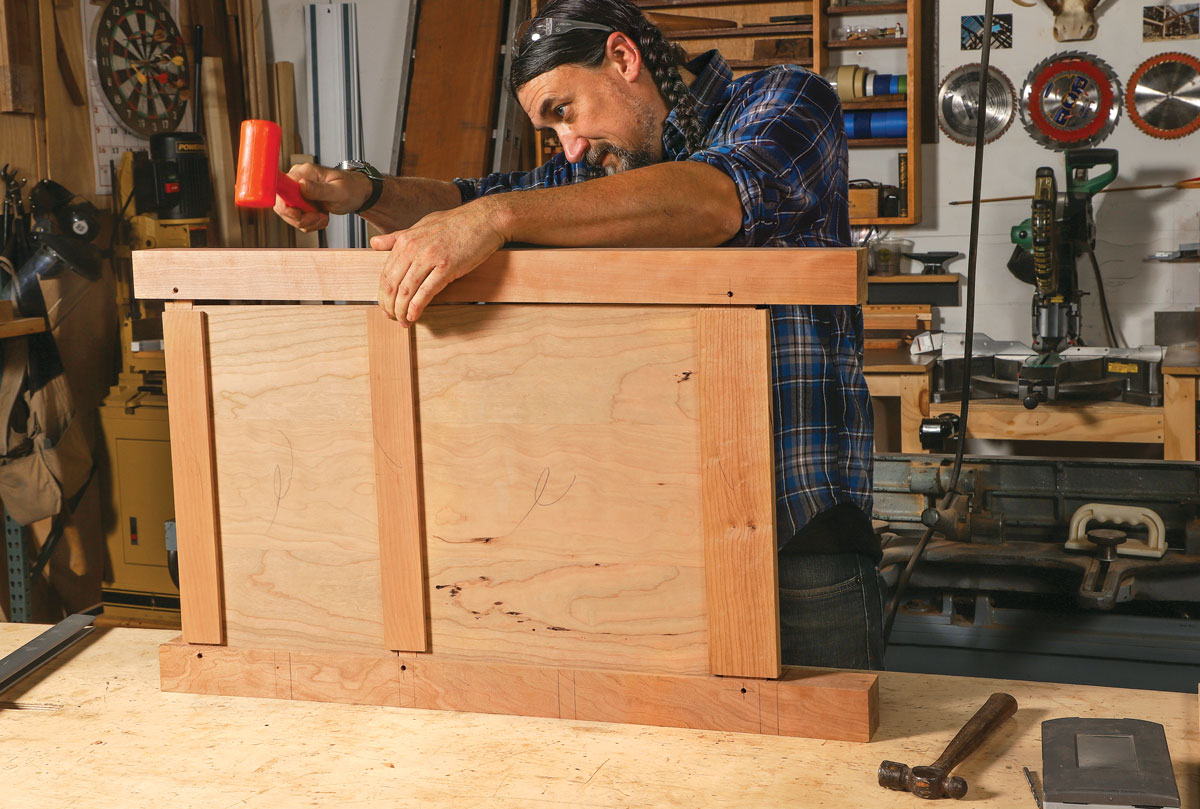 Dry-fitting the side unit. With the legs, rails, and panels fitted, Hill dry-assembles the solid-wood parts of the side unit. |
–Nathaniel Brawley Hill makes furniture and teaches woodworking in Los Angeles. See more of his work at Brawleymade.com.
Photos: Jonathan Binzen
Drawings: John Hartman
For more photos and details, click on the “View PDF” button below:
Gentleman’s Tool Chest
Tool Chest with Surprise Storage
An Inspired Tool Chest
Sign up for eletters today and get the latest techniques and how-to from Fine Woodworking, plus special offers.
Download FREE PDF
when you enter your email address below.

