Setting up Taylor Toolworks Bench Planes
I first met Mike Taylor six years ago, and since then, I’ve followed the growth of Taylor Toolworks, the company he co-founded with his brother Dan. Over time, it has become a go-to destination for woodworkers seeking unique tools for shaping, measuring, and crafting.
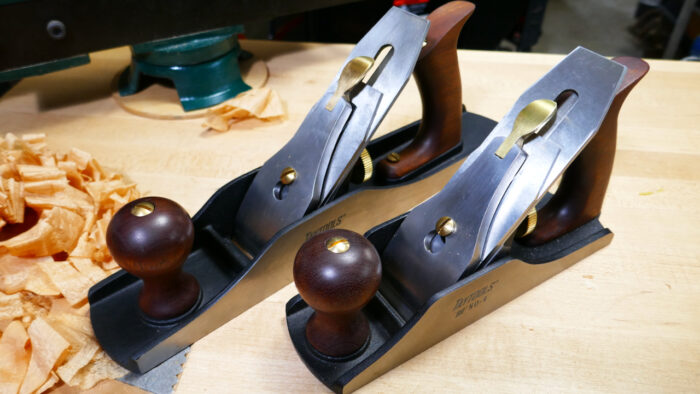
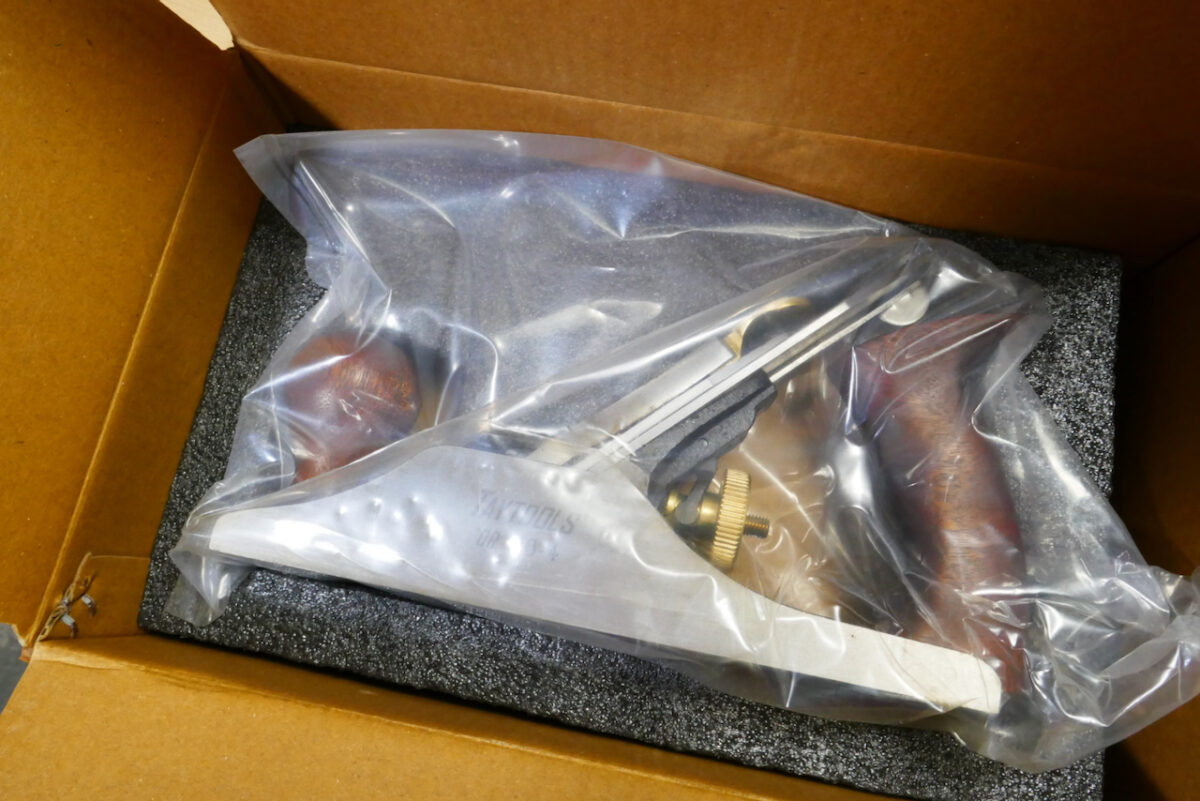
In addition to their diverse catalog, the company has ventured into importing hand planes from India. Just before the holidays, Mike sent me two models from their latest line: Bedrock-style bench planes made with a combination of ductile cast iron, brass, mahogany, and steel.
This post will give you a sense of these new tools and their potential, as well as some minor drawbacks. It also offers guidance for readers who purchase these planes on how to fine-tune them into formidable shaving tools.
The Bedrock Plane Style
To appreciate the significance of the Bedrock-style plane, it’s worth understanding what sets it apart. Stanley Bedrock planes are renowned for their exceptional design and functionality, setting a benchmark in woodworking tools.
Unlike traditional Bailey-style planes, the Bedrock’s innovative structure allows users to adjust the throat opening effortlessly without disassembling the blade and cap iron—a convenience that saves time and preserves adjustments. The meticulous casting and precision milling of these planes create a seamless iron-to-body connection, effectively minimizing chatter and delivering smoother, more reliable performance.
These qualities have solidified the Bedrock as a cornerstone of superior plane design, revered by woodworkers for over a century.
Stanley manufactured the first Bedrock planes in the United States, lasting for a few decades, but then Stanley scrapped their production. In the last decade of the 20th century, Lie-Nielsen Toolworks decided to resurrect the Bedrock design and open a line of plane manufacturing in Maine that produced the best Bedrock planes ever made.
Following Lie Nielsen, Clifton in England initiated their style of Bedrock planes. Then, in the mid-2000s, Woodcraft launched its Chinese-made line of Bedrock branded as WoodRiver. Until now, this exclusive group of manufacturers—one in the US, one in Britain, and one in China—controlled the pristine and expensive Bedrock market.
But with India’s emergence as a significant industrialist nation, an Indian tool manufacturer has decided it’s time to make their mark on this top-tier woodworking hand tool market.
The Taytools Planes
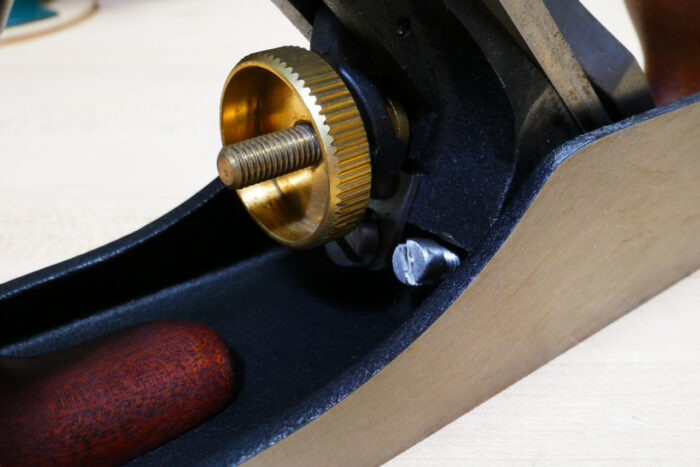
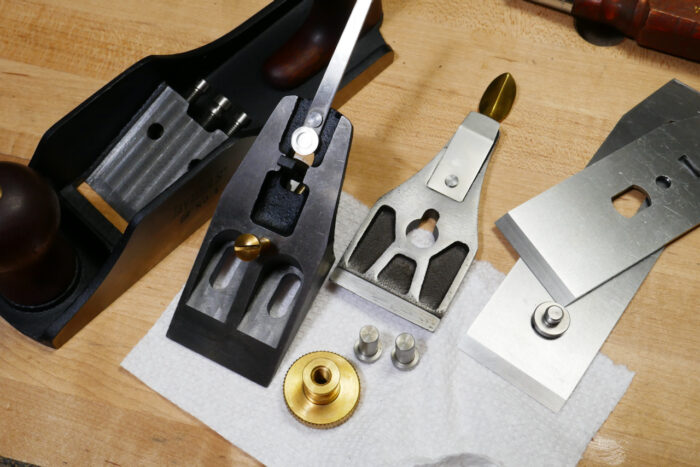
Mike Taylor sent me two models: a #4 smoother and a #5 jack plane. Both planes’ bodies are made of ductile cast iron, with the frog and cap iron constructed from the same material. The frog’s clamp-down studs, locking screws, middle adjuster screws, and yoke are steel, while the central cap iron screw, adjuster nut, and wooden handle nuts are brass.
After cleaning, oiling, sharpening the blade, and testing the planes, I can confidently say these newcomers are exceptionally well-made and, given their price, offer a compelling quality-to-price ratio. Below, I outline the steps I took to fine-tune these planes for optimal performance before first use.
Flatness
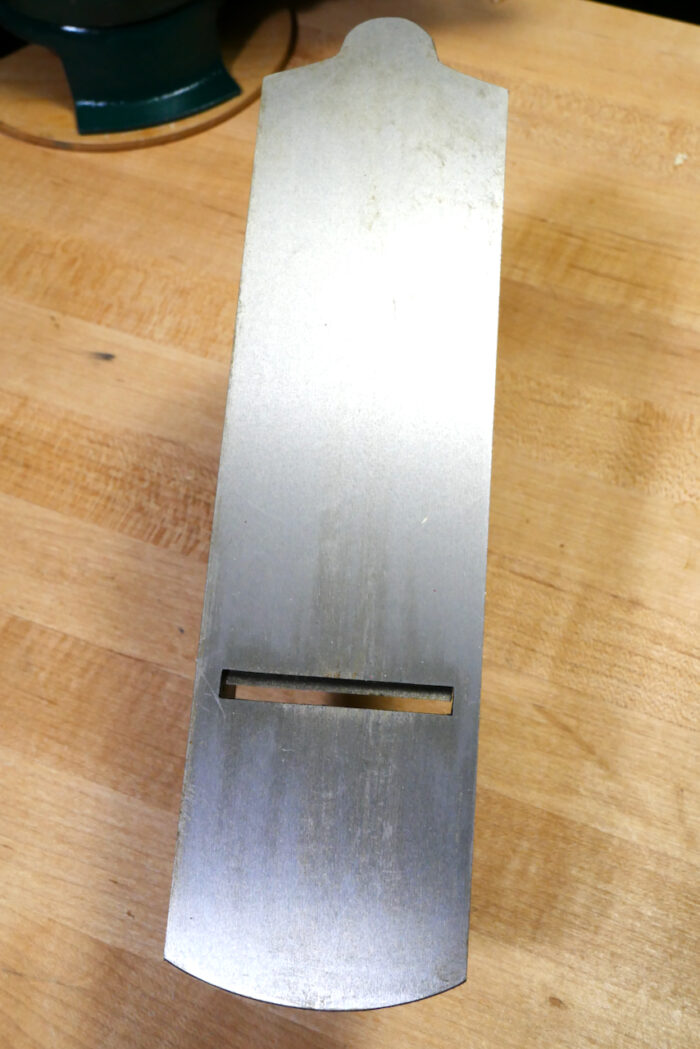
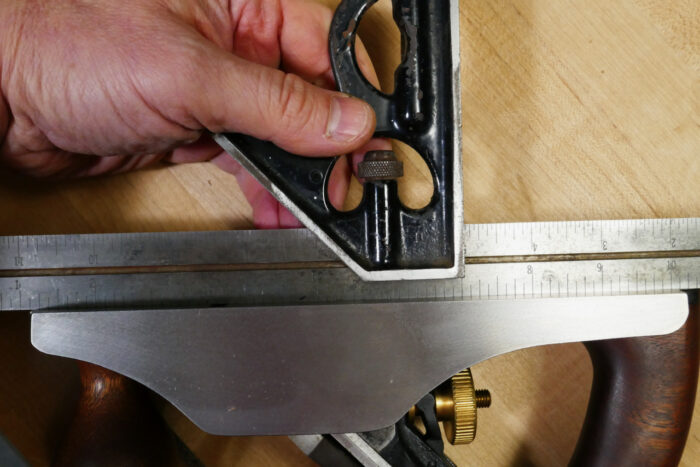
The plane’s sole is perfectly flat. I checked it with a straight edge and was impressed with its trueness along the length and across the sole. The frog’s ramp is also perfectly straight; in fact, that surface was lapped and looks pristine.
 |
 |
Hardware and Lubrication
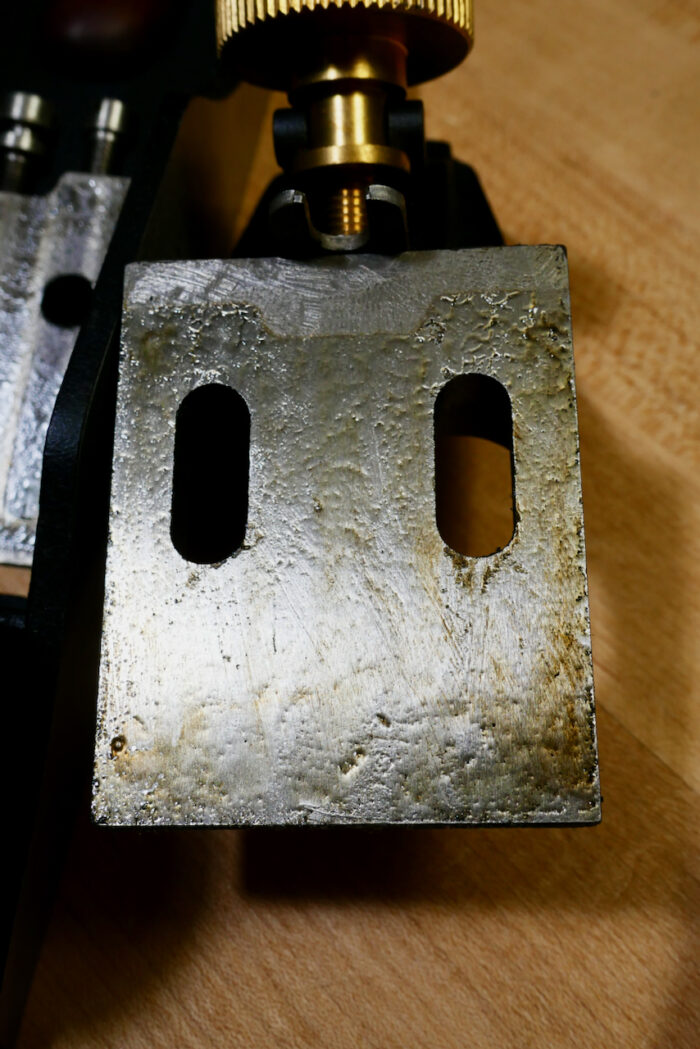
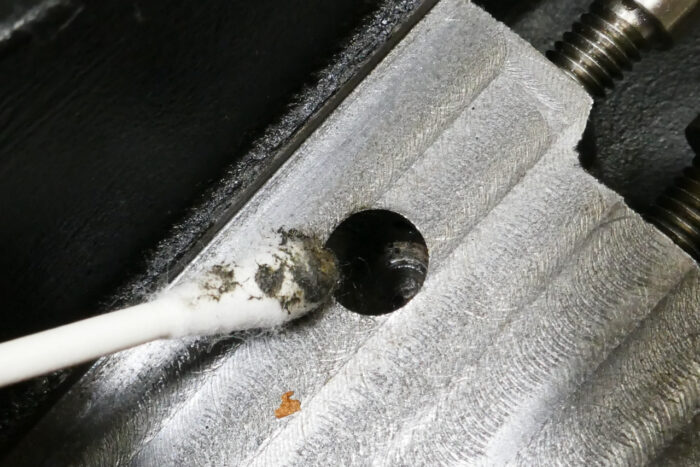
While the machining is impressive, post-milling cleaning and lubrication left room for improvement. Thick lubricant covered all lapped surfaces and needed cleaning with mineral spirits. Nooks and crannies were filled with black residue from the milling process, which I removed using brushes, Q-tips, and rags.
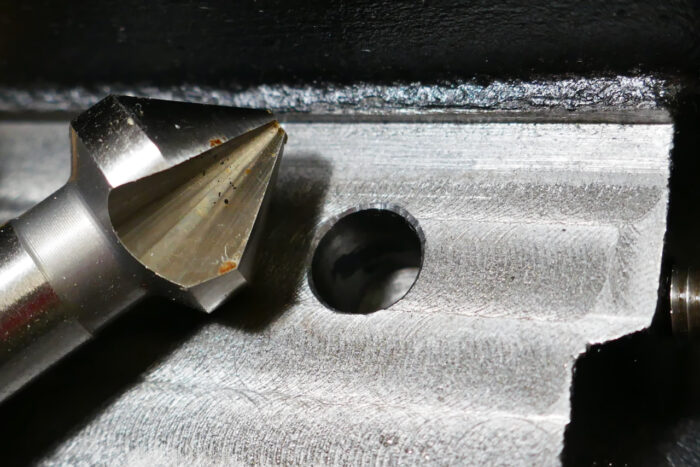
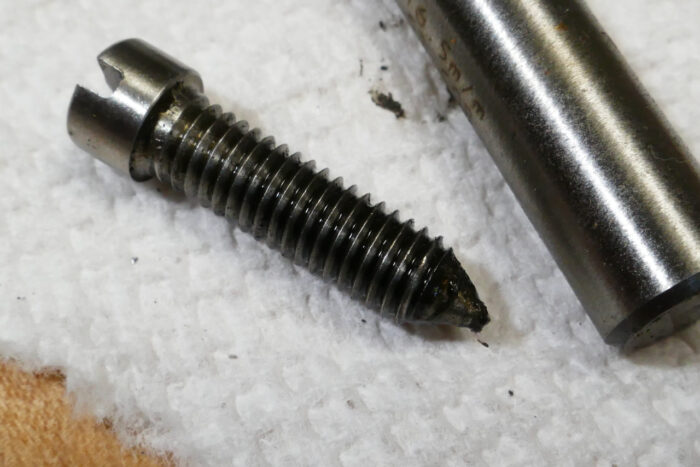
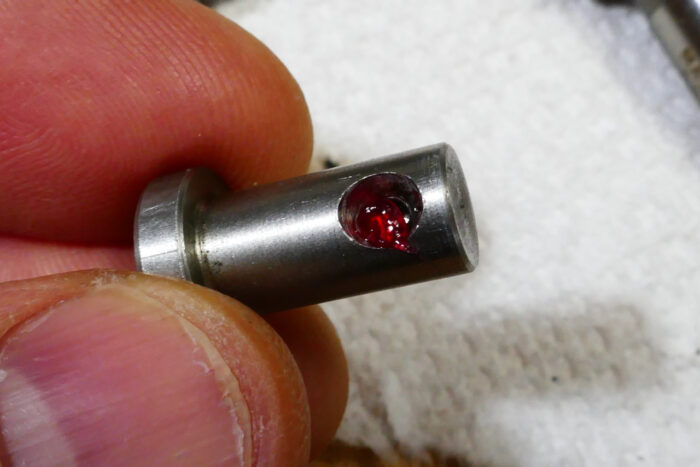
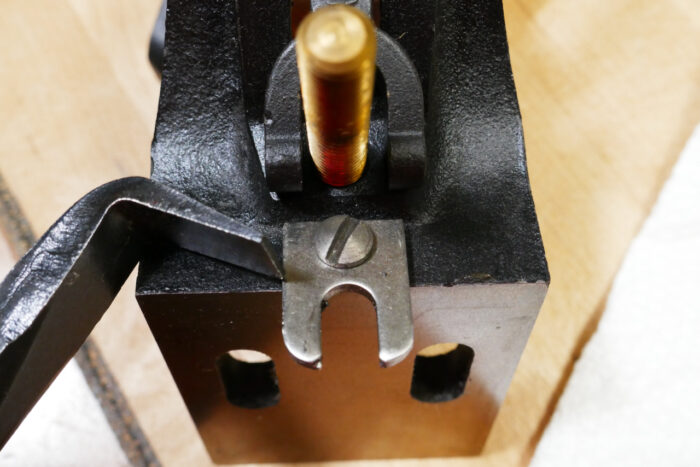
Special attention was needed for the holes in which the frog’s clamp-down studs nest. These studs, essential in all Bedrock planes, pass through the plane body and secure the frog via locking screws. After cleaning the holes, I applied oil to the studs’ shafts and heads and added grease inside the conical holes.
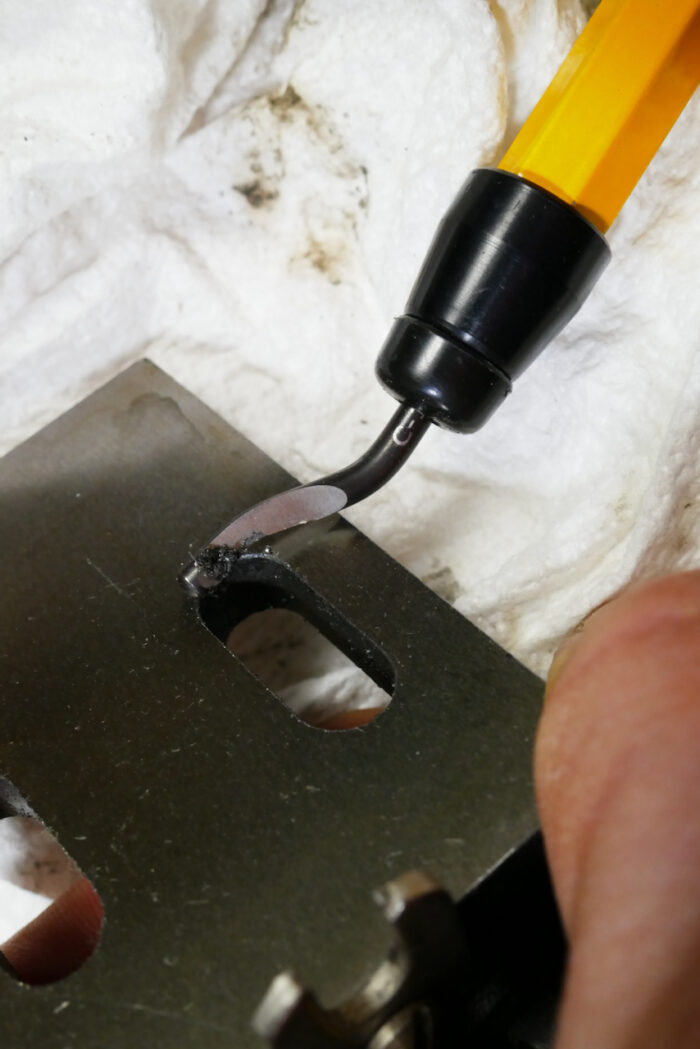
This grease improves the action of the locking screws, which push into these conical recesses to move the studs downward and hold the frog firmly in place. I also spent a few minutes deburring and chamfering sharp corners on the frog’s oval studs’ slots. Lubricating all other moving parts ensured smooth operation during use.
Blade Assembly
The back of the high-carbon blade needed minimal lapping before sharpening, and the thick and accurately milled chip breaker did not require any work.
Cap Iron
While the #4 plane’s cap iron provided enough downforce with the pivoting of the cam lever over the factory blade, when I replaced the thicker blade with a thinner Hock blade, I needed to adjust the central cap iron screw twice. Like many hand plane users, my go-to setup is to allow the cap iron to slide in and out from underneath the screw head and only engage the cam lever to tighten the cap iron.
Adjusting the screw to compensate for the different blade thicknesses is normal, but in my case, I had to do this twice. After connecting a Hock blade to the chip breaker, I placed the blade over the frog and slid the cap iron under the screw head. Then I turned the screw to the point it almost touched the chip breaker.
When I pivoted the cam lever and expected it to provide good downward pressure, I noticed that it did not create sufficient force, so I had to release the pressure and tighten the central cap iron screw an additional turn, then pivot the cam lever—this time, creating enough downward pressure.
 The cam lever of the #4 plane (right) and that of the #5 on the left. |
 The cam levers in their disengaged positions |
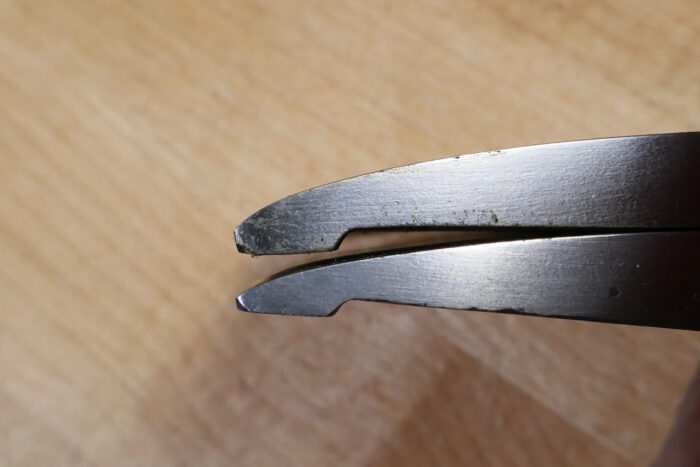
In contrast, the cam lever of the #5 plane had a larger radius, which worked perfectly on the thinner blade and required just one screw setup.
The bottom line is that you might need to futz around with the cap iron’s central screw if you decide to replace the thick factory blade with a thinner one. However, if you stick to the factory blade, you’ll be fine. That said, if you want a heftier blade, harder than the one provided, Taylor Toolworks sells premium blades identical in thickness. These aftermarket blades are rated Rockwell’s 60-62.
 My Hock blade is thinner than 1/8″ |
 The Taytools blade is 1/8″ thick. |
Yoke Backlash
The yoke design is good, with a pommel-like expansion at the top to smooth the contact with the chip breaker’s slot. The blade’s advancing and retracting have a slight backlash slack, more than I experienced with my Lie-Nielsen plane.
Post-Purchase Modifications You Can Do Yourself
The frog retention studs/pins in my Lie-Nielsen plane have an indent to denote the location of the conic hole. If you remove the studs or they fall out during a deep cleanout, these indentations will help orient them back into their holes. It’s a minor thing, but it’s helpful. Since the Taylor Toolworks plane did not have markings, I created them using a center punch.
Testing The Plane
After cleaning and adjusting the plane, as well as sharpening its blade, I tested it on hard, soft, and figured wood. The Bedrock features proved to be very helpful, especially with figured wood, as they allowed me to minimize the mouth (or throat) to overcome challenging grain and prevent tear-out. I appreciated being able to adjust the frog’s positioning without lifting the cap iron and blade assembly, which made the process extremely productive.
I was also pleased to learn that the Taytools frog glides smoothly on its ramp without any noticeable lateral slack. This means that after repositioning it, you won’t need to engage the plane’s lateral adjustment to bring the blade back parallel with the sole.
 Planing Wite Pine |
 Ash |
 Aromatic Cedar |
 Cherry |
 |
 |
Final Thoughts
The new Taylor Toolworks planes are impressive, effective, and dependable. After cleaning, deburring, and lubricating, they perform almost as well as established brands like Lie-Nielsen and WoodRiver. At $120 for the #4 and $140 for the #5, they are a bargain. If you don’t mind getting your fingers dirty and greasy for 30 minutes of prep work, this line of new planes should be on your radar.
Quality tools inspire excellence
Handplane Fundamentals: Sharpening
Restoring Handplanes: Sharpening and Setup
Fine Woodworking Recommended Products

Starrett 12-in. combination square
This accurate, robust, well-machined, easy-to-read combo square is as great as ever.
Bahco 6-Inch Card Scraper
The size and thickness are what matter here. A consistent performer, this Bahco scraper is found in many shops we visit.

Starrett 4″ Double Square
The head is easy to remove, replace, and lock down; the narrowest blade, at 5⁄8 in., made it easier to fit into tight places; and hard to read under bright lights.
Sign up for eletters today and get the latest techniques and how-to from Fine Woodworking, plus special offers.


