Build a Classic Ming Table, Part 2
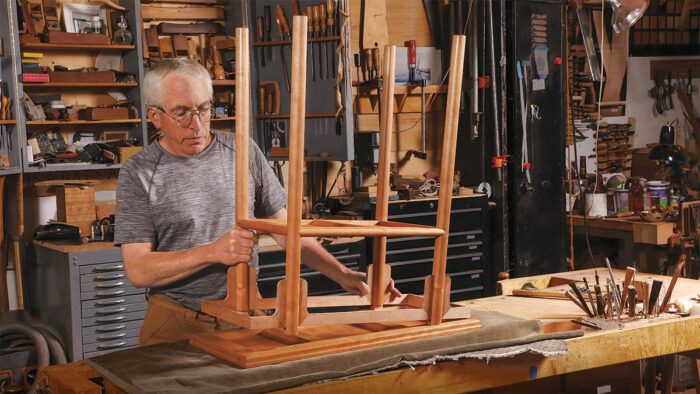
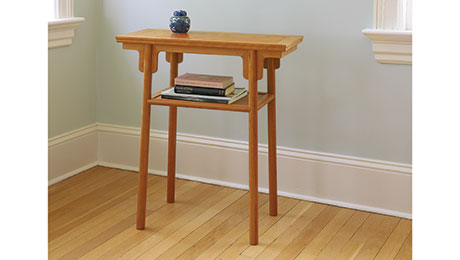
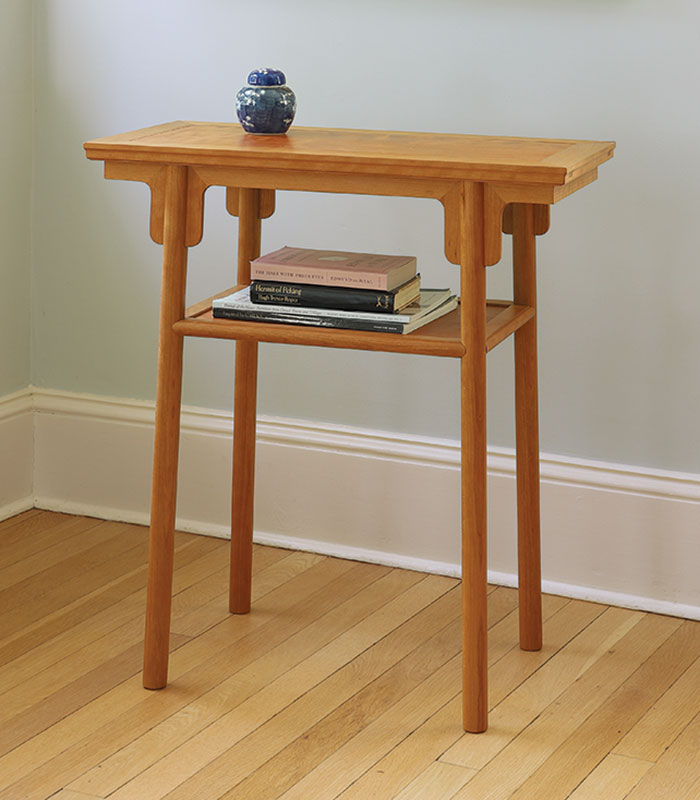
Synopsis: Copied directly from a 400-year-old Ming Dynasty table, this piece looks clean and simple but is constructed with a complicated system of joinery, most of it hidden. The glueless joints, mitered through-tenons, a tongue-and-groove top panel with cross braces connected by sliding dovetails, splayed legs, and a complex apron and spandrel system, are tricky and require patience and acute sharpening skills.
The reward is great: a beautiful table with a wonderfully complex, interlocking system of joinery; accomplished without glue. Part 2 of a two-part series began in issue 306.
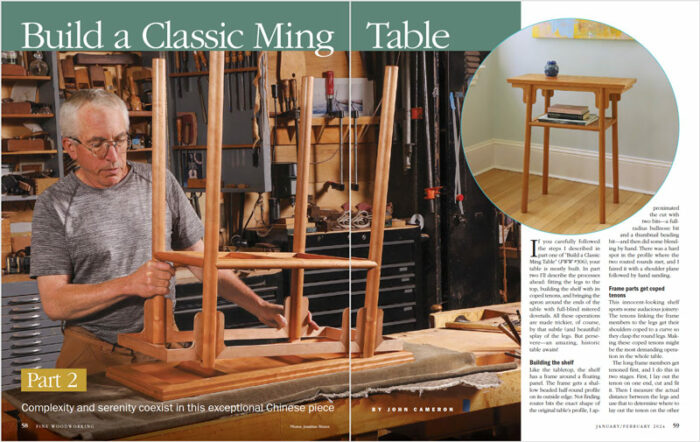
If you carefully followed the steps I described in part one of “Build a Classic Ming Table” (FWW #306), your table is mostly built. In part two I’ll describe the processes ahead: fitting the legs to the top, building the shelf with its coped tenons, and bringing the apron around the ends of the table with full-blind mitered dovetails. All these operations are made trickier, of course, by that subtle (and beautiful) splay of the legs. But persevere—an amazing, historic table awaits!
Building the shelf
Like the tabletop, the shelf has a frame around a floating panel. The frame gets a shallow beaded half-round profile on its outside edge. Not finding router bits with the exact shape of the original table’s profile, I approximated the cut with two bits—a full-radius bullnose bit and a thumbnail beading bit—and then did some blending by hand. There was a hard spot in the profile where the two routed rounds met, and I faired it with a shoulder plane followed by hand sanding.
Frame parts get coped tenons
This innocent-looking shelf sports some audacious joinery: The tenons linking the frame members to the legs get their shoulders coped to a curve so they clasp the round legs. Making these coped tenons might be the most demanding operation in the whole table.
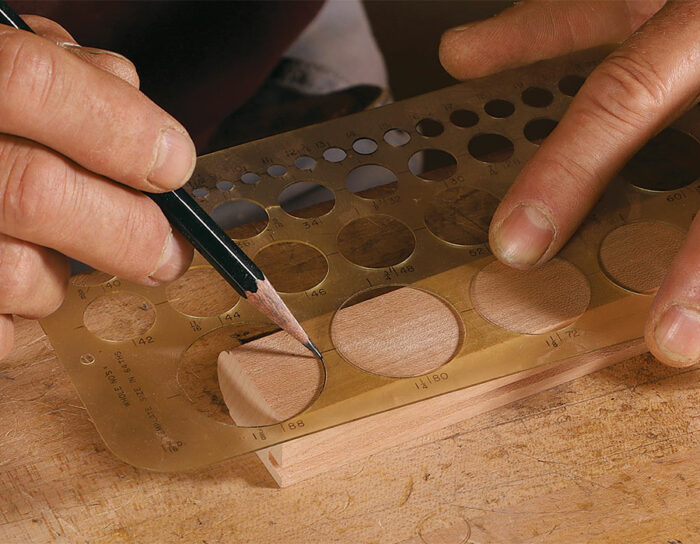
The long-frame members get tenoned first, and I do this in two stages. First, I lay out the tenon on one end, cut and fit it. Then I measure the actual distance between the legs and use that to determine where to lay out the tenon on the other end. I use a circle template and pencil to lay out the curving shoulders.
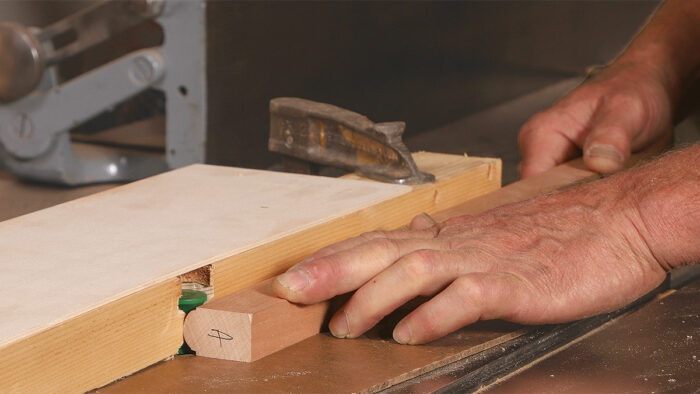
Cutting the tenons is mostly handwork, but I start by cutting one cheek at the table saw, using a tall auxiliary fence and a following block. It is nice to have a reliable, machined reference surface to start the fitting with.
Rough out the waste between the tenon and the coped shoulder as best you can—a coping saw works remarkably well for this (who knew?)—and as you remove the waste, remember to leave material for that pesky 1.5° leg splay.
Pare the tenon to start the fit, then begin paring the shoulders to mate with the outside of the leg. At this point an odd but extremely useful tool is introduced: the in-cannel gouge, with its bevel on the inside. The legs are 1-3 ⁄ 8 in. dia., so you want a gouge with a radius somewhat smaller than that.
With each of the long frame members, fit one joint completely before laying out the other. The distance between them must be exact. Measure the span between the legs and apply that measurement starting from the fully fitted joint.
Cutting the joints on the short-frame members is the same as fitting the long-frame members, with one notable exception—it is easier! While the tenons on the long members have two coped shoulders, like a pair of horns, the short members have just one coped shoulder; the other is square.
–John Cameron builds furniture in Gloucester, Mass.
Photos: Jonathan Binzen.
Drawings: John Hartman.
For more photos and information, click on the “View PDF” button below:
From Fine Woodworking #308
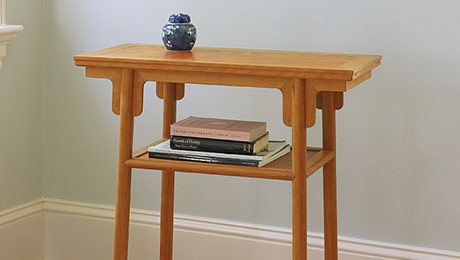
Build a classic Ming table, part 1
A sideboard cloaked in Osgood oak
Lighter, Stronger Frame-and-Panels
Sign up for eletters today and get the latest techniques and how-to from Fine Woodworking, plus special offers.
Download FREE PDF
when you enter your email address below.

