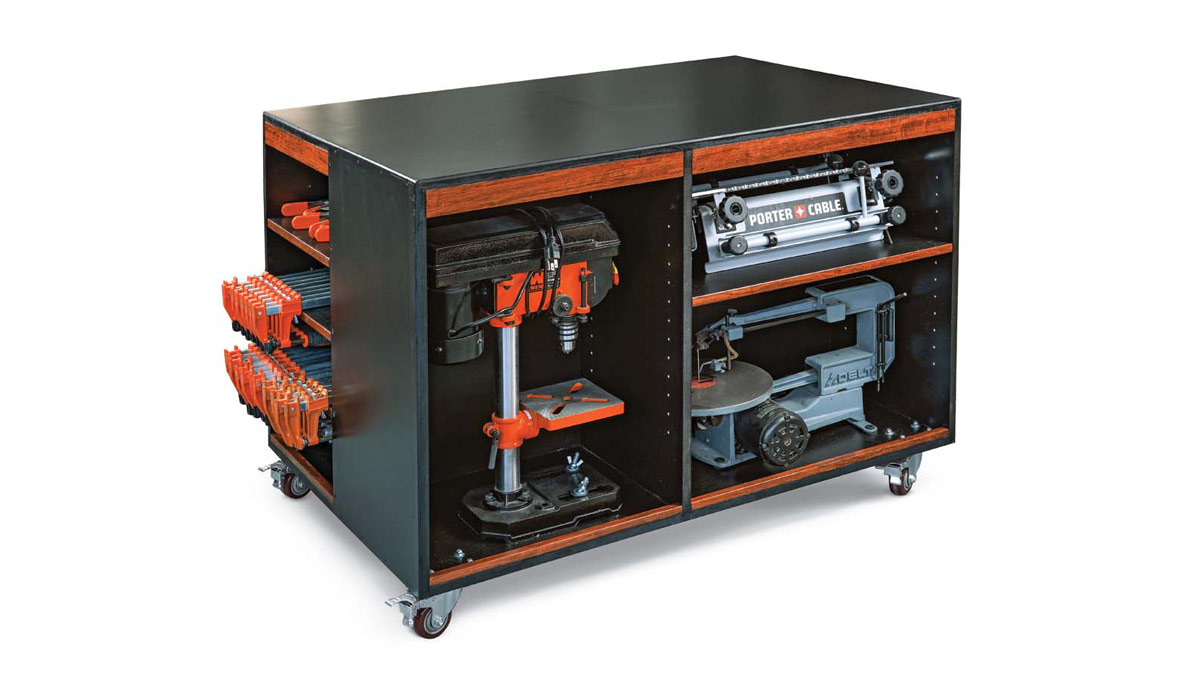
Build a Contemporary Towel Rack
Synopsis: Consisting of a simple frame and a single shelf, Leah Amick’s bath-towel rack is a simple project that can be built in a day or two. All of the frame joinery is cut on the table saw using a dado set. The front is connected with lap joints, and the back is joined with rabbets reinforced with small pins. Keyhole slots in the back allow the unit to be hung securely and invisibly. Notches in the shelf keep it in place against the front of the rack without the need for fasteners.
Cut the frame joints
The frame parts are all 3/4 in. thick, which makes milling easier. The shelf is 1/2 in. thick, and you can make it from one solid piece or glue it up from two or more.
When cutting the frame parts to width and length, I made a few extra parts as backups in case I made a bad joinery cut. I also held on to the offcuts to help me set up joinery cuts.
Lap joints first—Start by laying out the lap joints in pencil to help you keep track of their orientation. The lap joints are essentially large rabbets that are cut on the table saw using the dado set. Stack the dado blades a little under 3/4 in. wide, and then set their cutting depth to about 3/16 in. to start. I support the parts with my crosscut sled, clamping on a stop block to control the length of the rabbets, although a miter gauge could also work.Dial in the setup using your offcuts, ensuring that the mating parts end up flush with each other. And make the cuts in multiple passes, creeping up on the right depth of cut and the right stop-block position.
If you lack a dado set, the lap joints can be cut with a straight bit on the router table, with a miter gauge or a square backer board keeping the stock square to the fence.
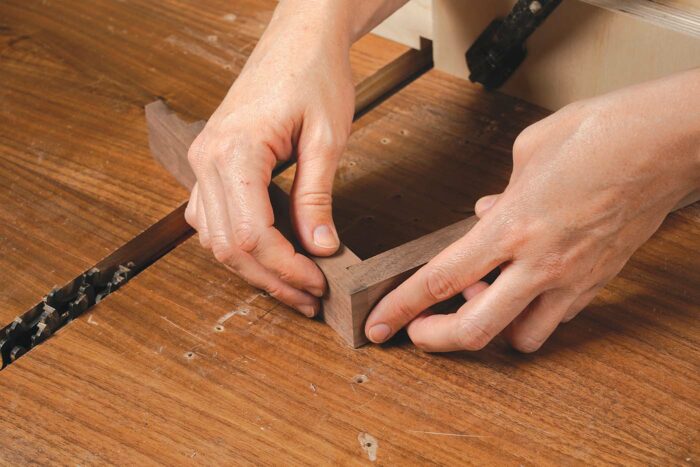
Dry-fit the lap joints before moving on, making sure their mating surfaces are as close to flush as possible. And leave the table-saw setup in place for the next steps.
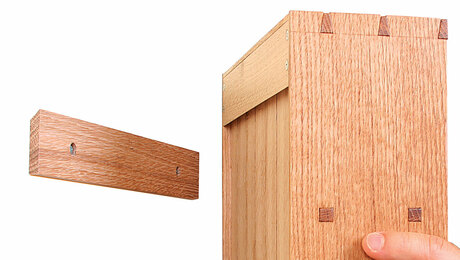
Rabbet the side rails—To connect the frame parts at the back of the rack, I simply rabbeted the side rails to fit over the back rails. The middle back rail has keyhole slots for attaching the rack to the wall, so it carries the weight of the rack and its contents. I went with the same sled setup to cut these rabbets, using a test piece to dial in the cuts. After assembly, these rabbets are reinforced with small dowels, made from the same wood species as the rack, so they blend in.
Build the frame in stages
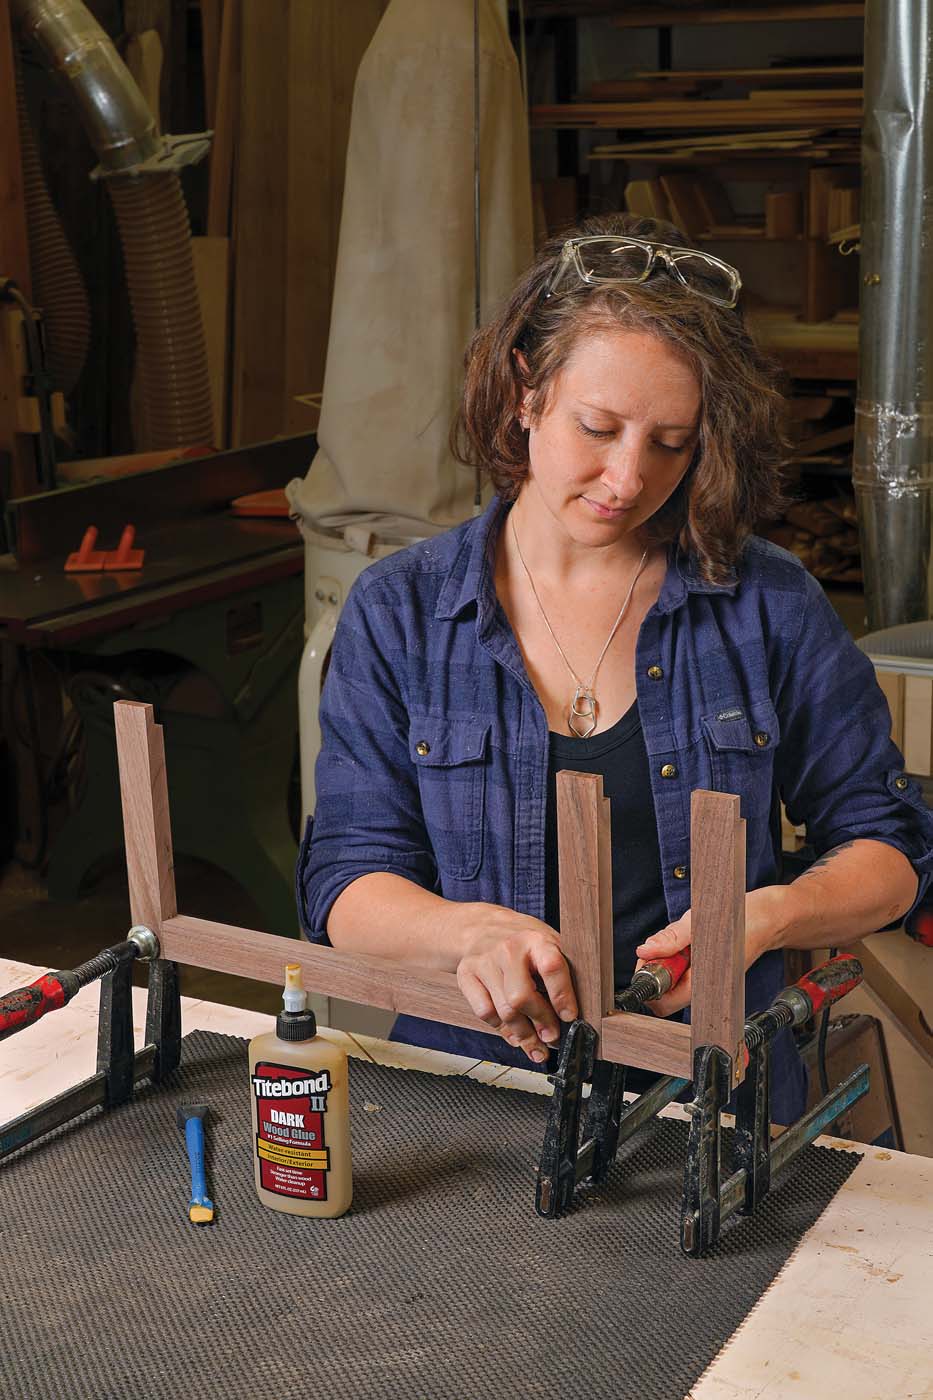
The frame is assembled in several steps. First, the side rails are glued to the stiles. This creates two side assemblies that you can lay flat on the router table for rounding the front edges of the frame.
Start with the lap joints—Dry-fit the joints to make sure the side assemblies are mirror images of each other and the lap joints come together square and flush. Then apply glue and clamps.
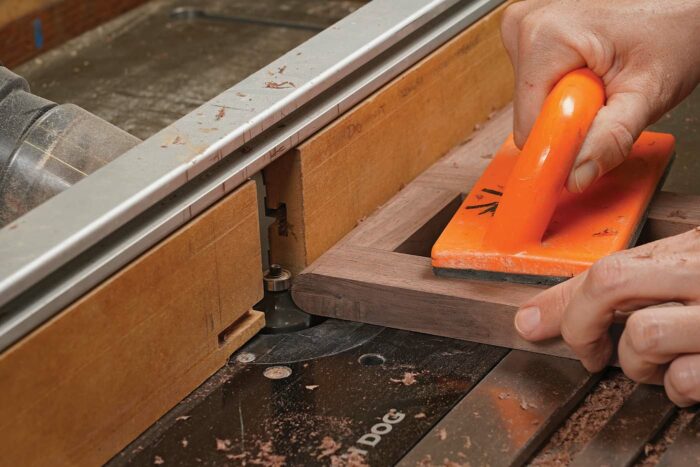
The fully rounded profile on the front edges is shaped with two passes on the router table, using a 3/8-in. roundover bit. If you’ve got your shelf ready, use the same router-table setup to round its front and side edges.
Rout the keyhole slots—The central back rail gets keyhole slots for attaching the rack to the wall. The rail isn’t long enough for the keyhole slots to line up with two wall studs 16 in. apart, so I recommend using drywall anchors to hang it. That will let you place the rack wherever you want to.
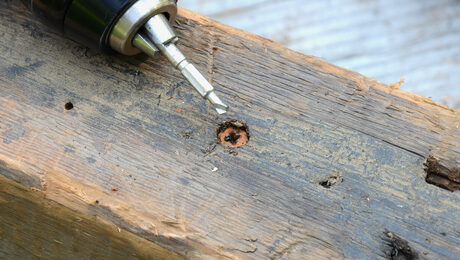
Cut the keyhole slots on the router table using a 25/64-in. keyhole bit. Begin by drilling 1/2-in.-dia. starter holes for the router-table operation. Use a Forstner bit, and set the depth for 1/2 in.—the same depth as the keyhole slots to follow.
Now set up the router table with the keyhole bit. If your table has a miter slot, use a miter gauge to support the rail. Otherwise, you can push it along the fence with a piece of plywood or MDF with a squared corner. In either setup, the end of the rail contacts the router-table fence, which locates the slot in one direction, and a stop block limits the forward travel of the rail and therefore the length of the slot.
To set up the cut, start with the router off, and drop the starter hole onto the keyhole bit. Then set up the fence and stop block for the first cut.
Start the cut the same way, with the router off and the bit in the starter hole. Then turn on the router and push the rail forward. When it hits the stop block, turn off the router, slide the rail backward, and lift it off the bit.
Add the shelf
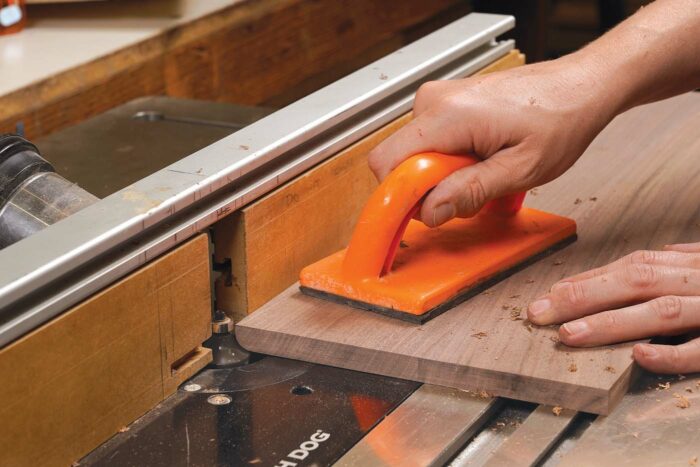
After milling the shelf to size, round over its edges on the router table. Then cut the notches on its front edge that locate the shelf on the rack. To lay out the notches accurately, hold the shelf against the frame and transfer the location of the frame parts to the shelf. The stiles will need to be spaced evenly for this step, so keep the plywood spacer in place from the earlier assembly step.
I cut the notches with a dado set on the table saw, with the shelf standing on edge on my crosscut sled.
Reinforce the rabbets—Now you can remove that spacer panel and carry the rack over to the drill press for boring the dowel holes. You could drill them with a handheld drill instead, but I like the precision of the drill press. I also recommend using a brad-point bit, as a standard twist drill will tend to wander.
Mark the hole locations, and drill the 1/4-in. holes at least 3/4 in. deep. If possible, use dowels made from the same species as the rack so that they blend in, and make sure they fit the holes nicely before you apply glue. If the fit is too tight, you can sand the dowels.
Cut the dowels a bit long, and chamfer their tips to make them easier to insert. Then spread a modest amount of glue in the holes before driving in the dowels.
I trimmed off the excess with a flush-cut saw and then sanded the surfaces flush.
Finish and hang the rack
As I did on the bath tray in FWW #304, I sanded the parts to 220 grit, raising the grain before the final sandpaper pass, and finished them with two coats of Osmo Polyx-Oil, a blend of oil and wax that resists water surprisingly well.
To hang the rack securely, I used drywall anchors, which come with screws that fit the keyholes perfectly. Slide the keyholes over the screws, add some nice towels and toiletry items, and the project is done.
I installed my bath rack four years ago, and I continue to receive compliments on it. People ask me where I got it, and like every woodworker, I’m happy to tell them.
-Leah K.S. Amick is a furniture maker and product designer in Portland, Ore.
Fine Woodworking Recommended Products

Suizan Japanese Pull Saw
A versatile saw that can be used for anything from kumiko to dovetails. Mike Pekovich recommends them as a woodworker’s first handsaw.
Sign up for eletters today and get the latest techniques and how-to from Fine Woodworking, plus special offers.
Download FREE PDF
when you enter your email address below.


