Chris Schwarz’s Soft-Wax Recipe – FineWoodworking
At my first woodworking job—at a door factory—we sprayed finishes with solvents that were so toxic we had to wear full respirators and body suits. Even with all that protection, I could still smell the solvents, and they made me queasy. Since that experience in my 20s, I’ve switched to finishes that have little or no nasty chemicals such as volatile organic compounds (VOCs). That means shellac, waxes, natural oils, linseed oil paint, and soap.
All these finishes can be made without toxic VOCs or driers that contain heavy metals. My favorite of these finishes is soft wax, a finish made from beeswax, raw linseed oil, and citrus solvent. A batch of soft wax takes about 15 minutes to make, is inexpensive, and is easy to apply. Plus, you don’t have to dress like an astronaut to make it or use it.
Soft wax doesn’t create a hard film finish like lacquer or shellac, so it’s not terribly durable. But it is easy to repair—just add more soft wax—and the finish looks better and better the more the object is used. I use it on everything, from tabletops to bookshelves to chairs.
Raw ingredients and gear
I make (and store) the soft wax in a quart-size metal paint can that I heat on the stove or on an induction cooktop. Other necessary items include a kitchen scale, a measuring cup, measuring spoons, and a food thermometer.
I use beeswax granules, which are sold to make candles and makeup. These are available in either yellow or white. I don’t notice a color difference on the wood, so I pick the less expensive option.
I use purified linseed oil, which is raw oil that has been defatted or degummed. Unlike the hardware-store version of boiled linseed oil, purified linseed oil has no toxic metallic driers, and it dries just fine when applied in thin coats. But you can use almost any kind of drying oil to make the soft wax, including boiled linseed oil, raw linseed oil, or tung oil.
The final ingredient is a citrus solvent. This isn’t the citrus stuff from the home center. It’s a solvent made entirely from orange peels and a tiny bit of water. It is completely safe and makes the soft wax easy to scoop out of the paint can. It also adds a nice scent.
The recipe
I measure the liquids—the oil and the solvent—by volume, and I measure the wax by weight. Here’s the recipe for one batch:
- 2 cups of purified linseed oil (473 ml)
- 3.8 oz. (by weight) of beeswax (108 g)
- 4 tablespoons (or more) of citrus solvent (60 ml)
 |
 |
Measure out your ingredients, then pour the oil into the quart can. Place the thermometer in the can and heat the can to 150°F (65°C). This is usually a low setting on a stove. Don’t let the oil get above 185°F (85°C), which is the point where it will change color.
Once the oil is at temperature, add the beeswax while stirring. (I use the thermometer as a stir stick.) After the wax melts into the oil, add the solvent while continuing to stir. I add 4 tablespoons to make a firm wax. Adding more solvent will make it mushier.
Remove the mixture from the heat. The mixture will look like linseed oil until it cools, which is when it will be hard and translucent. You can use the finish while it is warm if you like; otherwise, you can store it and use it at room temperature.
Using soft wax
Before you apply soft wax to any project, make sure you prep the surface as you normally would. If you’re applying it to bare wood, plane, scrape the problem areas, and sand with 220-grit sandpaper. Then apply the soft wax.
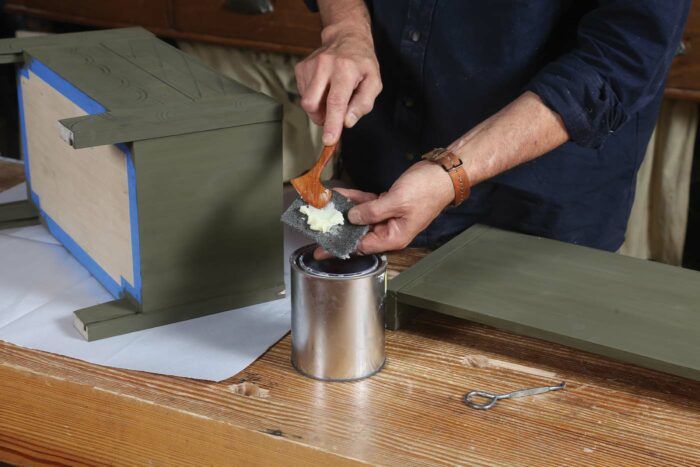
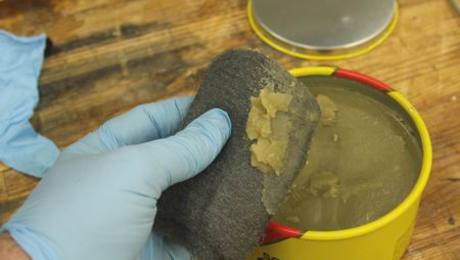
With milk paint, sand the first coat of paint with a 330-grit sanding sponge. Then apply two more coats of paint. After the milk paint has cured, dust off the surface with a tack rag and then apply the soft wax. Scoop the soft wax out of the paint can with a spoon and plop it onto an abrasive pad, such as a Scotch-Brite pad. The slight abrasive quality of these pads removes small nibs of wood that are left behind. Be sure to apply the thinnest coat possible with the pad.
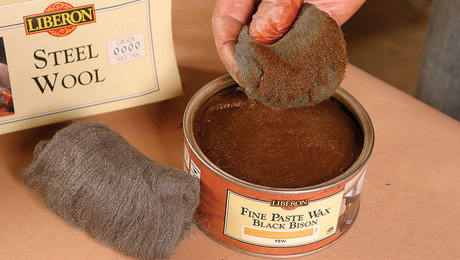
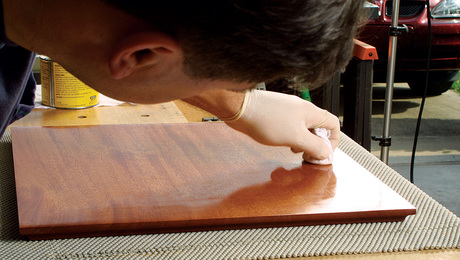
After about five minutes, use a cotton towel with a huck weave—where the threads are woven under and over each other—to remove the excess. This sort of towel should not leave lint behind. Plus, the slight tooth to the weave is perfect for buffing out soft wax. Soft T-shirt cotton fabric tends to just smear the oil and wax around. Huck-weave towels are sold at medical supply stores as surgical towels, or at automotive stores as wiping/buffing cloths.
Buff all surfaces until dry. If you miss a spot, the oil can feel sticky and rubbery after a few days.
Living with soft wax
A soft wax finish can survive indefinitely if it’s not abused. In fact, I think objects finished in soft wax look better with age, especially chairs. The oil and dirt from our skin only add to the patina and glow of a chair.
If the wax is ever damaged (water is a common culprit), the repair is simple: Scrape and/or sand the affected area with fine sandpaper, then apply more soft wax and buff it out.
Once you start making your own finishes, you’ll be eager to experiment (such as adding some carnauba wax to the mix to add some shine). And you’ll have taken the first steps to making even more shop supplies—even, perhaps, your own glue.
Christopher Schwarz is a furniture maker and writer in Covington, Ky.
Fine Woodworking Recommended Products
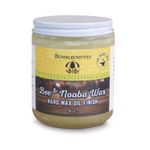
Bumblechutes Bee’Nooba Wax
Ease of Use = Very good
Sheen = Very good
Appearance = Very good
Non-Yellowing = Very good
Water/Stain Resistance = Excellent
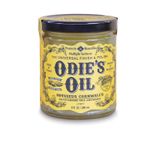
Odie’s Oil
Ease of Use = Very Good
Sheen = Excellent
Appearance = Very good
Non-Yellowing = Very good
Water/Stain Resistance = Excellent
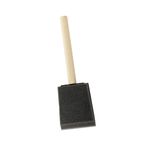
Foam Brushes
Foam brushes are great for applying a variety of stains and finishes, and the 2″ wide brush is the most versatile. Comes in a pack of 48.
Sign up for eletters today and get the latest techniques and how-to from Fine Woodworking, plus special offers.


