Essex County Cupboard – FineWoodworking
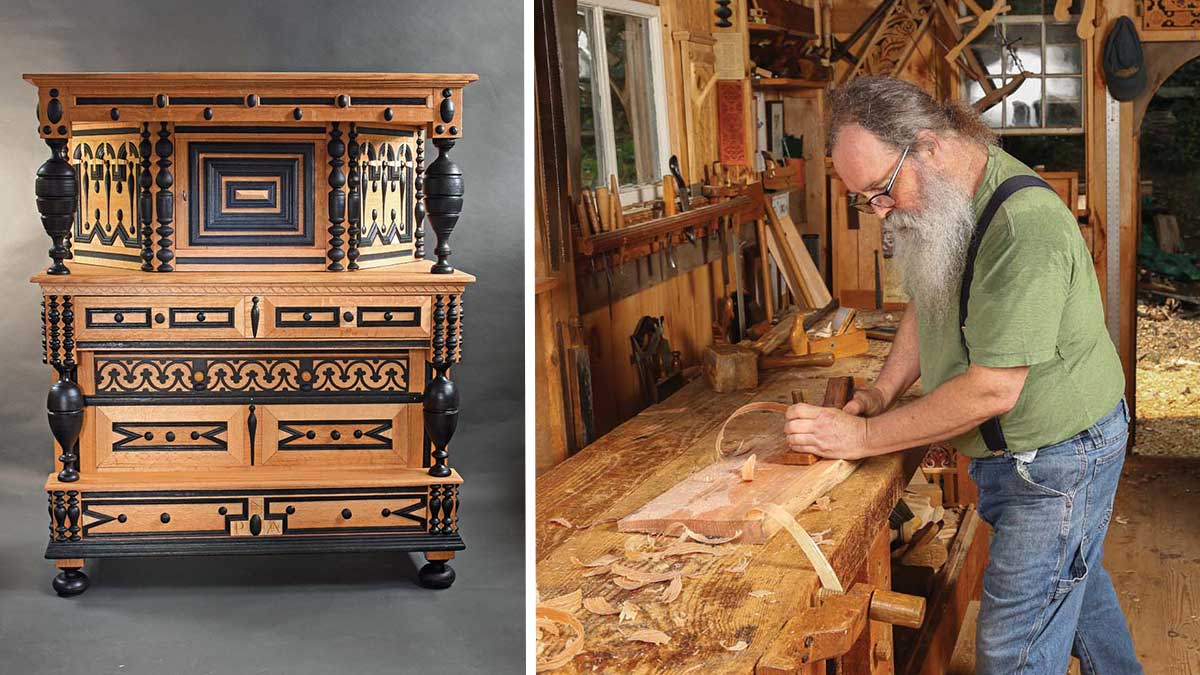
The original of this cupboard was made during the 1680s in Essex County, Mass. It is made up of two cases, and encompasses just about every technique used in English joinery of that period–applied moldings and turnings, carved patterns, faux architectural enhancements, and painted accents. Follansbee made it from green wood, split from a log, using all hand tools.
I recently got the chance to build a reproduction of a cupboard I’ve been studying for over 25 years. The original was made during the 1680s in Essex County, Massachusetts, and is part of a large group of joiner’s work that stands head and shoulders above most other New England works of the same period.
The cupboard consists of two cases. The upper case is a trapezoidal cabinet with a door and an overhanging rectangular cornice supported by large turned pillars. The lower case has four full-width drawers, the middle two recessed behind two pillars. The decorative scheme includes about every technique used in English joinery of that period—applied moldings and turnings, carved patterns, faux-architectural enhancements, painted accents.
The cupboard was likely built for storage, with the drawers holding linens, tablecloths, clothing, etc., and the upper case and top surface storing and displaying plate—pewter, silver, earthenware. Another function of this cupboard was to establish status; a costly piece, it would have been displayed in the hall, the most public room in a 17th-century New England house.
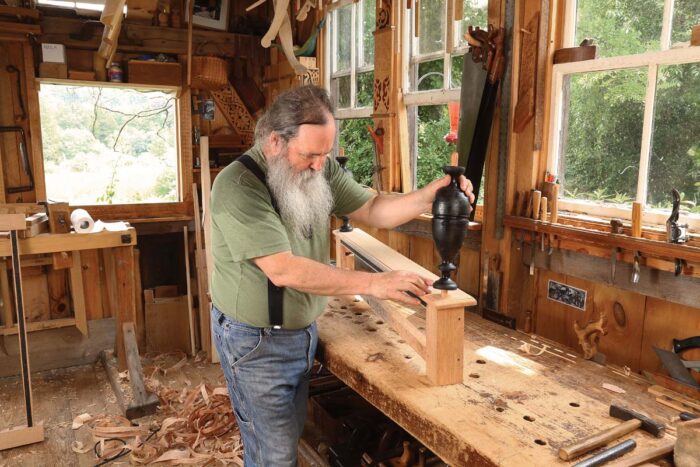
I work in a small shop without electricity, so I made the cupboard without power tools. I split the stock for it green from a log.
Riving and planing the stock
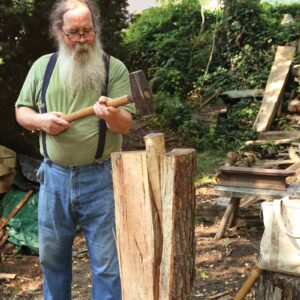
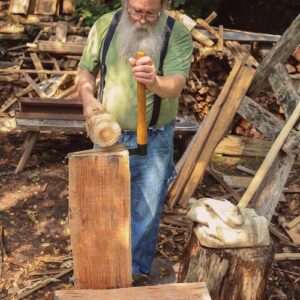
Working with a log with a diameter of about 24 in., I start splitting 6-ft.- to 8-ft.-long sections, first splitting them in half, then quarters, eighths, and sixteenths. I do this work with a sledgehammer and steel and wooden wedges. It goes even better with help. The sixteenth sections are still beastly heavy, but they’re manageable enough to move to the shop, where the more-specific splitting begins.
After crosscutting a section I begin laying out my next splits. Ideally, the best way to approach splitting the stock is in halves and halves again. Equal mass on each side of the split helps keep things running evenly. But some sections are too thick for two pieces and too thin for four. A section, or bolt, from a perfect log can be split in thirds—on a good day. I needed drawer parts and thin panels in the range of 6 in. to 8 in. wide by 24 in. long and was able to split bolts into thirds for them with a pretty good success rate. I removed the sapwood and bark—the sapwood is useless, and removing it helps you see the progress of your splits.
The face of every board is on the radial plane of the log. Oak (and most other ring-porous woods) splits very predictably along its medullary rays and perpendicular to them, along the growth rings (the radial and tangential planes, respectively).
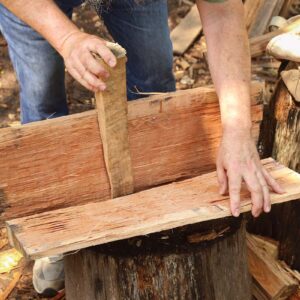
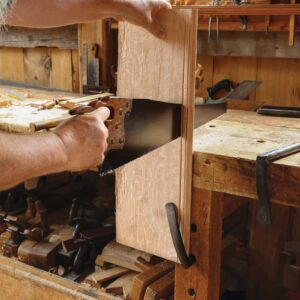
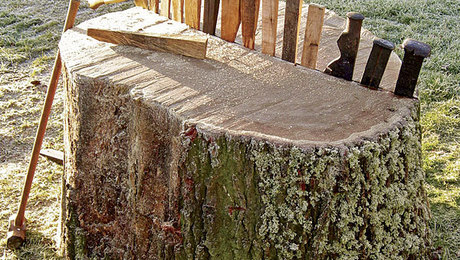
To split a section into thirds, I tend to work from both ends, aiming for things to connect in the middle. I lay out the divisions on both ends. I stand the bolt upright on a chopping block and use a froe and wooden club. I lightly tap the froe to begin scoring the fibers on the end. As soon as a split begins, I remove the froe and repeat on the next line. Once that split has begun, I flip the piece end for end and repeat. These steps begin to separate the fibers along the radial plane. Now I pick one of the splits, reinsert the froe, and begin to strike it with a bit more emphasis. I watch the progress down the edges of the bolt. When the split begins to wander, I stop, remove the froe, and come from the other end. The game is connect the dots.
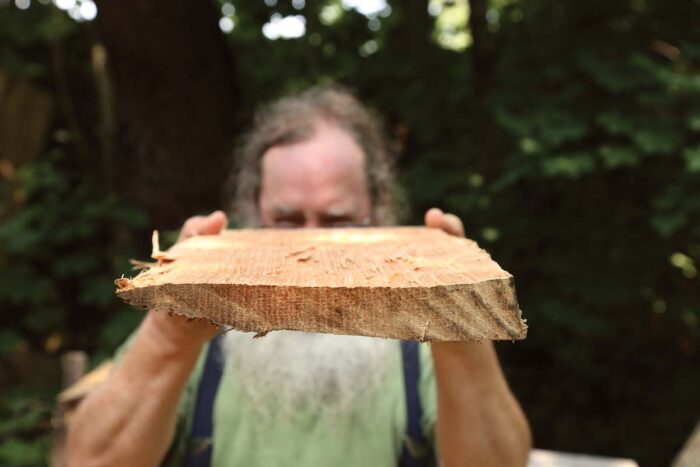
greatest thing. This radial plane is flat along its length and width.
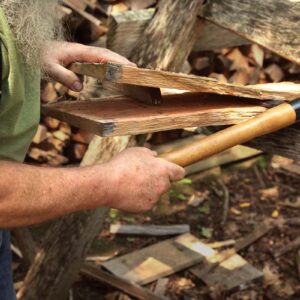
Once you have the third board split off, the remaining section is split in half, an easy job with good wood. This is froe-and-club work, made easier when you can trap the bolt in a brake of some sort—often just the crotch of a tree or, in my case, some horizontal rails attached to a large tripod. The brake allows you to exert pressure that helps direct the split. When it runs out, move the thicker side down and push against the thin top side as you lever the froe. When it goes well, I can think of no woodworking that’s more fun.
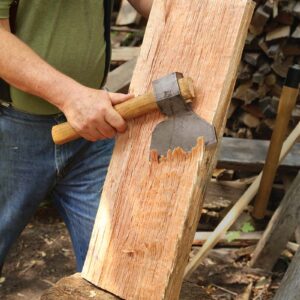
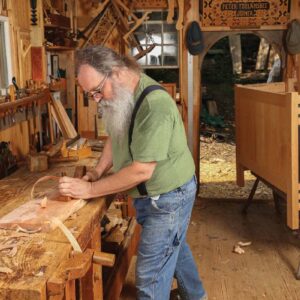
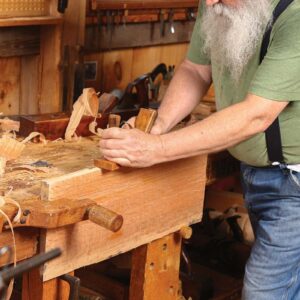
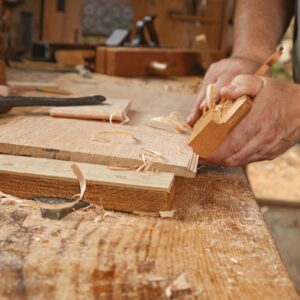
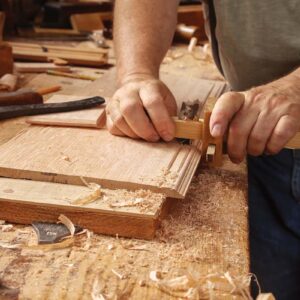
Some of the splits might be uneven in thickness. Hatchet work (a large single-bevel side hatchet is ideal, but a double-bevel will work) removes excess stock quickly before going to the planes. Planing radially riven, green oak is as easy as planing clear white pine. I flatten a face, square an edge to it, then determine the thickness and width for the second face and second edge.
I plane the stock twice. First, rough out the board slightly oversize. Green wood planes easily, but its finish is not as smooth as drier wood. Sticker the boards in the shop for a few weeks, then lightly plane them again to finished dimension and surface condition.
Tried-and-true joinery
The case joinery is all mortise-and-tenon; the format is frame-and-panel. The trapezoidal upper case has stiles shaped to help create the truncated octagonal footprint. Both rear and front stiles have five-sided cross-sections so the ends of the rails can be cut at 90°.
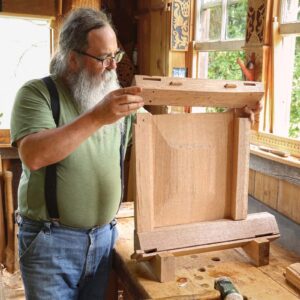
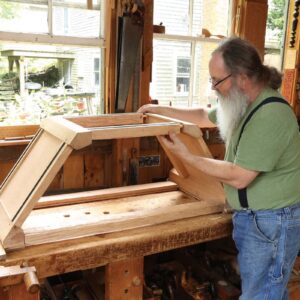
I tested the fit of the joinery several times until I arrived at a sequence that allowed one person to assemble this odd shape. Connect a rear stile and its side rails and panel, then drop the front stile onto the other end of those rails. Do this for both side sections. Then set the rear panel and the two long rear rails on their backs on the bench. Slide one end of the rear rails and panel into a rear stile. Then bring the other side assembly onto the other end of the rear rail-and-panel assembly. There’s enough wiggle room to slip the shorter front rails into their mortises in the front stiles.
Trapezoidal upper case
While the shape isn’t typical, the joinery is. The upper case has mortise-and-tenon joints and frame-and-panel parts between the rails and stiles. A tongue-and-groove variation keeps the back and floor boards together, and a pintle hinge keeps the door swinging.
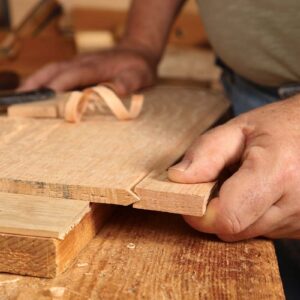
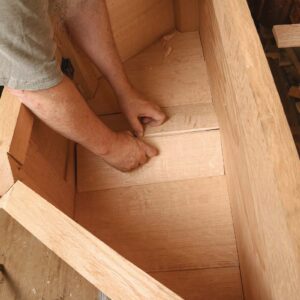
The floor of the upper case is made of thin oak boards, riven and planed ahead of time so they’re nice and dry at assembly. Their grain runs front to back, and they are scribed to fit into the trapezoidal case frame, sitting in rabbets in the front and side rails and on top of a lower rear rail. The joint between the floor boards is a V-shaped variant on a tongue-and-groove. I install the boards at each end first, then move inward toward the middle.
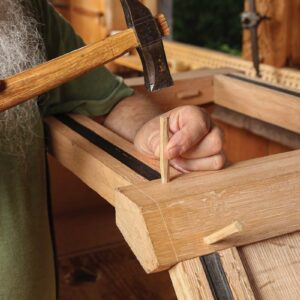
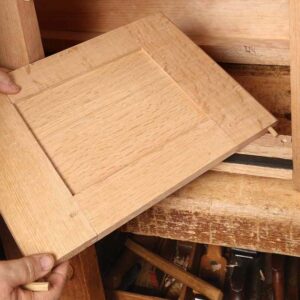
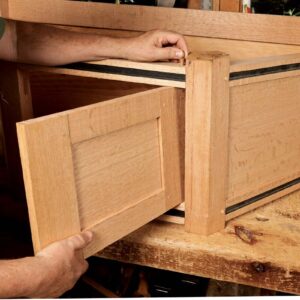
The frame-and-panel door tucks into a rabbet in the hinge stile and butts against stops set into the lock stile. Its hinges are a wooden pintle arrangement. I bored 1/2-in.-deep, 3/8-in.-dia. holes into the top and bottom of the hinge stile and corresponding holes in the top and bottom rails. The hole in the bottom rail is about 1/2 in. deep; the one in the top rail runs right through the rail. A short pin fits in the bottom of the stile; the fit should be neither tight nor loose. Tilt the door into place, then drop a longer pin through the top rail to catch the door. The door doesn’t sit parallel to the cupboard’s front frame, but slightly angled to it. Once all the moldings are applied to the door, you only notice its angled face when you go looking for it.
Moldings abound
|
|
|
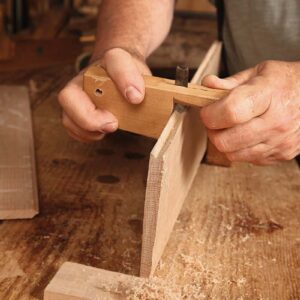
There are various moldings applied to the cupboard. Many of them are 3/8 in. thick and about 5/8 in. wide. To make those, I plane a board 3/8 in. thick and about 6 in. wide by 20 in. to 30 in. long. I lay it on a planing board with a stop, and plane a molding along one edge. I use a molding plane that Matt Bickford custom-made for me, or a scratch stock. Once the first molding is done, I rip that strip off the edge of the board, re-joint the board, and run a new molding. Repeat until the board is too narrow to hold. Then make another. The moldings need their sawn edge jointed too. A few swipes across a plane inverted in a vise finishes them off.
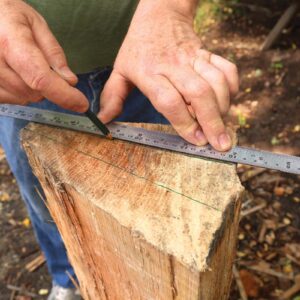
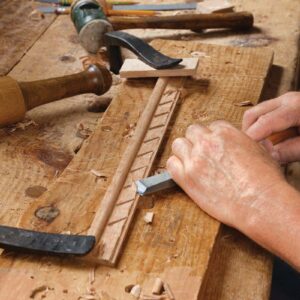
The molding located just under the lower case’s top boards has a zigzag, sawtooth decoration cut in it. I laid out the pattern with a miter square and an awl, then chopped it with a 1-in. chisel. Two vertical cuts define the triangle, then paring cuts with hand pressure remove the chips and create the sawtooth motif. Some period versions of this have the proud teeth painted black.
Applied turnings
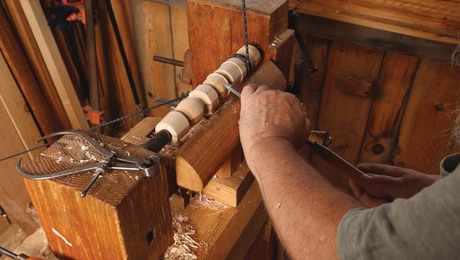
There’s a lot of turned work on the cupboard. I use a pole lathe; the action is provided by a foot-treadle below and a 12-ft.-long sapling in the ceiling above. A cord tied to the sapling wraps around the workpiece and runs down to the treadle. Each kick of the treadle spins the turning toward the tool, then the pole springs it backward. Then comes another kick. I often reserve a short section on the turning as the place the cord wraps around.
Watch Peter turn a spindle from start to finish:
On the pole lathe there’s no drive center; the work spins on two iron points. If you were to glue up your blank the way most modern turners do, fixing it between the lathe’s points could split it along the glueline. To get around this, I glue up a pair of maple blanks with a 3/16-in.-thick center strip between them. The lathe’s points engage the sacrificial center strip. It’s a job for hide glue because you need to be able to take the pieces apart once they’ve been turned. When the turning is done, I steam it over a pot of boiling water to soften the hide glue. Once it’s loose, you can slide a putty knife in there to separate the turnings from the center strip. It’s like magic.
Lower case comes together
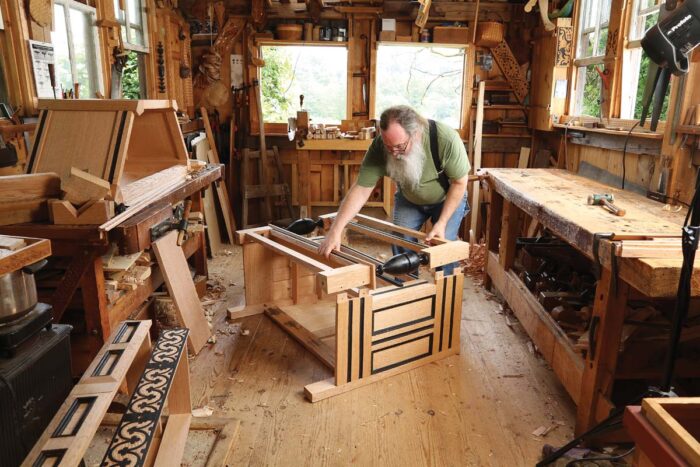
By the time I’m ready to assemble the lower case, it’s been through several test fits. I begin by setting the bottom drawer frame: two thick stiles/blocks connected by a rail and with a thin narrow shelf on top of them. Then I fit the turned pillars’ bottom tenons into holes I’ve bored in that shelf. A similar unit that creates the top drawer frame then drops down onto the pillars’ upper tenons. The rear section (an assembled frame-and-panel) is laid down on its back. I insert the side frames and panels into the rear stiles, then wrestle the front section onto the tenons of the side rails. It would go even easier with a helper, but I’ve stubbornly done it myself again and again.
Paint adds contrast
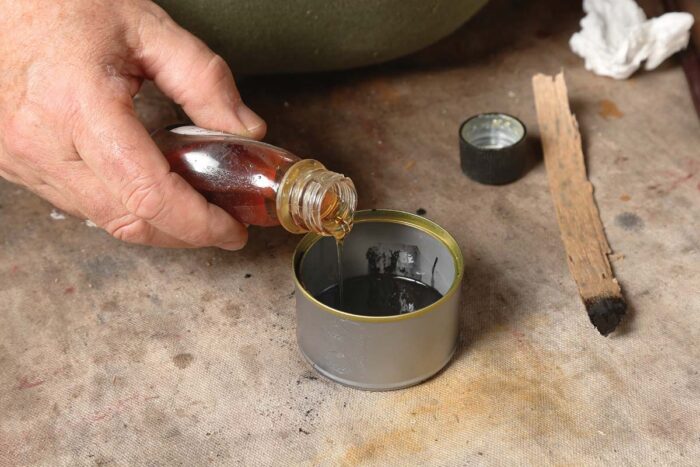
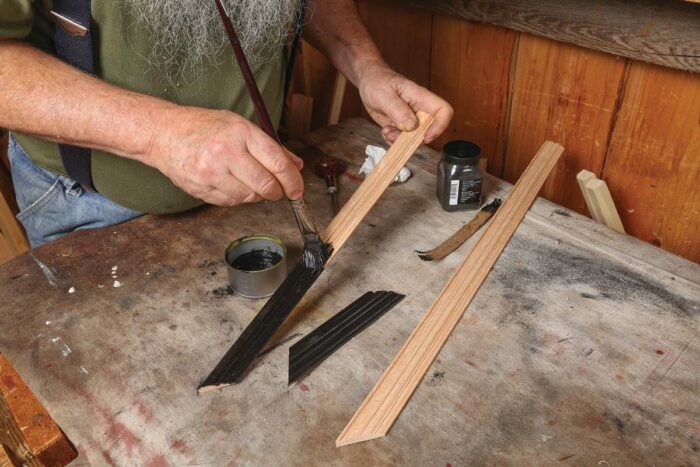
Period paints were made with pigments mixed in linseed oil, with lead added mostly as a drier. I use linseed oil, citrus thinner, and some artist’s drying medium. Into that I mix dry lampblack pigment. I usually mix it together in small batches with a brush; today’s pigments are mixed so fine that they dissolve easily. Thin coats are best; I did two coats on the turnings and moldings.
The applied decoration on the angled upper side panels is a faux-architectural tour-de-force: three turned arches across the top with pendants and molded pillars. Small maple keystones and imposts break up the arches. Turned ovals and circles accent each transition. Each panel has nearly 50 pieces fixed to it to create the design. They’re glued on with hot hide glue, and some have small iron sprigs (headless brads) fastening them as well. I think the sprigs just hold the pieces in place while the glue sets. Rather than have a blacksmith make the sprigs, I clipped the heads off the smallest cut nails I could get. They just about disappear against the black paint. Flanking the panel are large applied turnings on the faces of the stiles, glued and sprigged in place.
Ornamentation becomes the focal point
The contrasting moldings and turnings are purely decorative. They are all glued in place, and the turned pieces also get tacked in place.
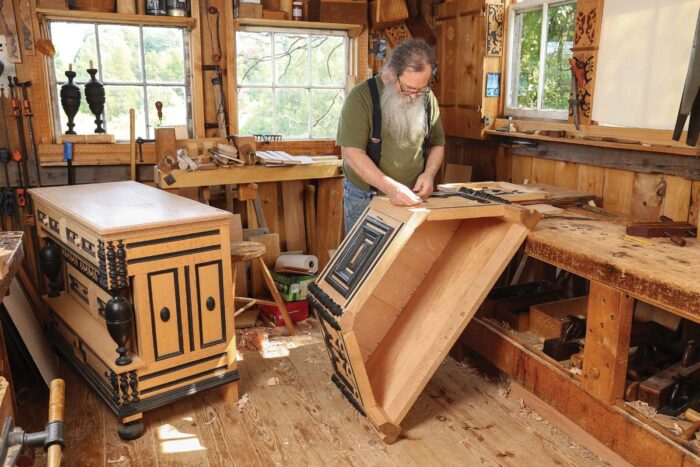
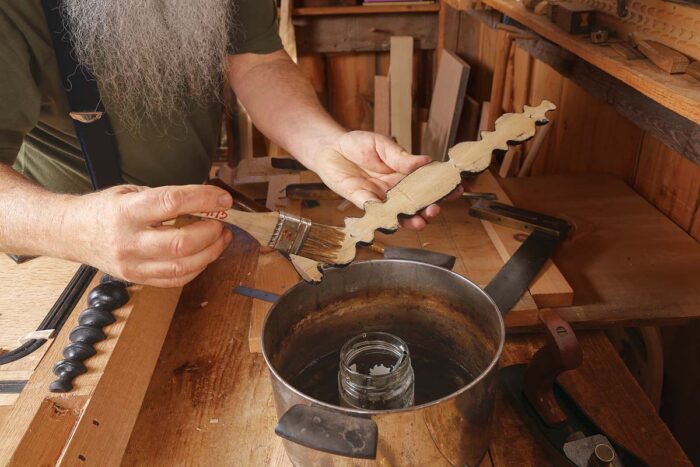
key is to keep the glue warm as you work.
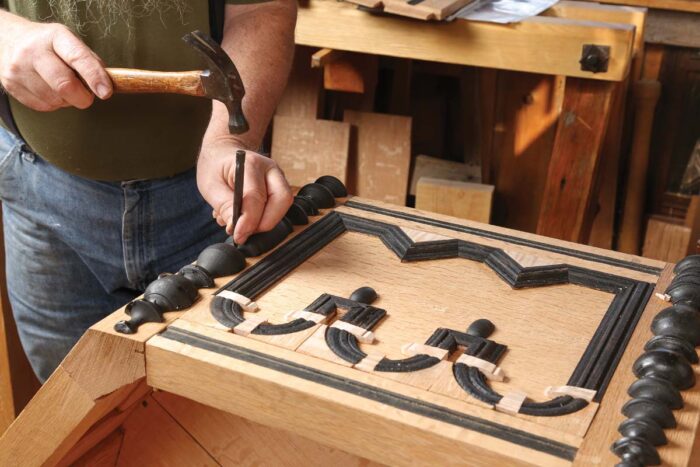
Connect the two cases
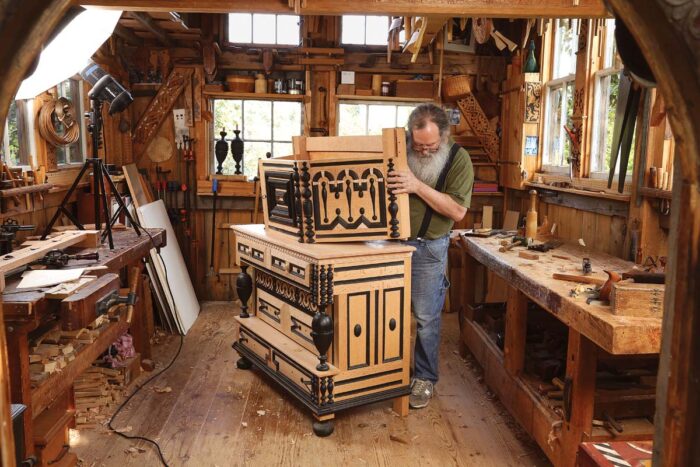
The upper case just sits on the lower case’s top boards. A short rectangular tenon at the bottom of each rear stile drops into a corresponding mortise chopped in the top boards. After the main trapezoidal cupboard section is in place, the rectangular cornice connects to the rear stiles with a mortise and tenon. And the front pillars support the front overhang. The tenons of those pillars fit round holes bored near the front corners of the lower case’s top. Gravity keeps it in place. It’s heavy enough to stay put.
-Peter Follansbee, author of Joiner’s Work (Lost Art Press, 2019), does his woodworking in Kingston, Mass.
Sign up for eletters today and get the latest techniques and how-to from Fine Woodworking, plus special offers.
Download FREE PDF
when you enter your email address below.

