How to build your own speakers
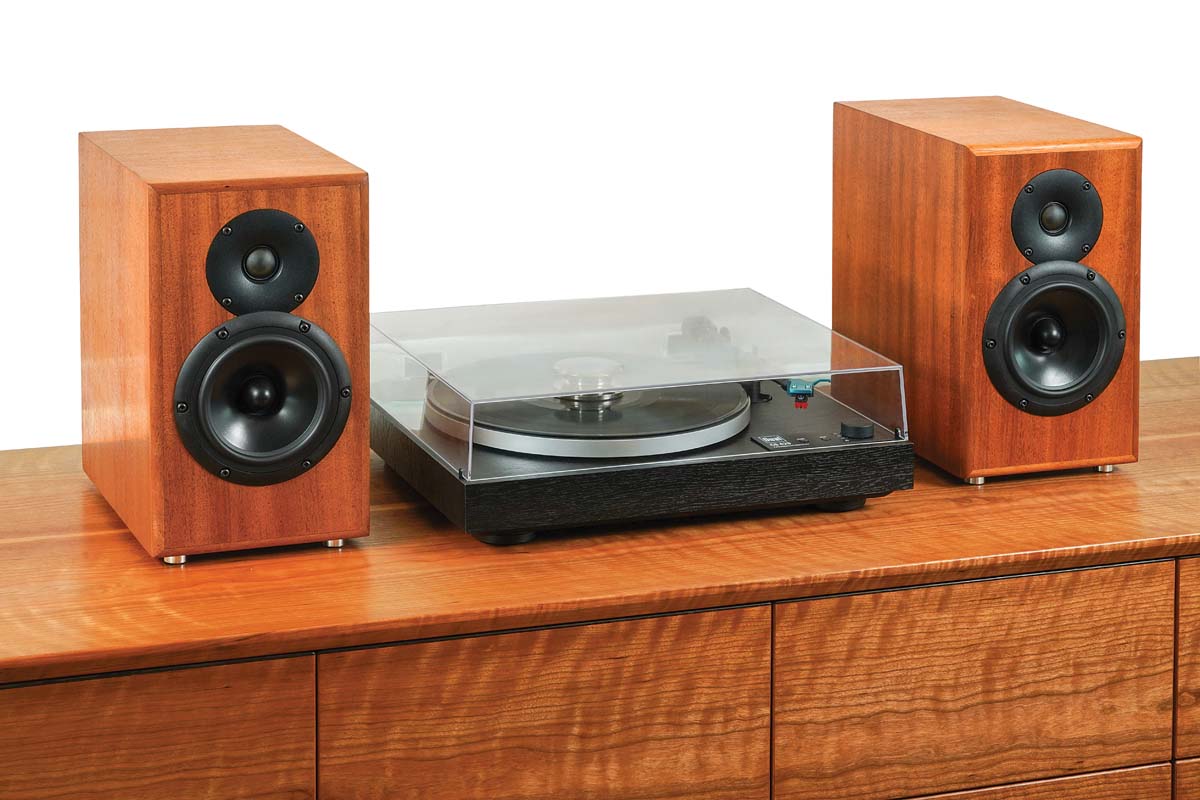
Unlike most woodworking projects, speakers require a knowledge of audio components and a specific approach to material selection and joinery. If you choose to make your own speakers, though, you’ll end up with superior performance at a much lower cost than if you buy them off the shelf. And they will be much more attractive. Follow along as Andrew Gibson tells you what you need to know, from the specific components you need to the ins and outs of designing for the best sound.
As a furniture maker and luthier with a passion for music, I’ve had a lot of fun building my own audio components, especially speakers. These projects have given me the chance to learn a number of new skills and concepts. Speakers require a unique approach to material selection, airtight joinery, and careful soldering.
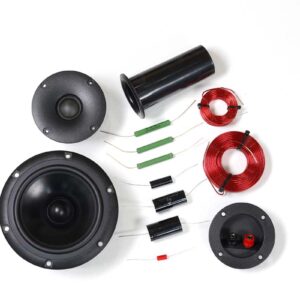
What makes these high-end DIY speakers possible is the range of retailers selling excellent parts kits. These kits include the speakers themselves (drivers) and all of the electrical/electronic parts you’ll need, along with detailed instructions on how to assemble them and build the boxes. My favorite retailers include DIY Sound Group, GR-Research, and Parts Express.
The kits we chose for this article include only the electrical components, leaving the customers to build the boxes. While many companies also offer precut box parts, to be glued up and finished as desired, those take away part of the fun for me.
Go with a parts kit
If you have a deep interest in electronics and acoustics, you can select and purchase the drivers, crossovers, wires, capacitors, and other electronics separately. For most of us, however, a high-quality parts kit is the way to go. These ensure that components are matched properly, and they include instructions for a properly designed speaker box, another critical component.
More sound for less—I’ve built a number of speakers using parts kits like the ones cited below, and in each case the speakers I built perform much better than premade speakers sold at a similar cost.
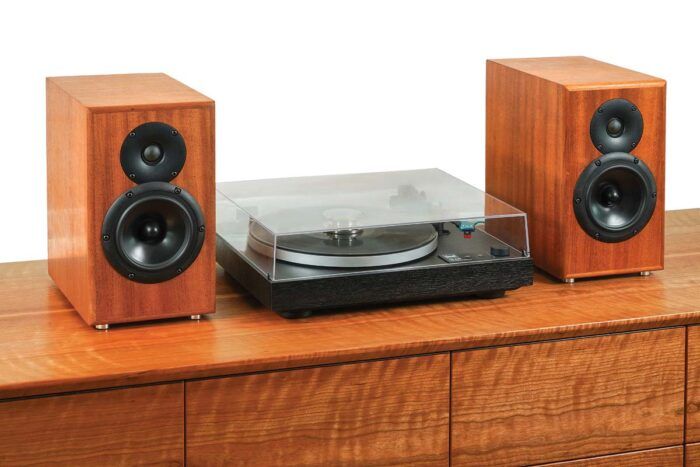
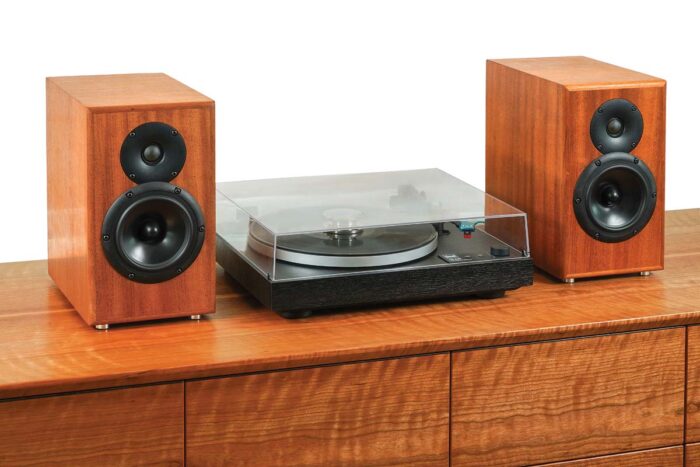
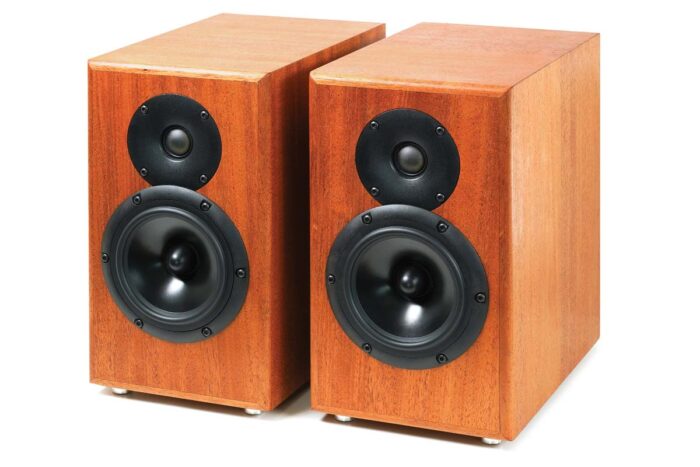
For example, to get audio quality similar to that produced by the high-end bookshelf speakers featured in this article—built using a $400 component kit from GR-Research—you would likely need to spend $1,000 or more on off-the-shelf speakers. In fact, that’s what GR-Research charges for a completed pair using the same kit.
While there are even higher-level kits available, priced into the thousands for true audiophiles, the X-Bravo kit I used produces speakers that pair well with high-end audio components and/or a home-entertainment system.
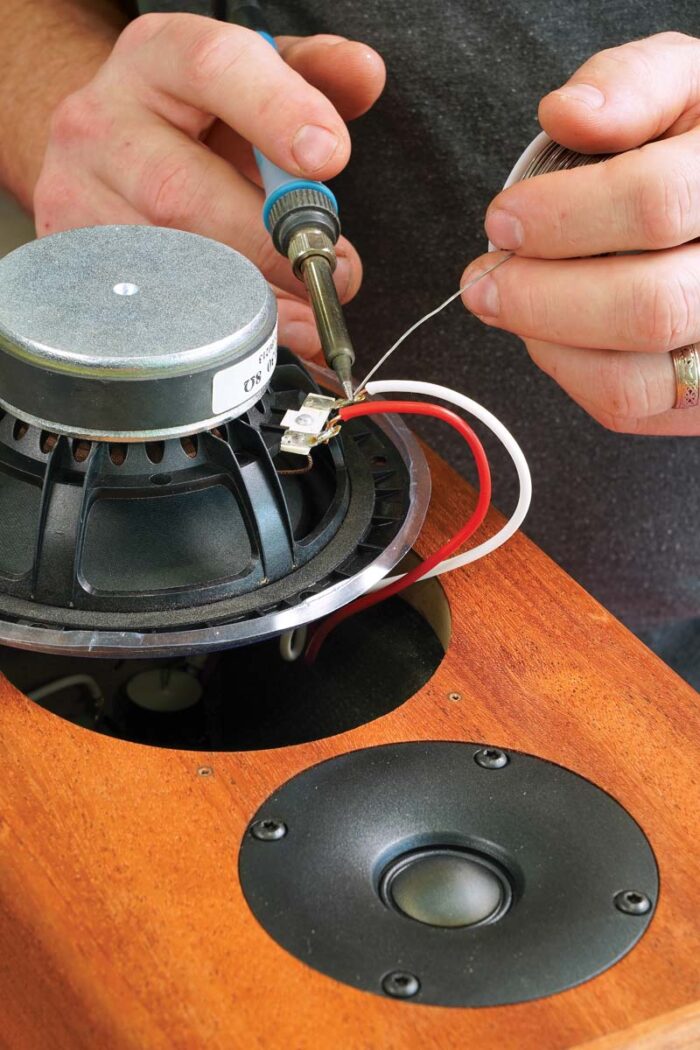
With all but the most basic speaker kits, some soldering is involved. But don’t be intimidated; this type of soldering requires very simple tools and is easy to learn.
Solid construction approach for most speakers
Because the electronic components in these kits have been carefully matched to each other, we don’t have to worry about their design or compatibility. But the speaker boxes are another story.
I went with the exact internal sizes recommended by the designers who put the parts kits together. I also followed some of their recommendations for materials and joinery. That still left me plenty of room to add custom touches that make the speakers look like fine woodworking.
Whether custom-built or purchased, speaker boxes need to be airtight. That’s difficult to do with solid wood, which shrinks and expands. The boxes also need to be strong and stiff. If a box resonates like a guitar, it will absorb some of the drivers’ energy and cause distortion.
To build airtight boxes with as little resonance as possible, I used MDF covered with shopsawn veneer. MDF is an ideal substrate for veneering, and it has great acoustic properties for speakers. Luckily, our speakers are small enough that normal clamps, used in conjunction with MDF clamping cauls, will work great for applying the veneer. So you won’t need a vacuum bag.
Veneer the panels
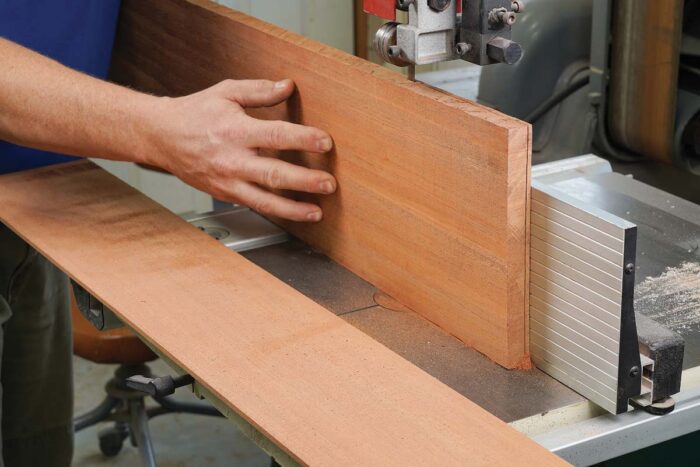
Use a fresh blade, at least 3⁄8 in. wide, with three or fewer teeth per inch, and center it on the upper wheel. Saw the veneers a little over 1⁄8 in. thick.
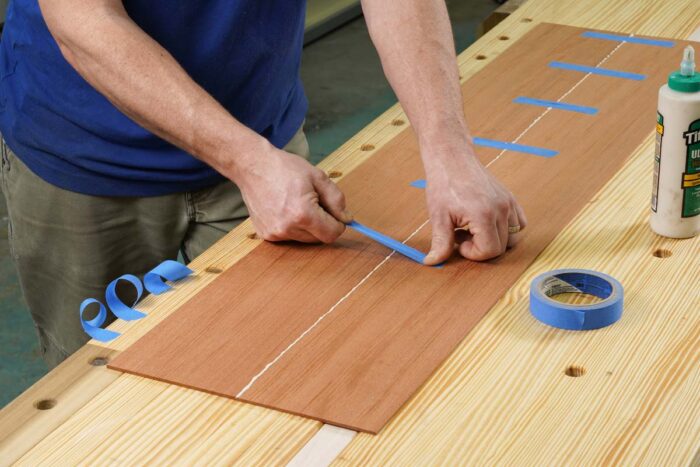
To create wider veneers, join strips. Stretch blue tape across one side of the joint, fold the joint open, spread glue on the edges, fold the panel flat again, and then stretch tape across the other side.
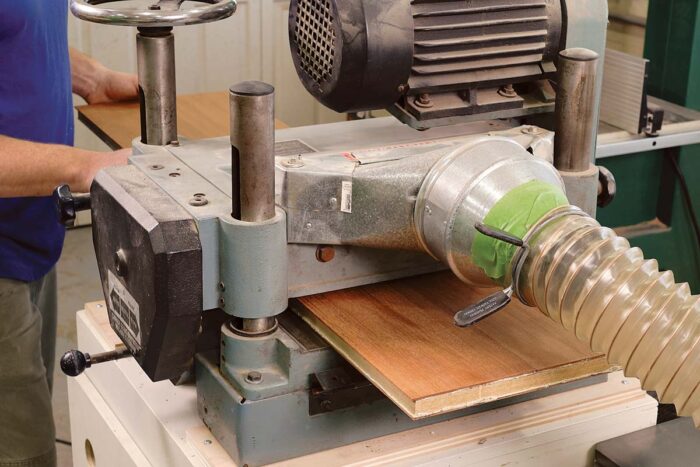
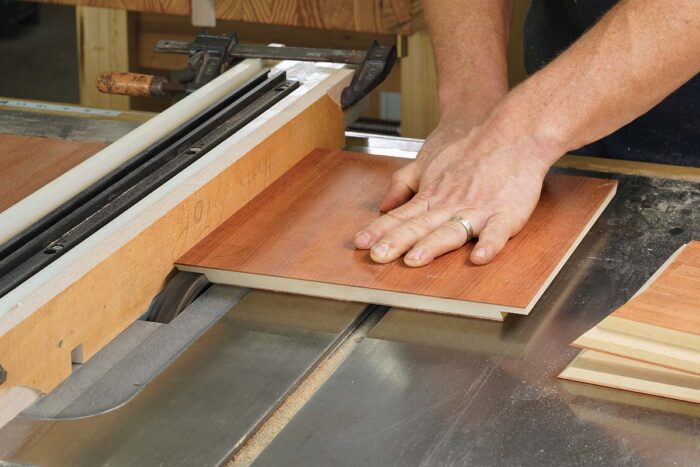
After the glue has cured, plane both sides evenly, bringing the panel down to 7⁄8 in. thick in the process. Use the table saw to clean up the edges.
Build the box parts
To join the veneered parts, I prefer mitered corners with glued-in front and back panels. The mitered corners join the veneered parts seamlessly, and the MDF substrate lets me glue the front and back panels into rabbets or grooves without having to worry about expansion.
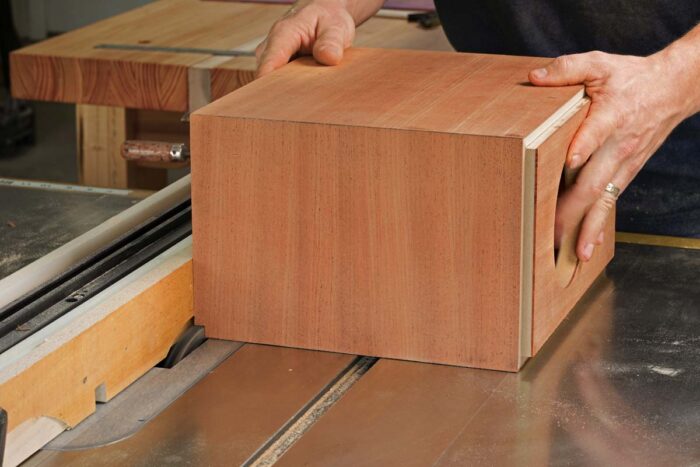
Cut the parts to exact size, and use a crosscut sled to cut the miters. Use a stop block to ensure that the cuts end right at the edges of the workpiece.
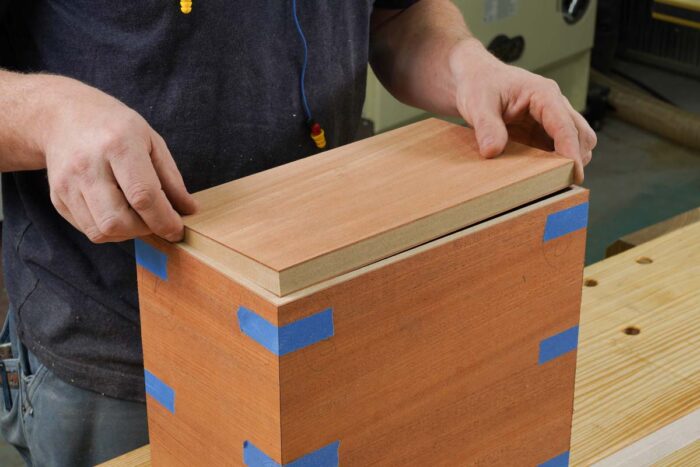
Dry-fit the sides with blue tape, and trim the front and back panels until they drop into their rabbets.
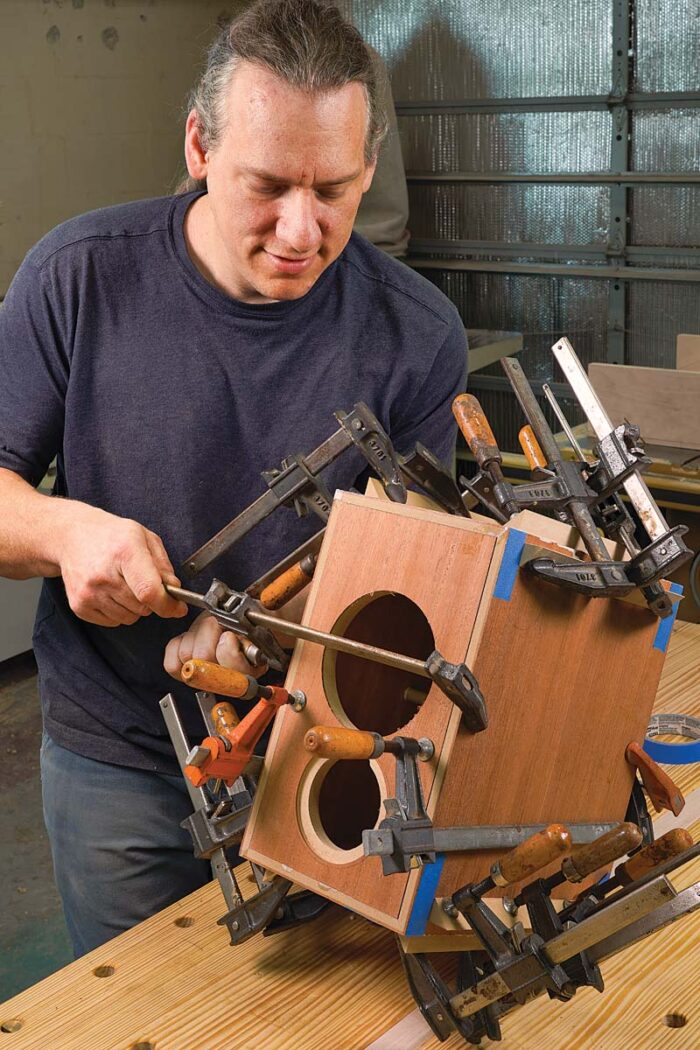
To assemble the miter joints, I glued on angled clamping blocks, which I sawed and sanded off after assembly. It would have been easy to sand through thin veneers, but that danger was eliminated with shopsawn veneers.
Cut the openings
The front and back panels need openings of various shapes, depending on the speaker design. If you can’t cut them with a Forstner drill bit, use a router and template to do the job.
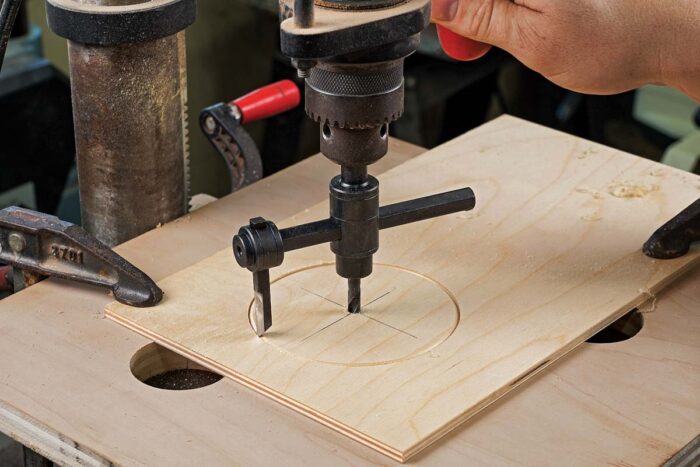
Make a template for the driver holes. Drivers need large holes, sometimes rabbeted. Use a circle cutter in the drill press to make templates, factoring in the offset between the router bit and the guide bushing you’ll be using.
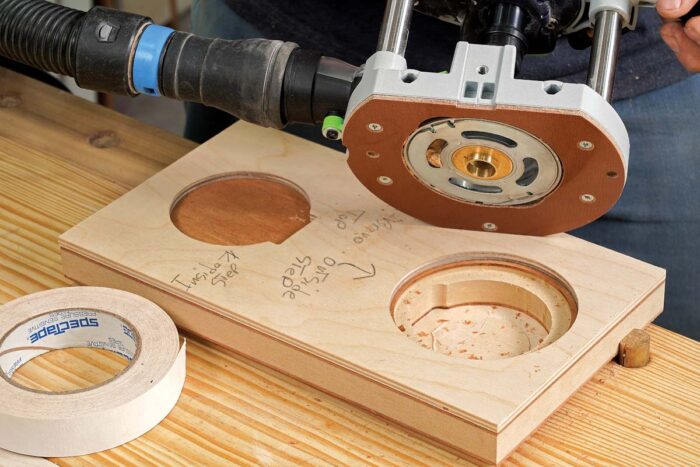
The smaller driver needs a rabbeted hole, which is notched. So this template has two different circles for routing the same driver hole. Place a sacrificial board under the workpiece, and use double-stick tape to attach the template in each position.
Finish up the box
After the box is glued up, the front and back edges are rabbeted to accept solid-wood strips, which are rounded on the router table.
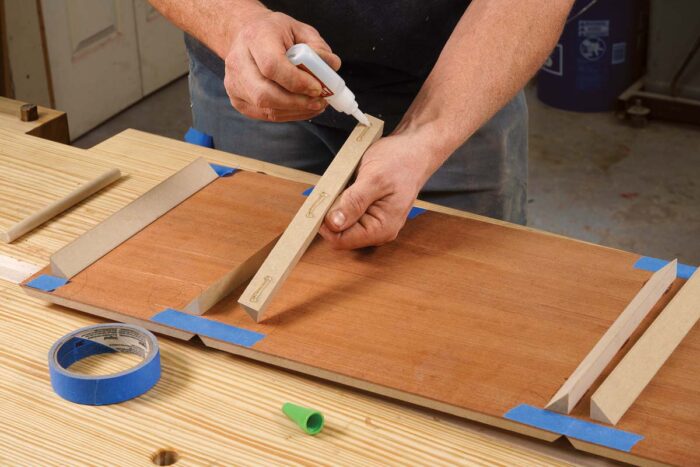
After stretching blue tape across the joints, Gibson uses CA glue to attach 45° MDF blocks. Hold each one in place for 15 seconds before moving on.
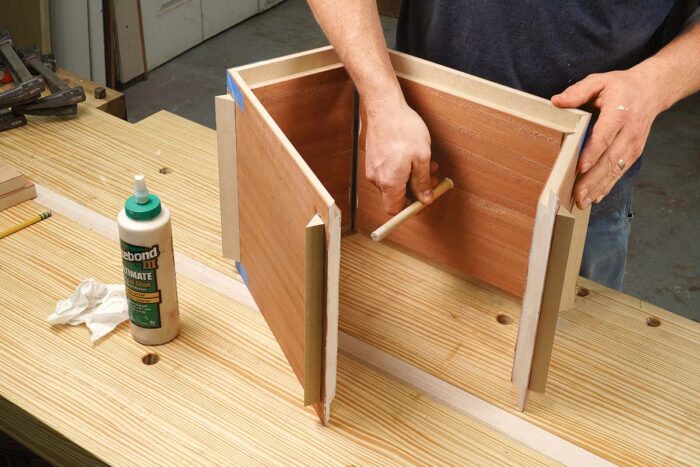
To stiffen the box, the X-Bravo design includes a dowel that connects one side to the other. Drill for this dowel ahead of time, and insert it during assembly.
Spread yellow glue on the miter joints, close up the box, and tape the last corner closed. Then spread glue in the rabbets, add the front and back panels, and clamp lightly across the miter joints. Add more clamps to tighten the panels in their rabbets.
After assembly, the front and back edges get a 3⁄8-in.-square rabbet for solid corner strips.
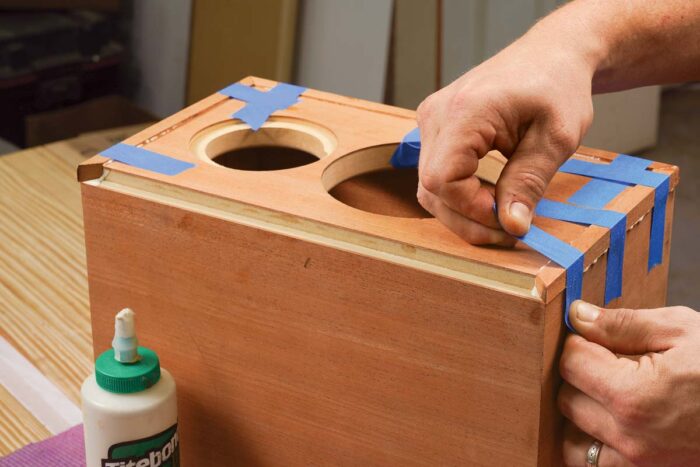
Glue in the corner strips. These are cut a bit thicker than 3⁄8 in. Dry-fit them to dial in the miter joints, and attach them with glue and blue tape.
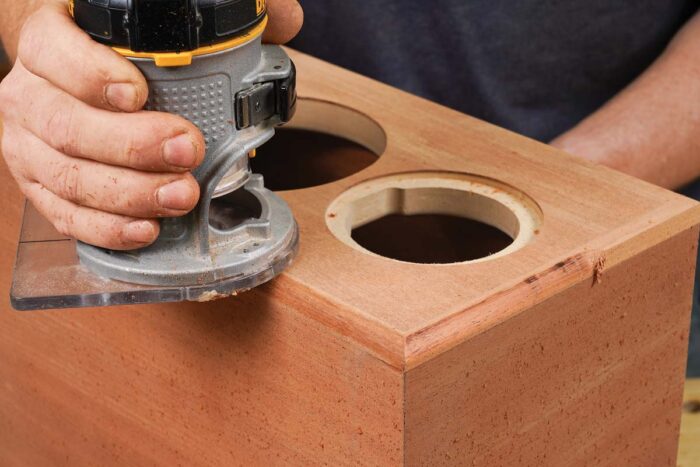
After the glue dries, plane and/or sand the strips flush, and use a 3⁄8-in. roundover bit to round them.
Build the crossover
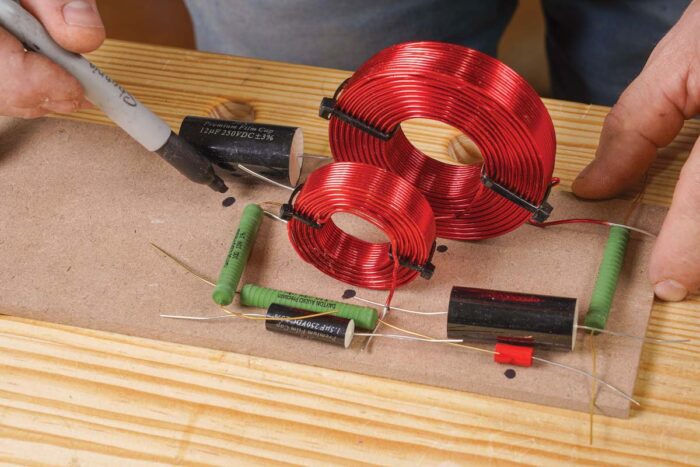
Cut a piece of 1⁄4-in. MDF narrow enough to fit into the large driver hole, and read the X-Bravo instructions to understand how the parts should be arranged and connected. Position the parts as tightly as possible, and mark and drill holes for zip ties.
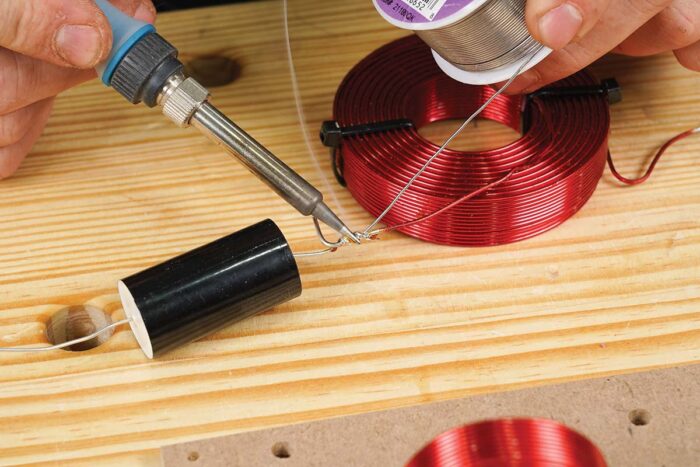
Twist the wires as shown, add flux, and solder the joints. The solder should flow along the entire joint. Check the opposite page for more soldering advice.
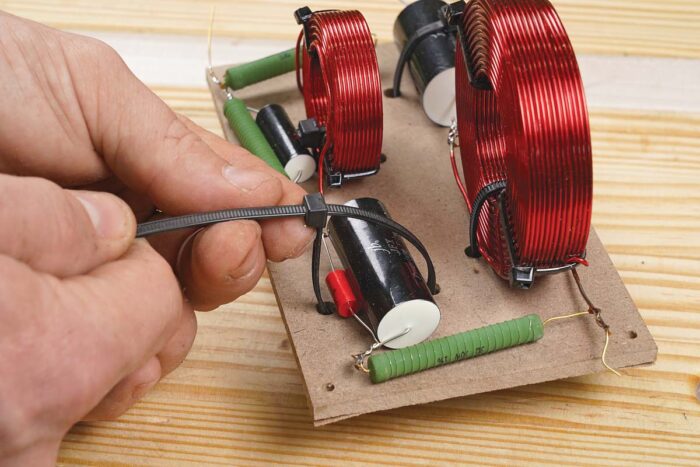
Once their joints are soldered, lock down the main parts with zip ties that pass through holes in the base board.
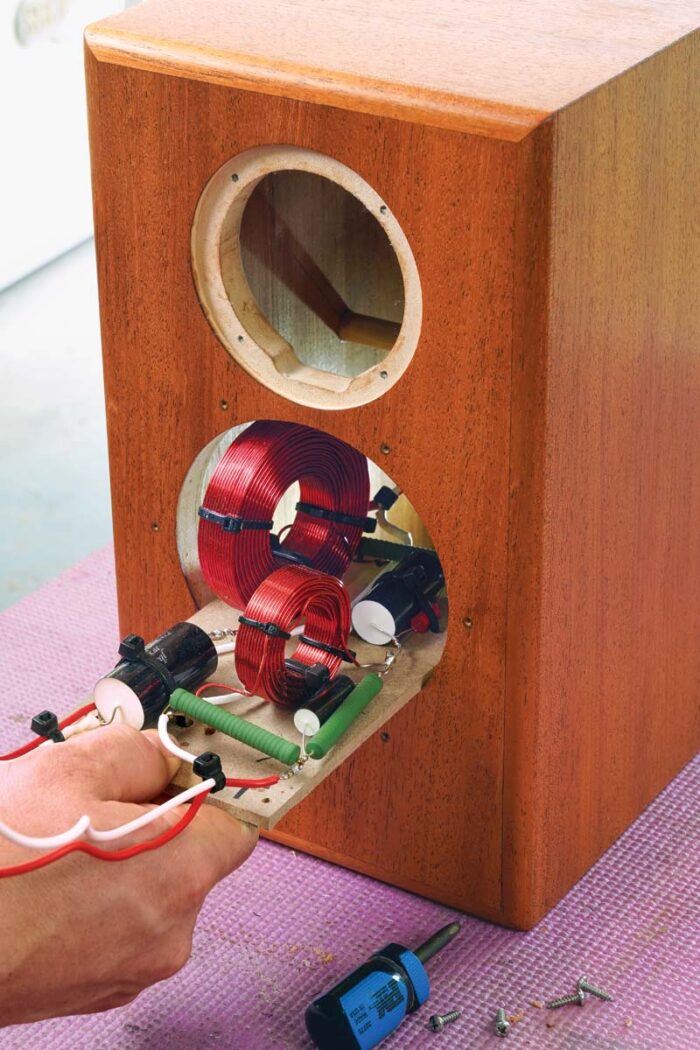
The panel slips through the larger driver hole and is screwed to the bottom of the speaker box.
Finishing touches
Once the boxes and crossovers are done, the rest is easy.
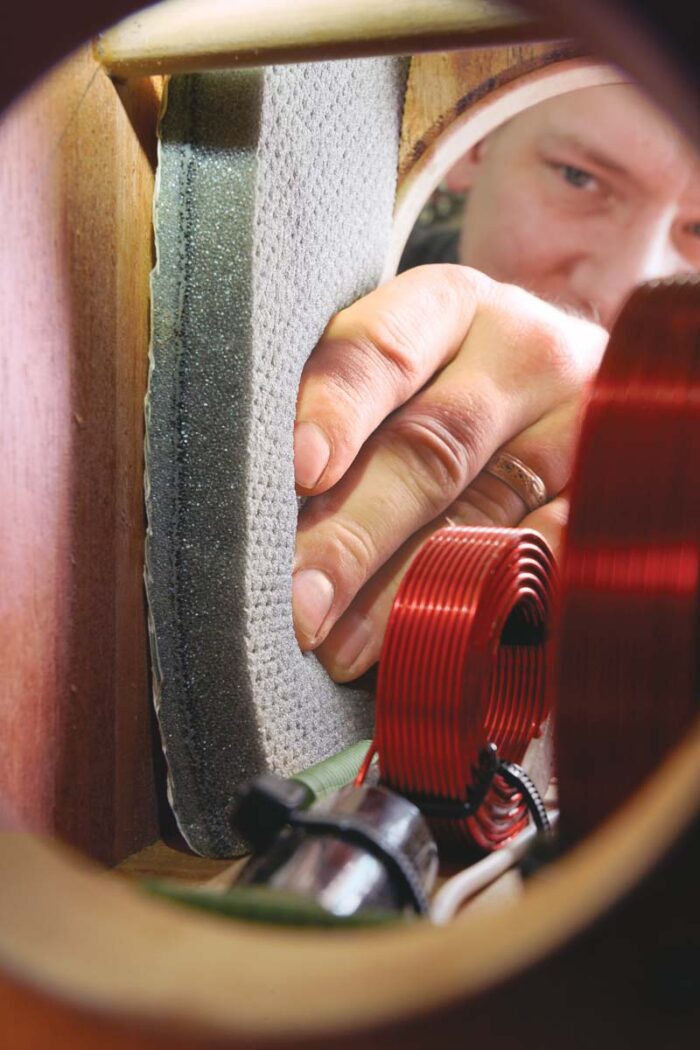
This self-adhesive acoustic foam (from Parts Express) lines the box to prevent echoes
inside. It’s easiest to position the pieces with the backer attached and then peel it off with the
pieces in place.
Leave the speaker wires extralong, and solder them to the drivers. Then screw the drivers carefully in place. Drill pilot holes to help you avoid slipping with the screwdriver and puncturing the driver cones.
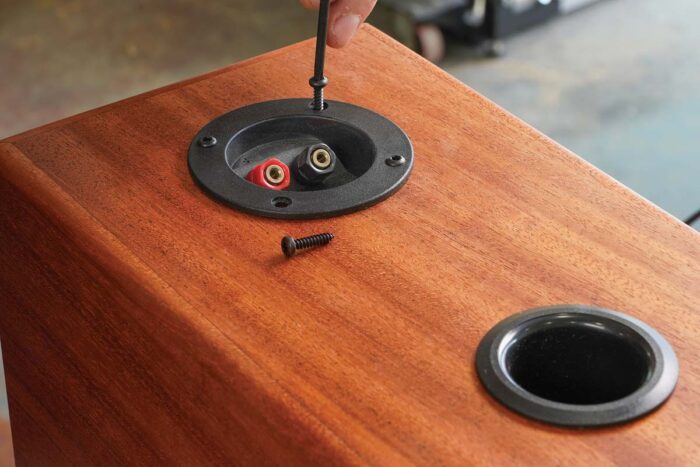
The port is simply pressed into its hole, and the speaker-wire cup is screwed in place.
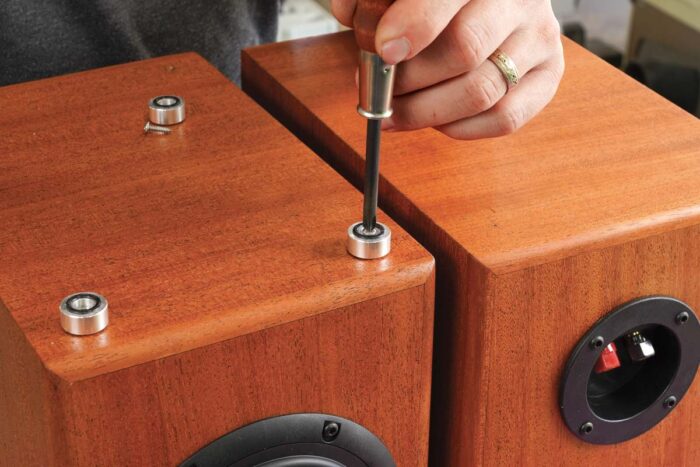
Self-adhesive felt circles are all it takes to keep speakers from rattling, but these speaker feet look and perform even better.
 |
 |
-Andrew Gibson is an instructor at the Florida School of Woodwork in Tampa, Fla.
Sign up for eletters today and get the latest techniques and how-to from Fine Woodworking, plus special offers.
Download FREE PDF
when you enter your email address below.

