Machinist’s Tools in the Woodshop

Calipers, dial indicators, and height gauges are typically thought of as machinist’s instruments, but they also happen to be extremely effective in a woodshop. Simple to use yet capable of accurately measuring to thousandths of an inch, they are superb not only for tuning machines but also for setting fences and bit heights, assessing blade squareness and bit runout, measuring tenon and mortise sizes, and establishing workpiece thickness.
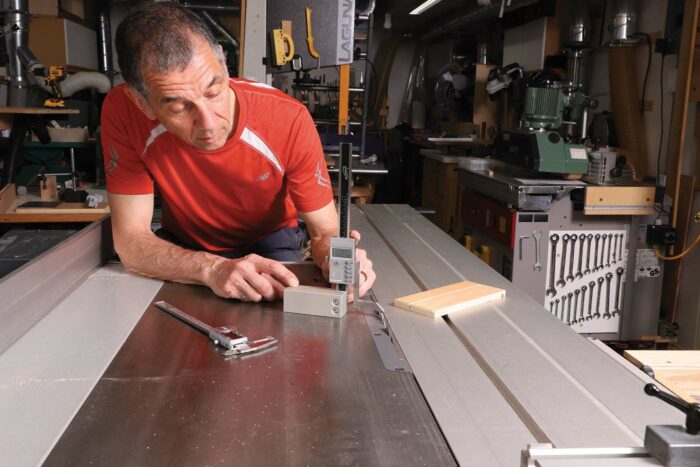
Some may argue that using machinist’s tools for working wood is overkill because wood moves, but I disagree. The difference between a joint that fits properly and one that’s too loose is only a few thousandths of an inch. Jointer tables that are slightly misaligned and saw cuts that are slightly out of square lead to twisted faces and edges that can make edge-gluing and joinery difficult. Use calipers, dial indicators, and height gauges, and you can avoid these problems. And you don’t have to spend a fortune to raise the level of precision in your shop, since inexpensive versions of each of these tools are available.
Calipers
 |
 |
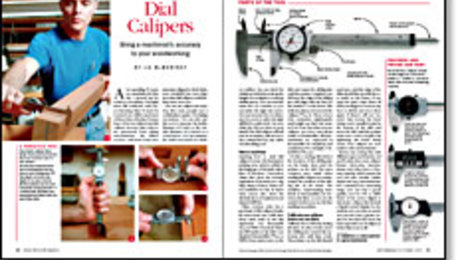
Calipers measure in four ways, and using them is a snap in all four modes. They’ve got two sets of jaws. The large ones take outside measurements like the thickness of a tenon or the diameter of a drill bit; the smaller set is used for inside measurements like the width of a mortise or the diameter of a hole.
To measure depth, you use the thin bar that extends from the calipers when you open the jaws. With the bar bottomed out in a hole or mortise and the end of the calipers’ body contacting the surface of the workpiece, you’ll have your depth reading.
The fourth type of measurement you can take with calipers—and one that’s often overlooked—utilizes the offset, or step, between the tool’s fixed and moving jaws. This works to measure such things as the length of a tenon or the depth of a rabbet.
You can choose between three styles of calipers: vernier, dial, and digital. Each type performs the same measurement operations, but I prefer digital calipers since they offer a few more options. With the press of a button, you can toggle between imperial and metric measurements, and some models even offer fractions as an option. In addition, you can zero-out digital calipers at any value if you want to take a differential measurement.
Digital depth stop for the drill press
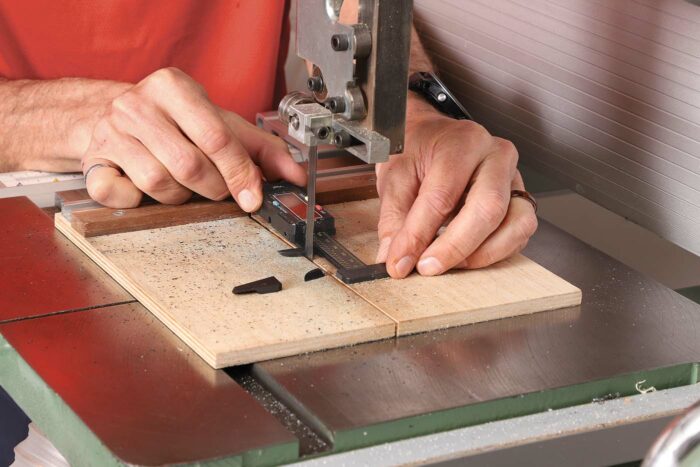
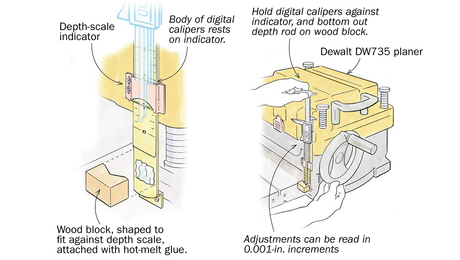
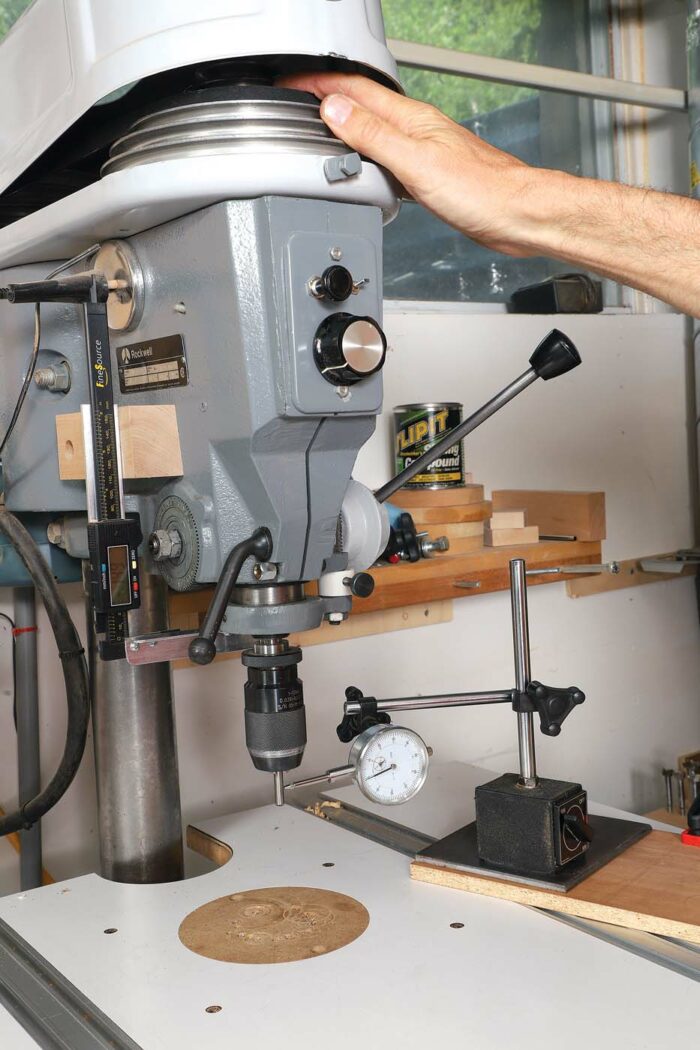
I modified an inexpensive pair of plastic digital calipers to make a depth gauge for my drill press. I started by cutting off both of the calipers’ small jaws as well as the large jaw that’s attached to the digital readout. After bolting a block of wood to the drill press and screwing a piece of aluminum angle to the block, I attached the back of the digital readout to the aluminum angle with double-stick tape. I attached a second piece of aluminum to the quill of the drill press and bolted the one remaining jaw to that. As the quill moves up and down, the large jaw moves with it while the digital readout remains stationary and displays the position of the bit.
|
|
|
Dial indicators
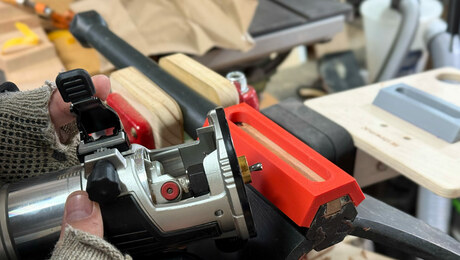
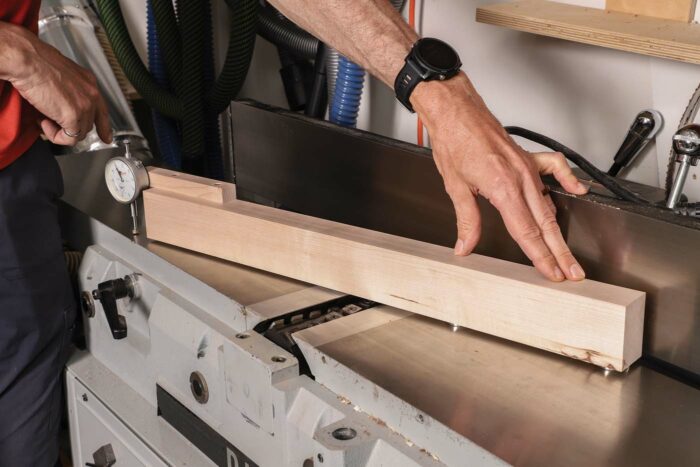
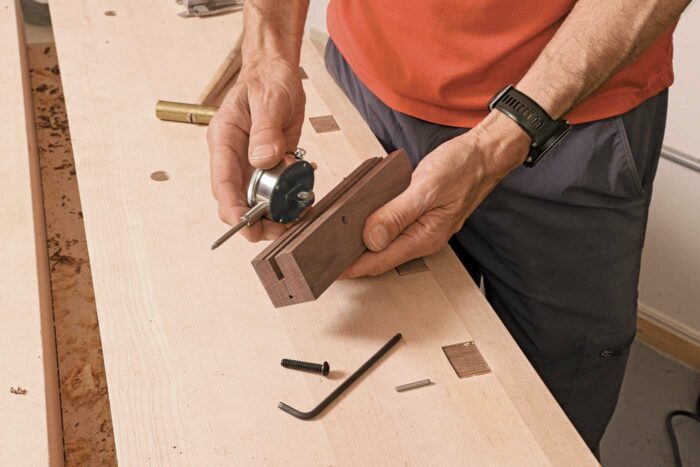
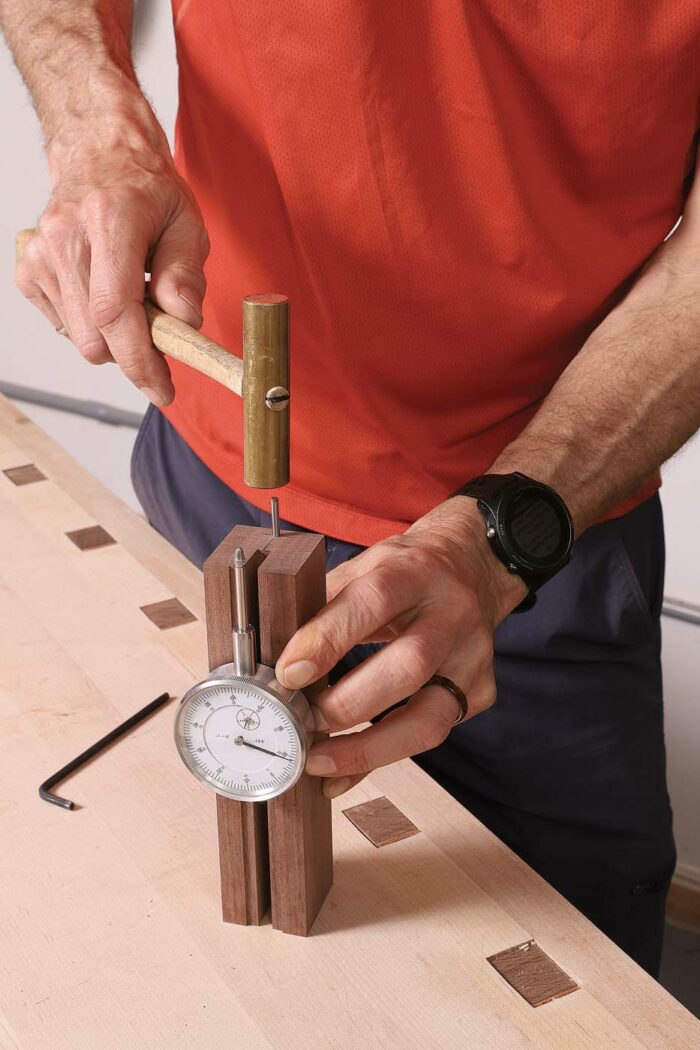
Dial indicators enable you to take accurate measurements in a wide array of situations. They need to be mounted in a holder for most applications, so you may want to consider buying a base together with the indicator. You can also make specialized holders yourself, and a few that I’ve made are shown in the photos.
There are different styles and resolutions of dial indicators, the most common being a plunge type with 1 in. of travel and a resolution of 0.001 in. (The comparable metric version has 10mm of travel and a resolution of 0.01mm.) Analog and digital dial indicators are available, and they both work well. I prefer the analog version for most uses, since I find it easier to gauge how far a needle is rotating than how fast numbers are flying by on a digital readout.
|
|
|
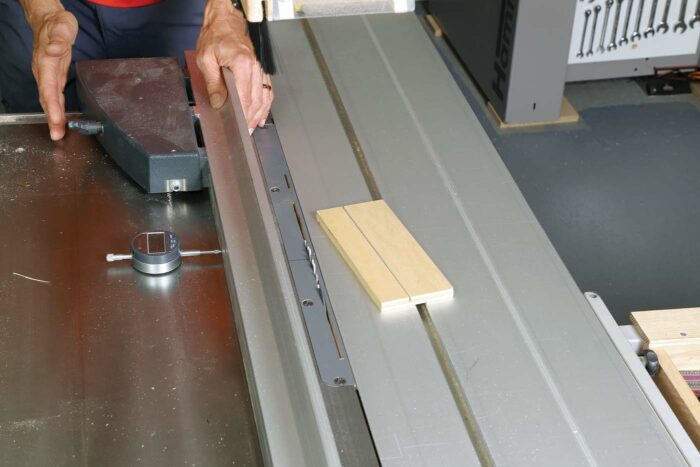
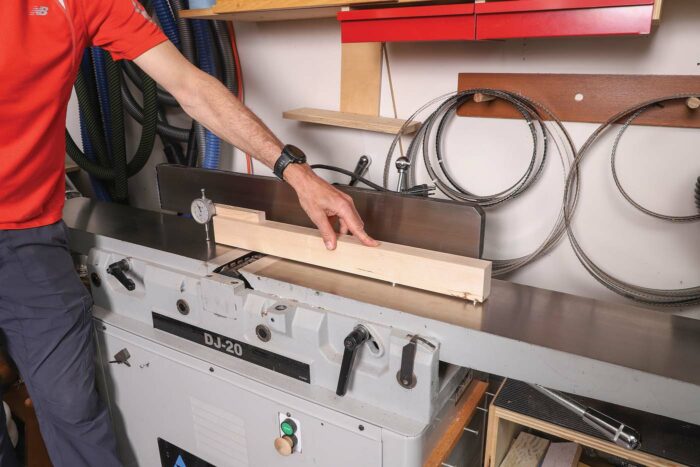
Dial indicators work well for making precise and controlled adjustments to the fence on a router table, drill press, or table saw. This is useful when you’re cutting a groove, for instance, and after making the first pass you need to reset the fence slightly. I’ve attached magnets to the back of a digital dial indicator, and I use it any time I need to make small adjustments to my table-saw fence. If you have a router table with a fence that does not remain parallel as it is moved, you can still use a dial indicator to make precise adjustments. Mount the indicator on a piece of ply and clamp that to the router table with the probe touching the fence directly above the router bit. With one end of the fence locked in position, it’s a simple matter to pivot the other end until the indicator reads the correct offset from the starting location.
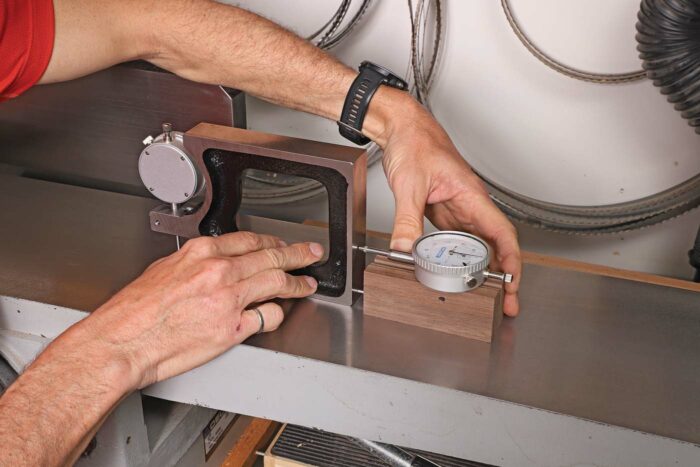
Shopmade precision square
For assessing 90°, a shopmade square is sometimes the best option.
 |
 |
 |
| Superb square for special cases. When you’re bringing a bandsaw’s table back to 90°, it can be difficult to read the gap between an ordinary square and the bandsaw blade. This device solves that problem. It’s equally useful at the table saw, where the blade’s teeth can be in the way of a square, and at the jointer when returning the fence to 90°. | ||
Make a long base for leveling
 |
 |
|
|
||

Height gauge
A digital or analog height gauge is the perfect tool to set the height of a router bit or a table-saw blade. The process is simple. If I need to rout a groove that is exactly 3/8 in. deep, for example, I first zero out the gauge on the surface of the router table. Next, with the router bit slightly lower than final height, I position the probe so it is touching the top of the bit. I then raise the bit, while holding the base of the gauge flat on the table, until it reads 0.375 in. Now I’m ready to rout.
Incremental height adjustments are easily made using the zero button on a digital height gauge. Lower the probe onto the top of the blade or bit and zero out the display before adjusting the cutter up or down until you get the desired offset. If you need to lower the blade or bit, it’s best to go lower than required and then raise the cutter to the desired height. This avoids errors due to backlash in the raise/lower mechanism.
The more that you use these machinist’s instruments, the more applications you will find for them in your woodshop.
-David Bedrosian works wood in his basement workshop in Waterloo, Ont., Canada.
Sign up for eletters today and get the latest techniques and how-to from Fine Woodworking, plus special offers.


