Mobile Table Saw Outfeed Table Packs In Storage
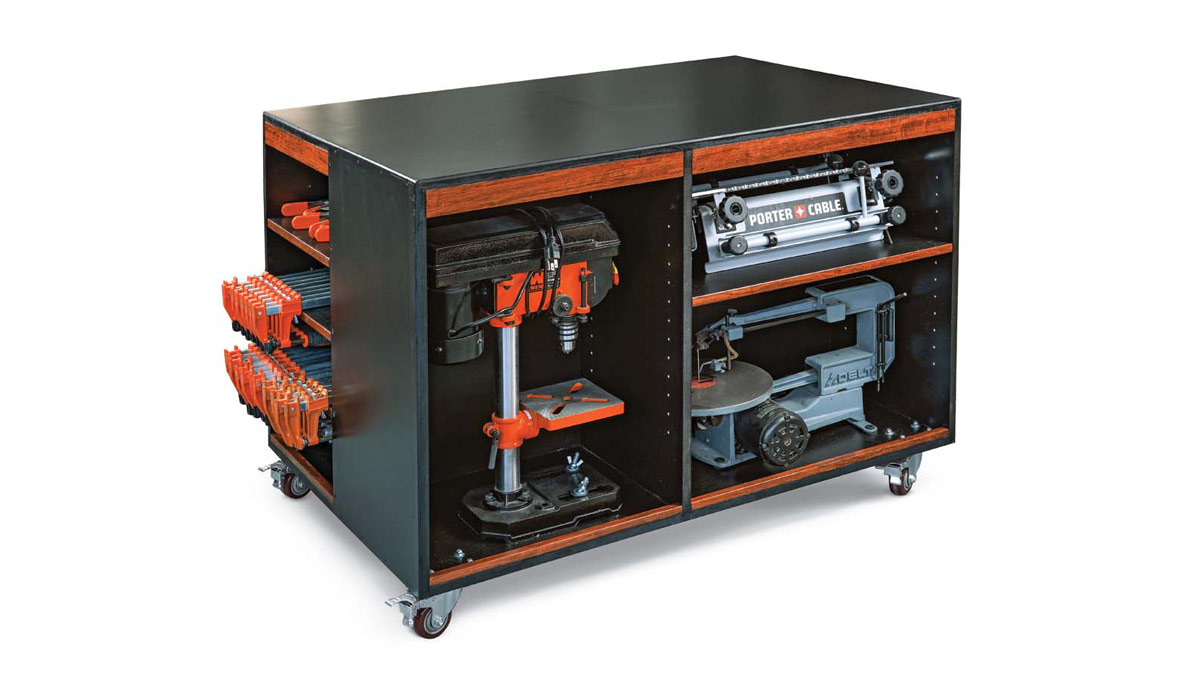
Synopsis: After Carl Spencer sold his cabinet business and moved across the country, he had to fit a new woodworking setup in a single bay of a garage. A key strategy of his design was to put all of his equipment on wheels. In this article, he demonstrates how he built a cabinet that houses clamps and benchtop tools and that serves as an outfeed table for his table saw. Because it’s on wheels, it can support both ripcuts and crosscuts. Made of MDF, the cabinet has solid-wood edging and a laminate top.
When I sold my cabinet business in Washington State and moved to a small town outside Nashville, my personal woodworking setup downsized from a 10,000-sq.-ft. industrial shop to a single bay in a garage. So I put all of my equipment on wheels, which lets me move the cars out of the rest of the garage and expand my woodshop as needed.
One thing I missed from my industrial shop was the large outfeed table that wrapped around the cabinet saw, supporting ripcuts and crosscuts on material of any size. I realized that my best equivalent in the new space would be a mobile version of that table, with storage underneath it.
While alternatives exist that are more compact than a big table or cabinet for outfeed support, they tend to fall short for me. Roller stands can be awkward to set up and use. And folding extensions that attach to the back of the saw are limited in length by the height of the saw table.
This compact mobile outfeed table is just the right size for the job, but no bigger. Assembled with dadoes, rabbets, glue, and screws, it is easy to build yet very strong and functional.
The cabinet is set on smooth-rolling casters, so the 32-in.-wide top can be placed behind the saw to support both sides of a large panel cut, or placed beside the saw for long crosscuts. And its 48-in. length will support the longest boards I rip. That said, feel free to adapt these dimensions to suit your circumstances.
I decided to paint the cabinet black to match my SawStop cabinet saw, completing the look with black laminate on top. The laminate is not optional on this project, but the paint is. Whether sprayed or rolled, it makes the project a little more complicated.
Construction strategies
I chose 3/4-in. MDF for the cabinet material because it is flatter than plywood, tougher than particleboard, has a very consistent thickness that produces tight dado joints, and is easier to adhere to plastic laminate. Because MDF panels are usually 49 in. wide, you’ll be able to get the 48-in.-long parts out of it efficiently, while cutting off the factory edges. You’ll need roughly two and a half sheets of MDF to build the project.
Slick, multifunction top
When it’s not supporting table-saw cuts or benchtop tools, I’ll be using the top of this cabinet for project assembly. So I applied countertop laminate to the top to resist glue. The 3-in.-dia. casters create a 4-in.-high toe space under the cabinet, making it easy for me to stand on all sides of it. And there are brakes on all four wheels to lock it in place.
Just as importantly, the laminate also covers the assembly screws exposed on the top of the cabinet box. And last but not least, it helps the table to do its main job even better, by eliminating friction under sliding workpieces.
Versatile I-beam construction
The cabinet and its contents are very heavy, so I designed the structure to support hundreds of pounds without sagging. The vertical members carry loads directly to the casters, and they combine with the top and bottom to create an I-beam of sorts, which is not only very rigid but leaves open compartments on three sides.
For additional reinforcement, I added hardwood cleats to the top and bottom panels. The upper ones also serve as handholds when I have to move the table, and the lower ones keep contents from falling out. On the closed side of the cabinet, which lacks any handholds, I mounted a hefty 24-in. grab bar.
Built-in storage
The open compartments accept any arrangement of adjustable shelves. They also make it easy to clamp things on top of the cabinet, and they make nice kneeholes for seated work.
Feel free to adapt the layout to suit your own storage needs. I arranged mine with open ends to hold my clamp collection, and open compartments up front for storing jigs and benchtop machines.
Adjust the height for your saw
The top of the table should be 1/8 in. lower than the surface of your table saw. This offset will allow for minor floor irregularities and prevent sagging workpieces from getting caught on its leading edge. I planned mine for my SawStop cabinet saw, fitted with SawStop’s industrial rolling base. If your saw is different, measure its working height, as well as the height of the casters you purchase, and adjust the height of the cabinet parts accordingly.
Because my saw’s mobile base sticks out 6-1/2 in. from the saw cabinet, it keeps the outfeed cabinet at least that far away. That means I didn’t need to cut clearance slots in the tabletop for my miter gauge or the sliding runners under my crosscut sled. But different saws, miter gauges, and crosscut sleds might require shallow clearance dadoes in the tabletop.
You won’t see them in the photos, but I’ll be adding bolt holes to the top of my table to lock down jigs and machines for safe operation using bolts, washers, and wing nuts.
-Carl Spencer is a retired cabinetmaker in Nolensville, Tenn.
| From Fine Woodworking #314
To view the entire article and to see how Carl built his outfeed table, please click the View PDF button below. |
 |
Fine Woodworking Recommended Products
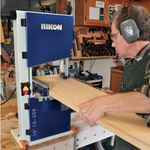
Rikon 10-3061 10-in. Deluxe Bandsaw
The saw has two speeds: 3,280 sfpm (surface feet per minute) for wood and 1,515 sfpm for soft metals and some plastics.
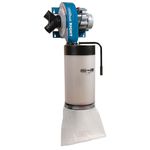
Rockler Dust Right 1250 CFM
You’ll need help to get this heavy unit onto its bracket, but if you’re looking for a central dust collector that won’t gobble floor space, this may be the unit for you.
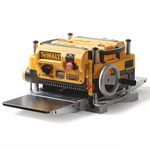
DeWalt 735X Planer
At high speed, the planer works fast and leaves a smooth surface. But the slower, finish speed produces an almost glass-smooth surface. Knife changes are easy.
Sign up for eletters today and get the latest techniques and how-to from Fine Woodworking, plus special offers.
Download FREE PDF
when you enter your email address below.

