More Than One Way to Cut a Dovetail
Flexibility in furniture-making techniques is not a common trait among most woodworkers. We tend to find a way that works and stick with it. That makes sense; habits are comfortable and the more you repeat something the more proficient you become. However, the best woodworkers are comfortable with multiple techniques for each task because they accept that situations vary. Recognizing that, here are the reasons why I would choose one technique over another for a given dovetail situation.
Tails first or pins first?
 |
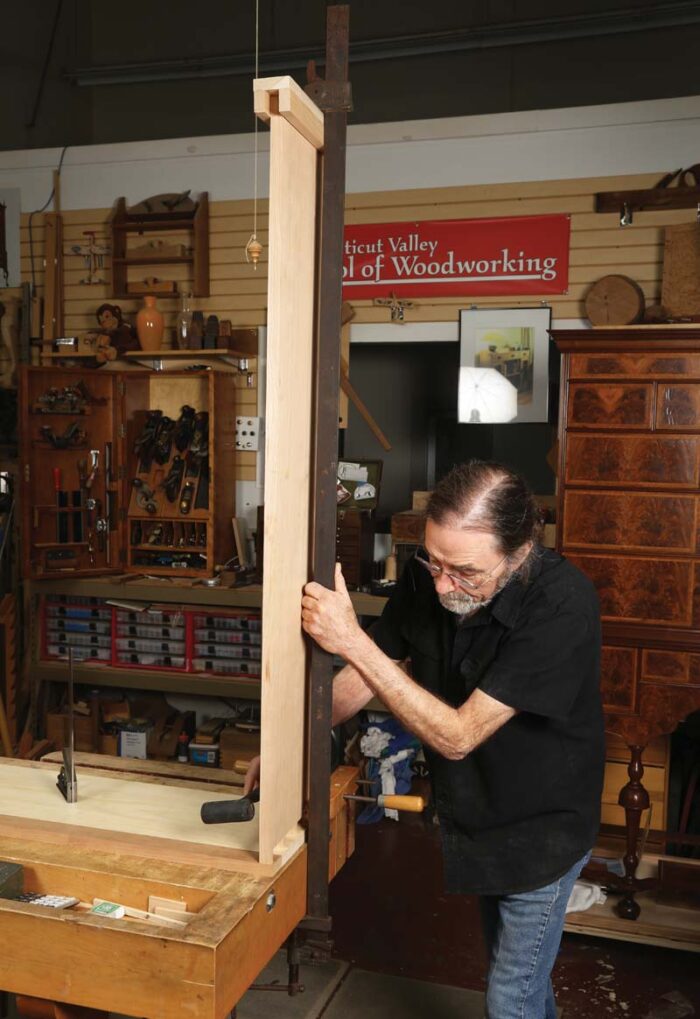 |
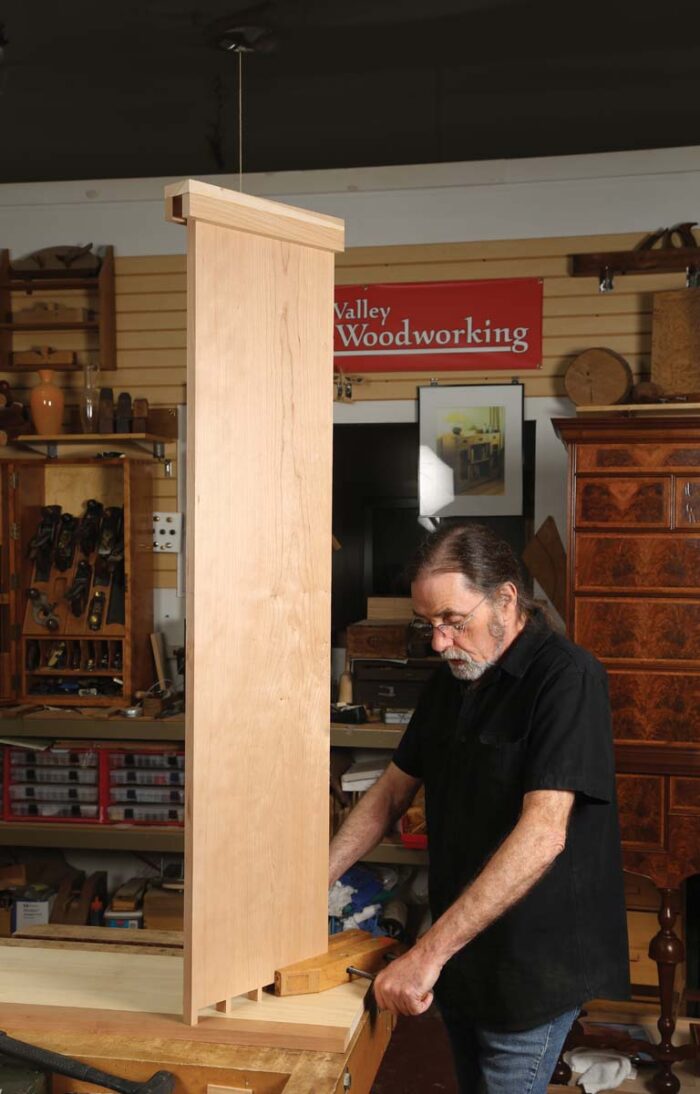
It really depends. The deciding factor for me comes down to which will make for an easier transfer of the first half of the joint to the second half.
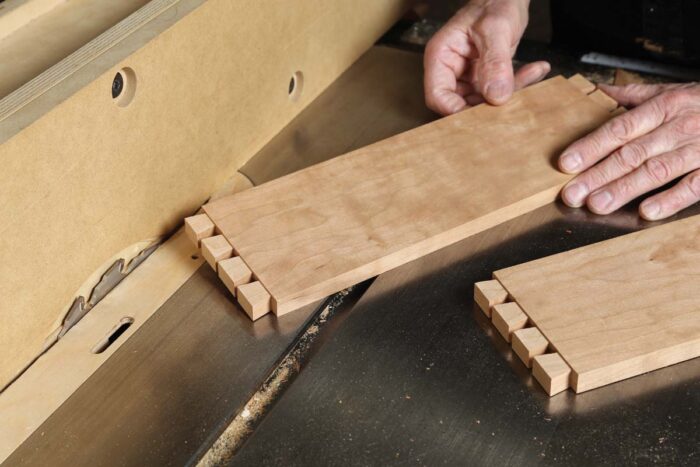
Tails first—One advantage to cutting tails first is the ability to gang tail boards together and cut two or four sets of tails at once.
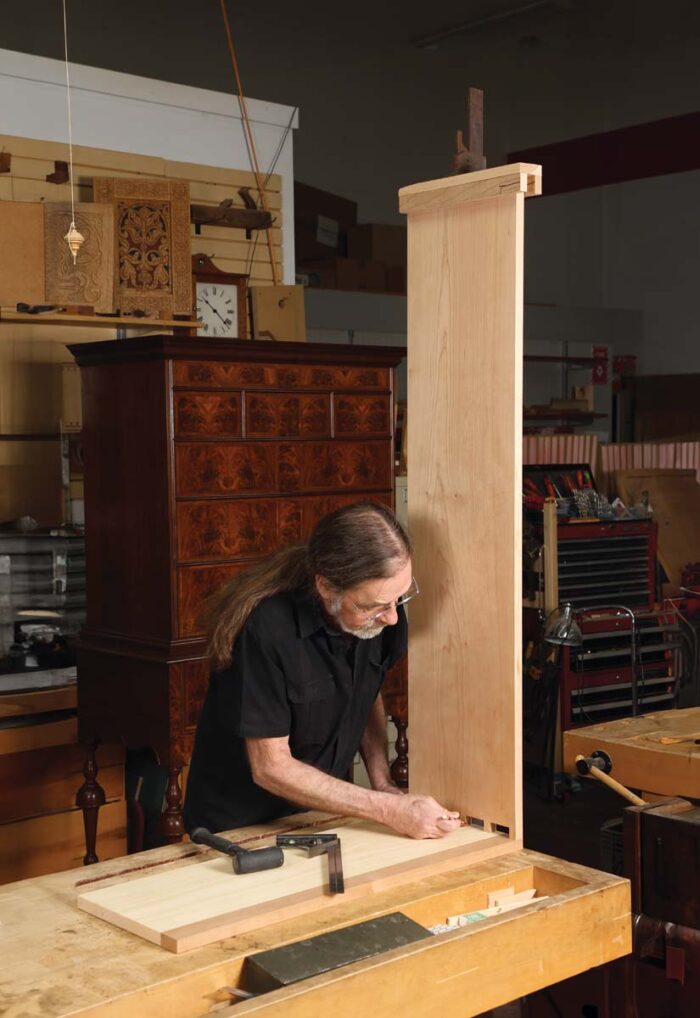
Pins first—On a normal-size project where the transfer is simple, the question of pins first vs. tails first is personal preference. In a large case project, however, scribing tails to pins with the tail board held horizontally atop a long pin board can be very awkward and unwieldy. Instead, cut the pins first and then hold the pin board vertically on top of the horizontal tail board.
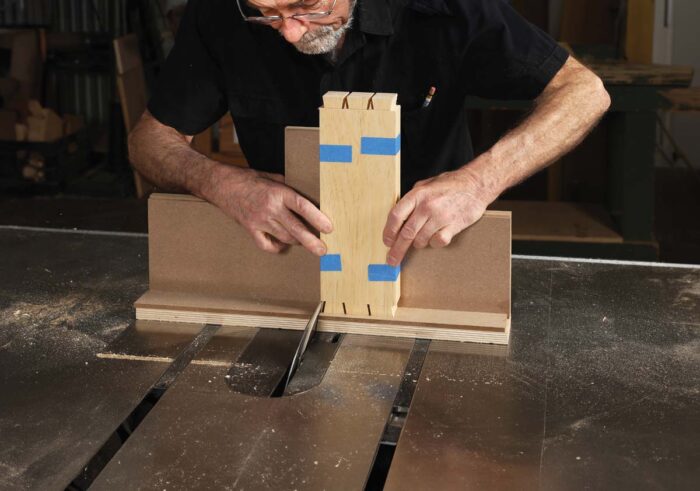
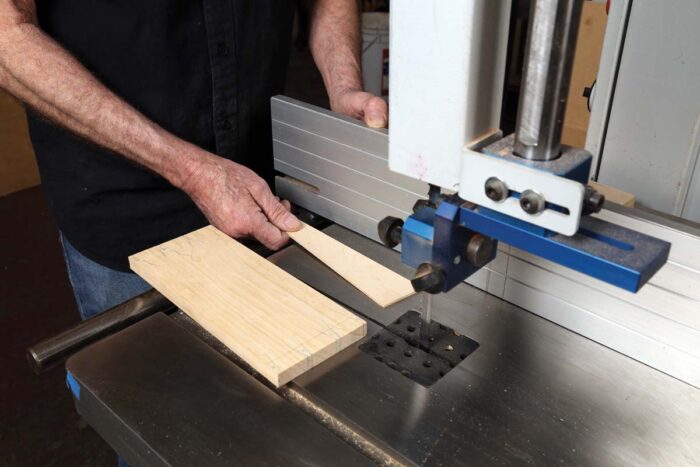
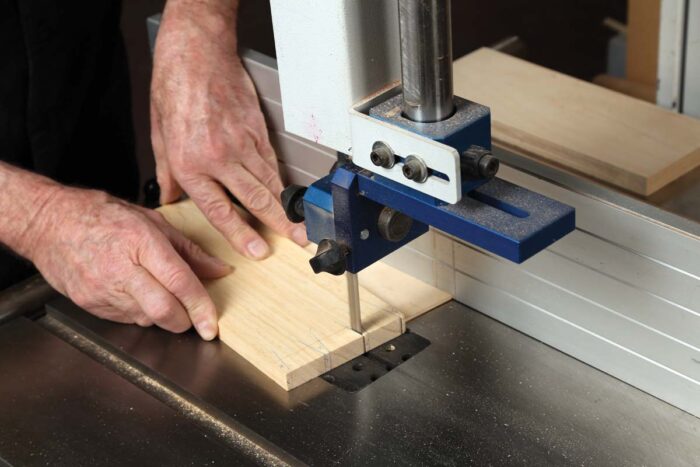
While I work with hand tools all the time, I am also a great believer in machine-assisted techniques when it is to my advantage. If I am cutting the tails first, I usually use the table saw because it excels at cutting straight and square, the basic requirement for successful tails.
Once you are set up with the correct blade and sled, it takes less than 5 minutes to set up the cut. You can buy blades pre-ground to an angle, but it is much cheaper to send an extra sawblade out to be ground to the angle you want. I use 10°.
Bandsaw
Pencil or knife
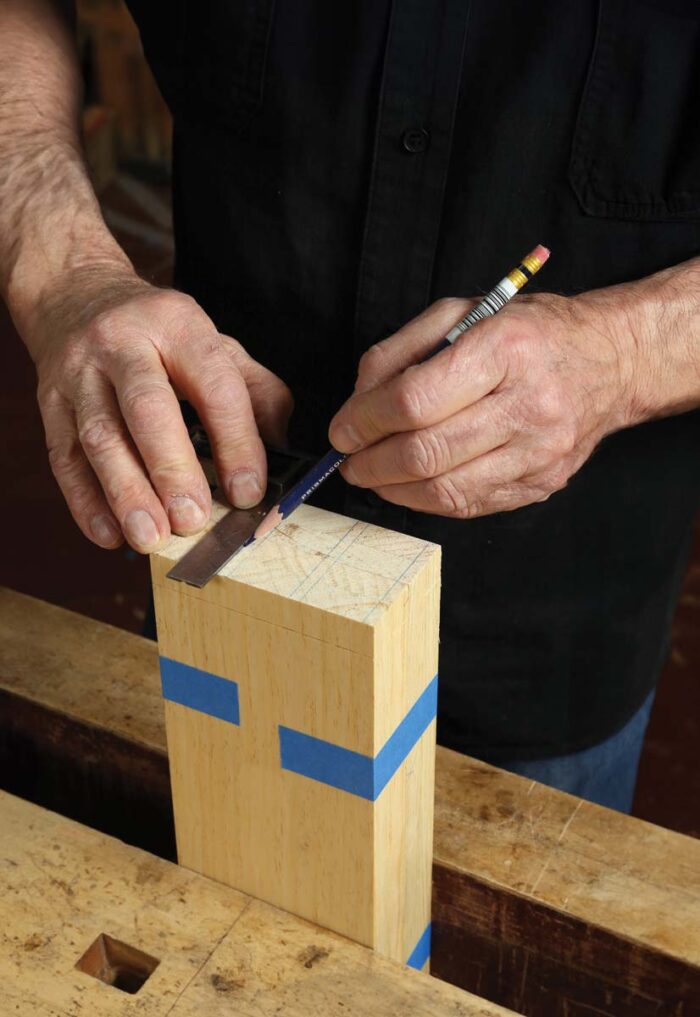
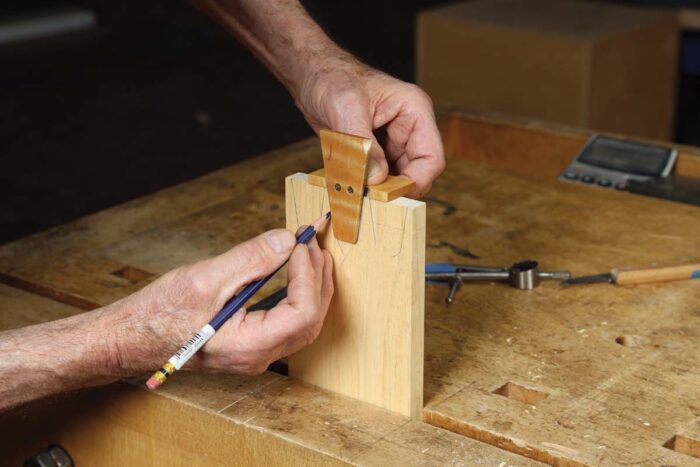
Whether you cut pins or tails first, precision is essential when transferring the first half of the joint to the second half. Many people use a knife to scribe, but just as many use a sharp pencil. The knife line is crisp, but shows in the finished surface. If you pare all the way up to the knife line to remove it, the joint can end up loose; conversely, if you leave the knife line, the bevel of the knife will have created a small gap. A pencil line—even from a sharp, hard lead—may not be as crisp but it is easily removed when cleaning up the joint.
A rabbet can make scribing easier

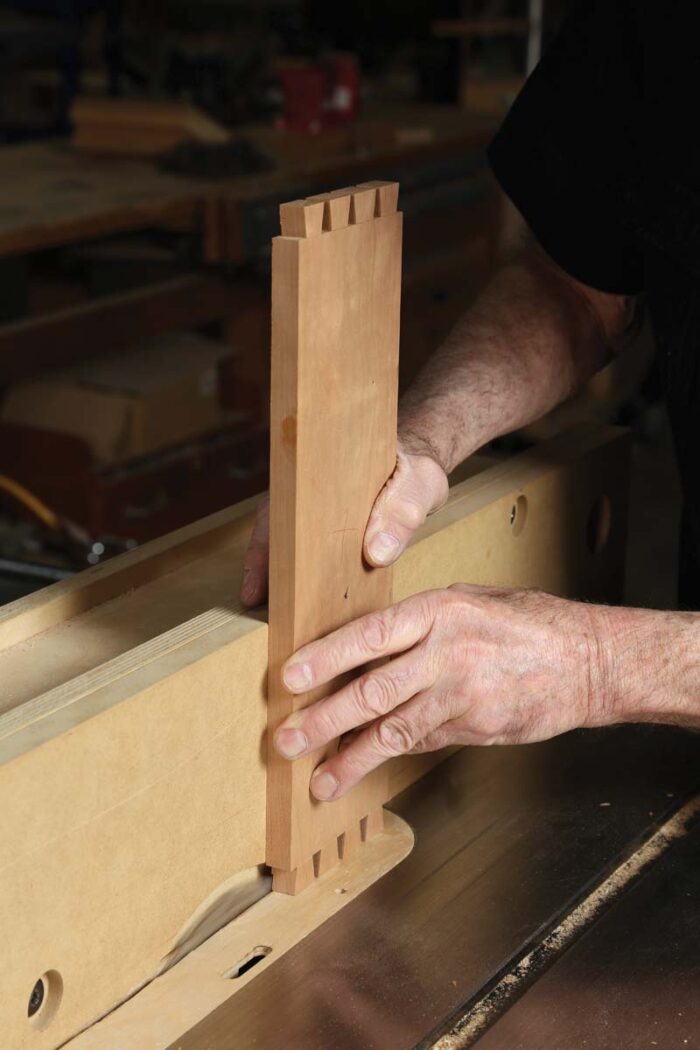
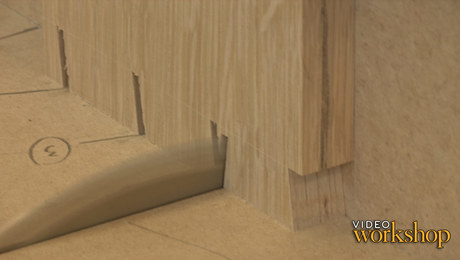
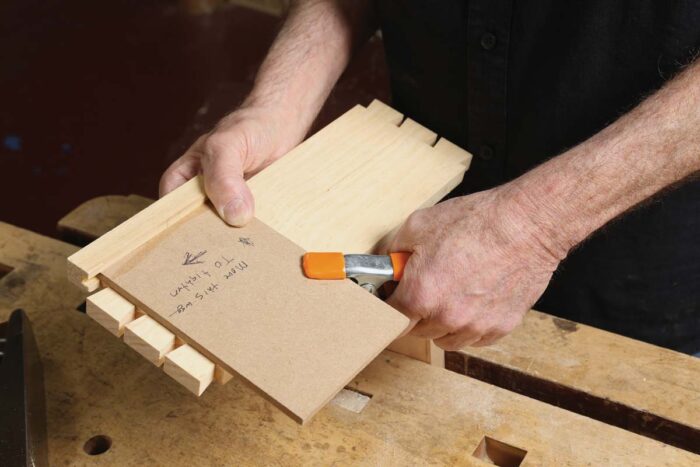
I usually cut a shallow rabbet on the inside face of the tails before the transfer. I cut this rabbet exactly on the gauge line, a technique I learned from Steve Latta. The small shoulder this creates makes it easy to position the tails and hold them securely against the pin board during the transfer.
 |
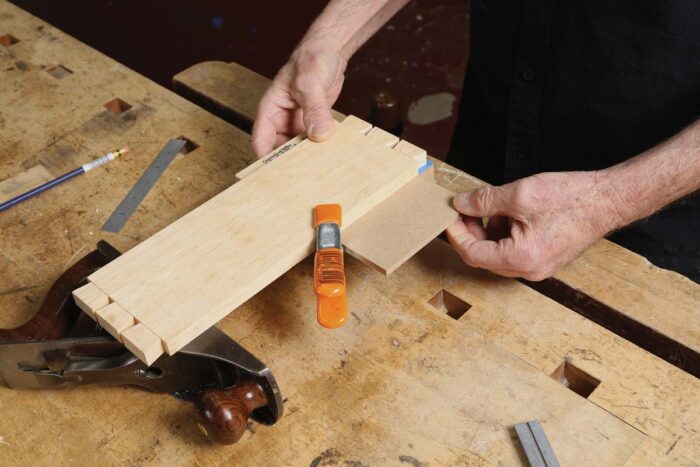 |
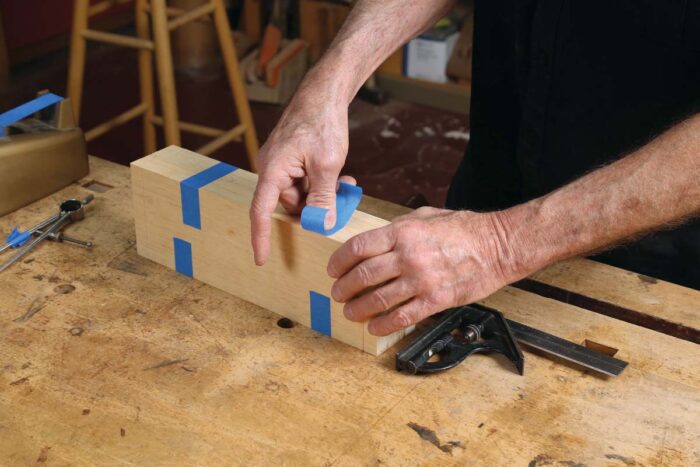
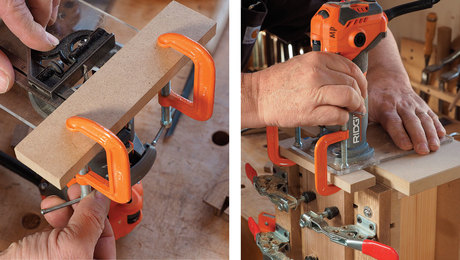
Alternatively, a piece of 1⁄4-in. MDF can be clamped exactly on the tail board baseline to serve as a temporary rabbet.
Many ways to remove the waste
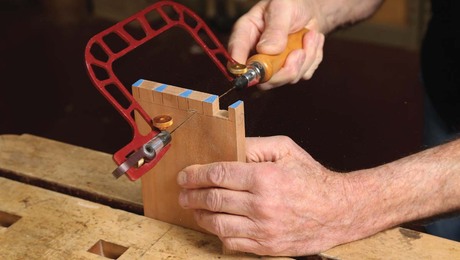
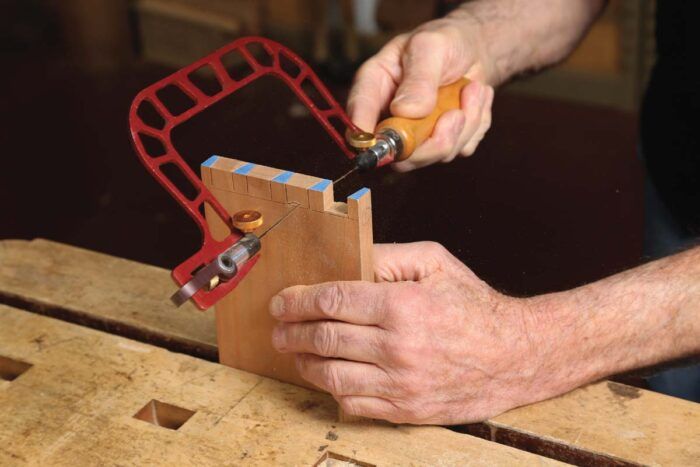
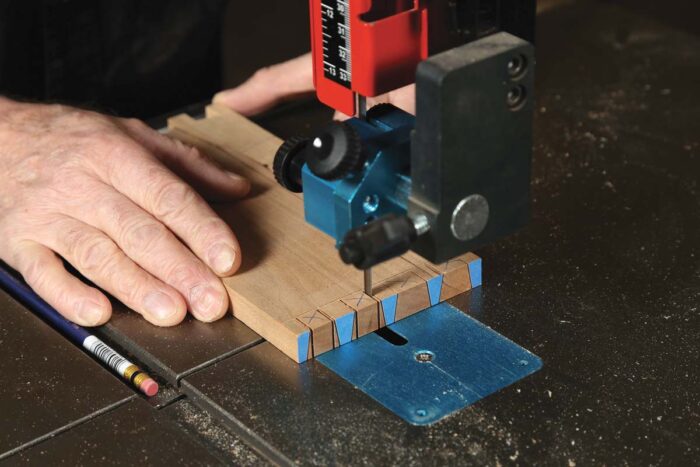
After the joint has been cut, the waste must be removed right up to the baseline. You can chop it out with a chisel and mallet, saw it out with a coping saw, or use a scrollsaw or trim router.
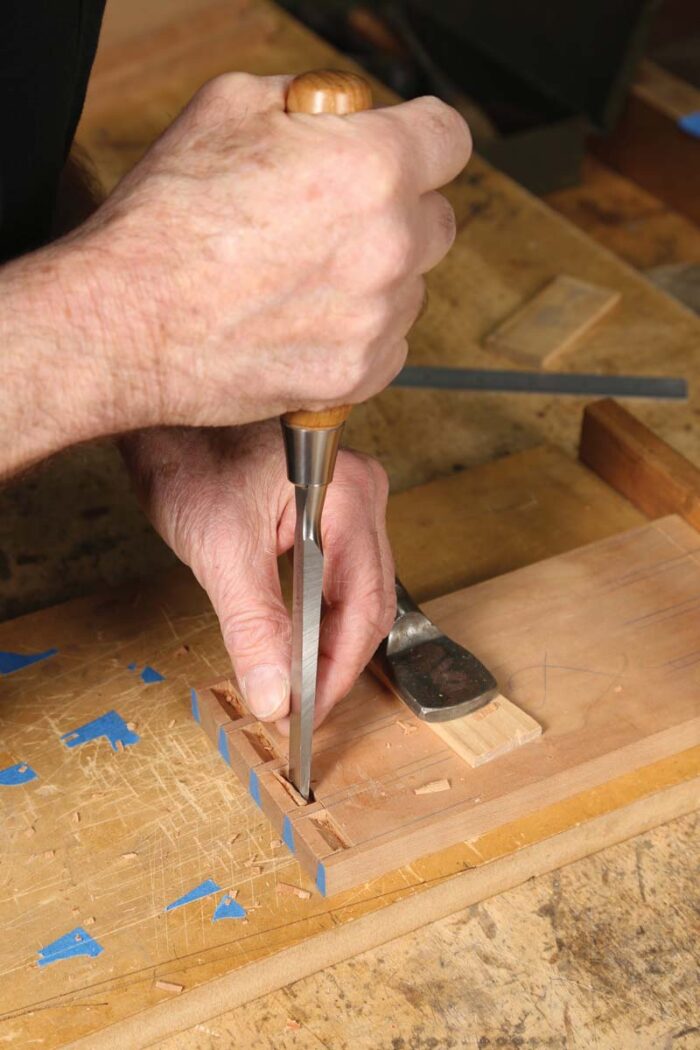
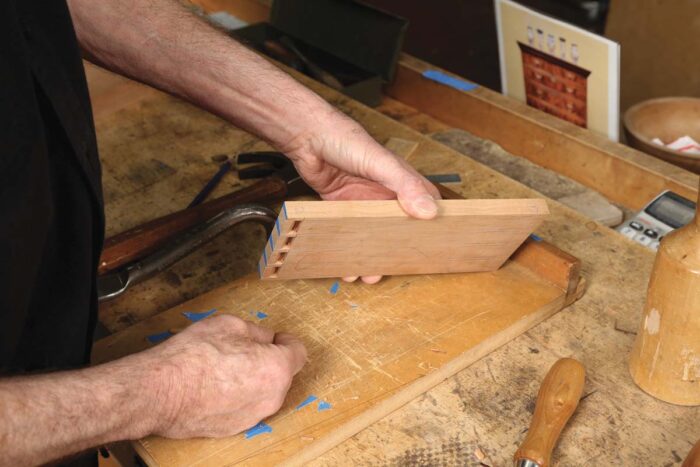
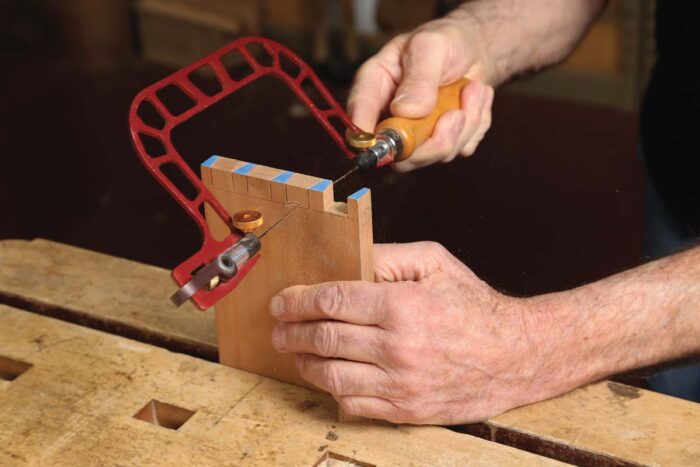
The traditional method is to chop out the waste with chisel and mallet. Done well, no further paring should be required. Coping saws or scrollsaws are also good methods of removing the waste, but the little bit of wood left behind still needs to be pared up to the baseline.
 |
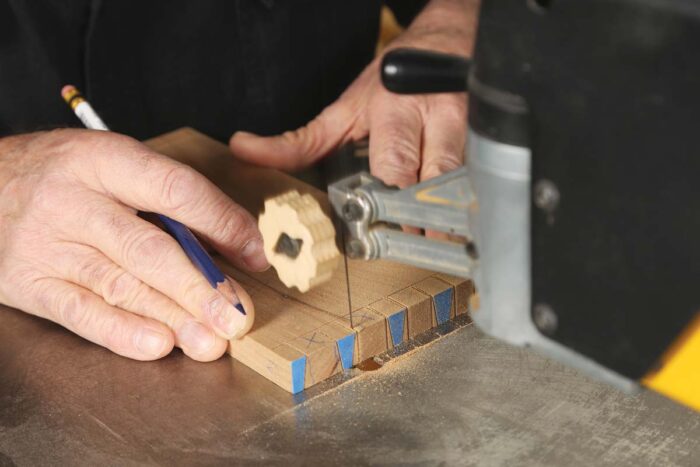 |
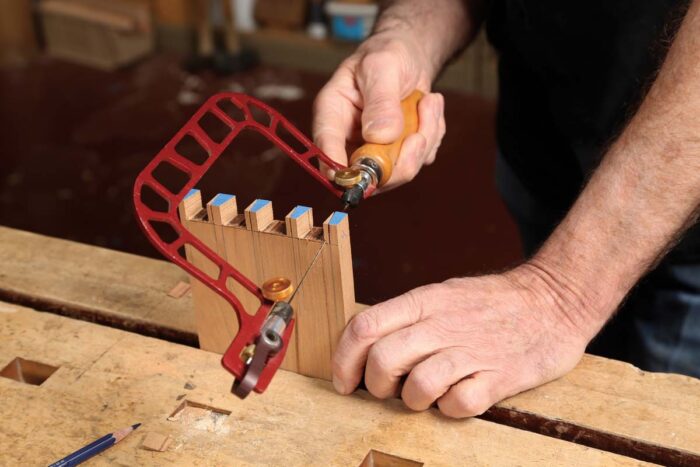
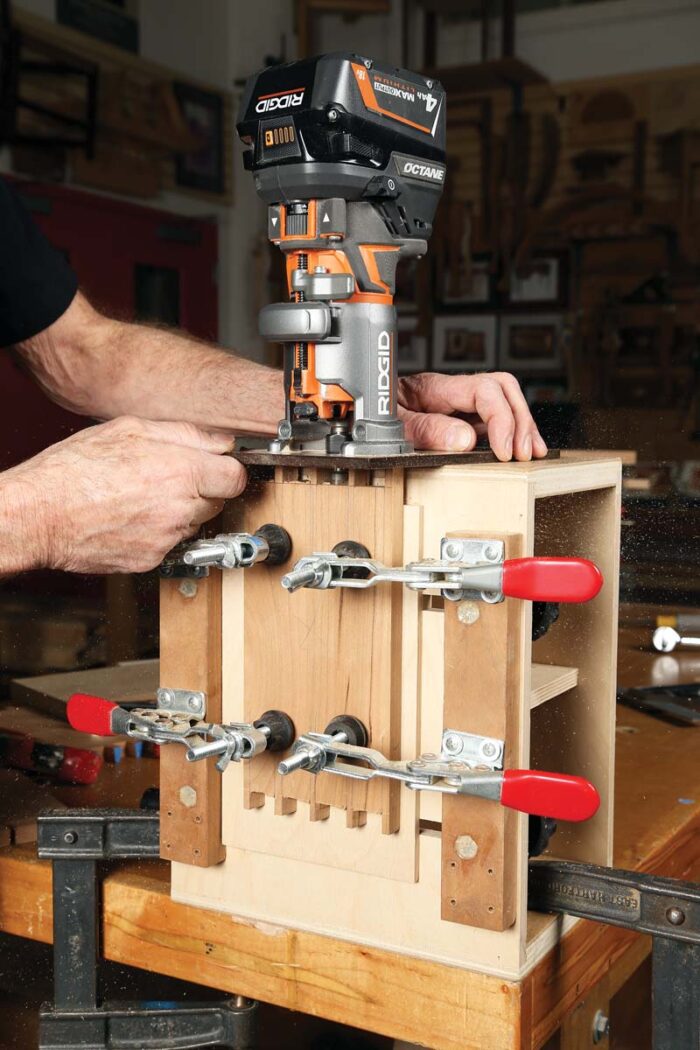
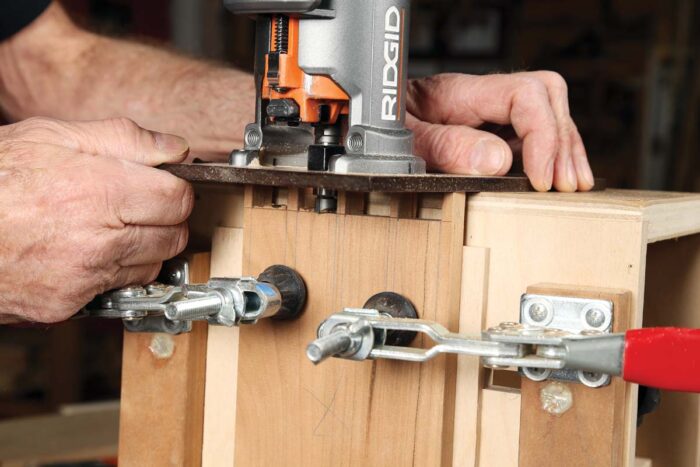
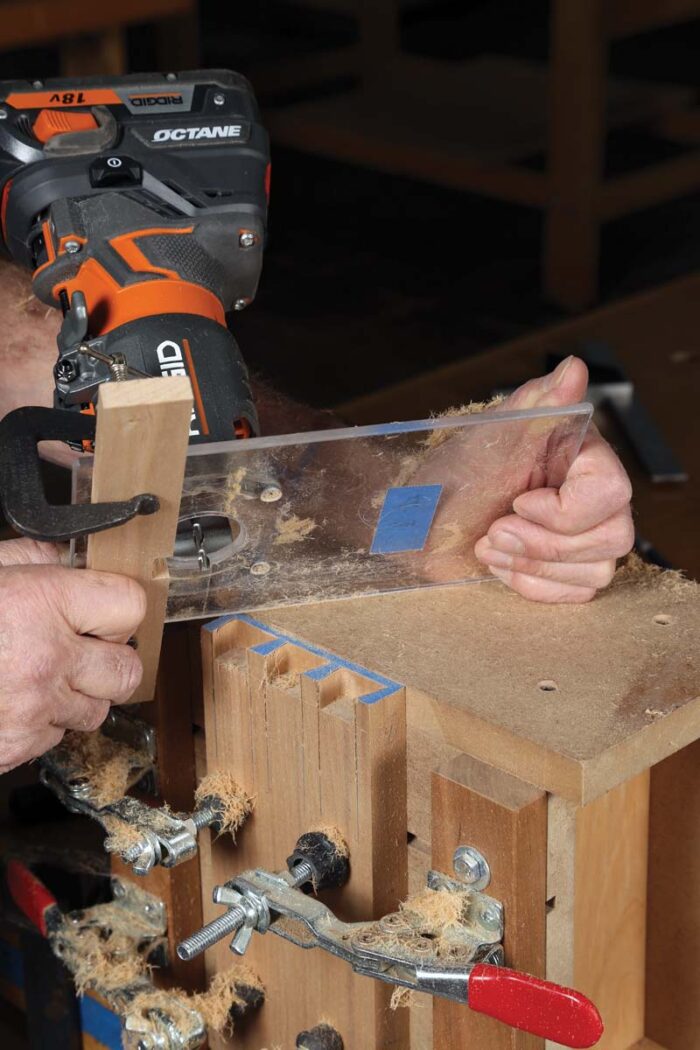
When it comes to the waste between pins, a trim router removes it quickly and accurately. Roughly saw away the waste with a coping saw, scrollsaw, or bandsaw, taking care not to cut into the pins. Don’t bother cutting all the way to the baseline; the trim router will do that. Hold the workpiece vertically in a simple jig that allows the trim router to reference off the end of the workpiece. Set the depth to cut right up to the baseline. Holding the router on the jig, cut away the waste between pins. A bearing-guided pattern bit is best because the bearing registers off the top face of the pins and prevents you from cutting into them. The same method can be used for half-blind pins but these require a straight bit, greatly increasing the risk of cutting into a pin and ruining it, so be careful.
 |
|
Establish the baseline
 |
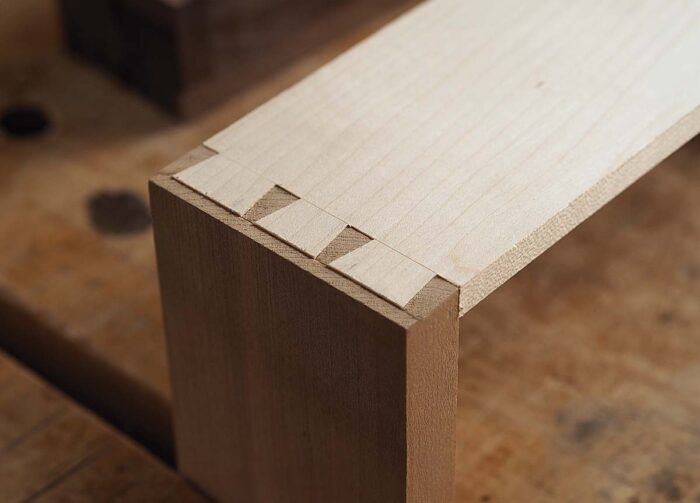 |
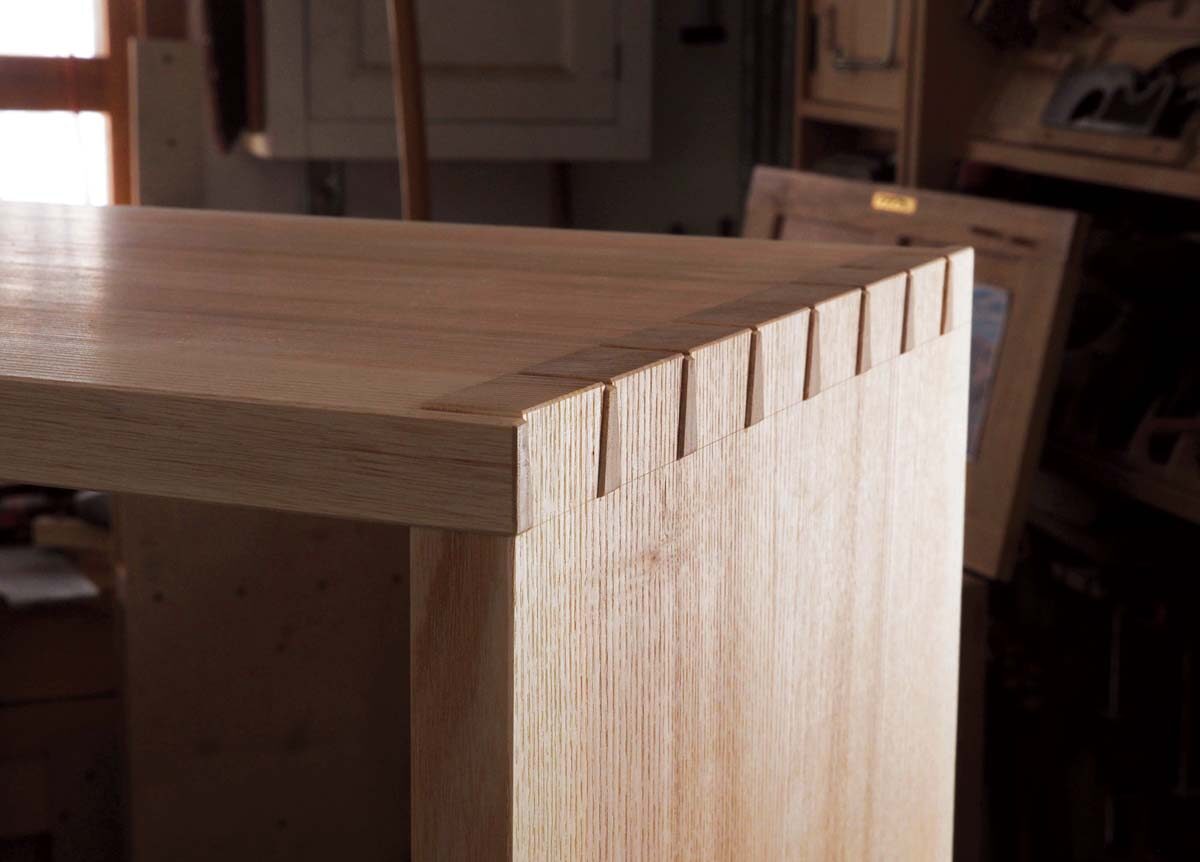
There are choices to be made about how to set the cutting gauge for the baseline. The most common practice is to set the gauge to just a hair more than the thickness of the stock. This will result in slightly protruding pins and tails that can be planed flush. Setting it less than the thickness will mean the ends won’t quite reach through the stock, a common technique in drawer making.
Sawing pins for half-blind dovetails
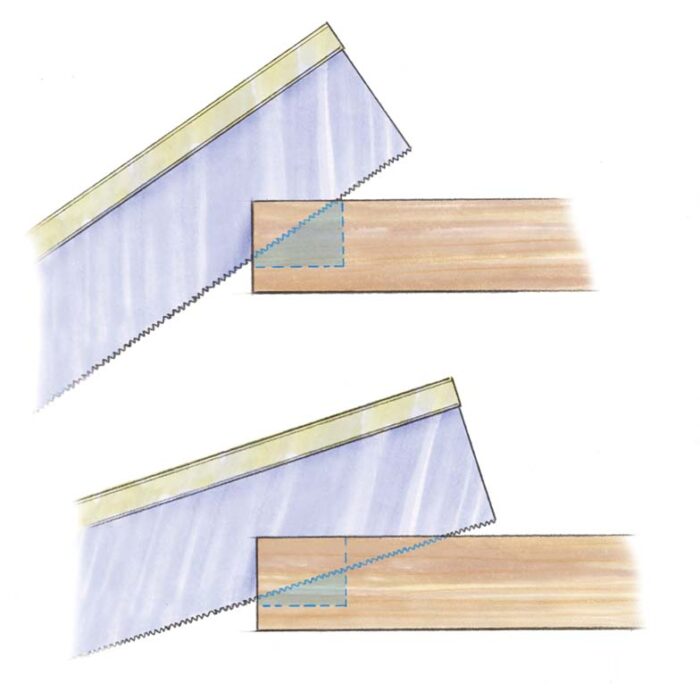
Most contemporary woodworkers find sawing half-blind pins a little irritating because the saw must stop between the baseline and the lap line, leaving a large triangle of wood to be pared away. However, almost all drawers in period furniture have overcuts. 18th-century cabinetmakers, recognizing that stopping the saw at the baseline caused extra paring, typically extended the sawcut a full 1 in. to 2 in. past the baseline, thus leaving a very small triangle of wood in the pin socket to be removed with the chisel. Because the overcuts are on the inside face of the drawer front, no one ever sees them.
Holding the work horizontally
The usual practice among contemporary cabinetmakers is to hold the pin board vertically in a vise with the end of the board high enough that the vise doesn’t get in the way of the sawcut. This is an uncomfortable height at which to saw. And when cutting a long pin board—say for the side of a tall chest of drawers—the surface to be cut is now significantly higher than the vise and is not supported solidly. I firmly believe that most period cabinet makers cut the pins with the pin board clamped horizontally on the bench. Not only is the length of the pin board not a consideration, but the cut is also supported right up to the edge of the bench. It felt odd when I first tried it, but now I always cut half-blind dovetails in this manner. ☐
Sign up for eletters today and get the latest techniques and how-to from Fine Woodworking, plus special offers.
Download FREE PDF
when you enter your email address below.

