Testing Hard-Wax Oil Finishes – FineWoodworking
The further along you are on a project, the more painful mistakes become. That’s partly why so many woodworkers dread finishing. With traditional film finishes like polyurethane, shellac, and lacquer, problems like drips, runs, streaks, haze, brush marks, or fisheye might force you to sand away some or all of the finish and start again. On the other end of the spectrum are traditional oil finishes, which greatly reduce the risks but don’t provide the same durability and depth of sheen.
Enter hard-wax oils. Borrowed from the flooring industry, these finishes have made major inroads into fine woodworking, thanks to a unique combination of attributes. Products in this category promise all of the benefits of an oil finish—foolproof wipe-on/wipe-off application, a beautiful glow, and easy repair—while promising better results, no sanding between coats, and improved durability and water resistance. Many also highlight “natural” ingredients, citing improved safety and low environmental impact.
With the category growing so rapidly, there’s a fair amount of confusion surrounding these finishes. Of the products calling themselves “hard-wax oils,” some consist of a single component and call for two coats, while others have two parts that must be mixed together but promise top-notch results with just one coat. And some don’t call themselves hard-wax oils at all, but have similar ingredients and attributes.
Adding to the confusion, manufacturers’ instructions vary widely for these finishes, with many still reflecting a focus on flooring use. For example, more than one instructs users to prep surfaces only up to 120 grit. This has led to an explosion of YouTube videos with varying advice for best results on furniture and cabinetry.
To see if these finishes deliver on their promises, how they stack up against each other, and how to best apply them, Fine Woodworking signed me up to give the category a comprehensive test. I’ve used a number of these products in my work as a professional furniture maker, so I also welcomed the chance to challenge my own understanding and practice.
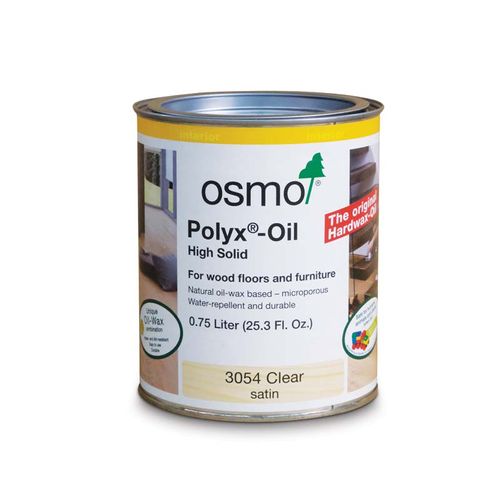
Osmo Polyx-Oil
If I had to choose one of these hard-wax oils to keep on hand, it would be Osmo Polyx-Oil. It’s relatively affordable and very easy to apply.
Price: $54.99 at the time of writing
Which finishes fit the category?
Due to the proprietary nature of some ingredients, it’s tough to tell exactly what these finishes contain. From what I was able to gather from labeling, websites, and company reps, however, most “hard-wax oils” contain some combination of plant-based oils (typically tung and/or linseed oil but also sunflower, safflower, soybean, thistle, and others) and one or more waxes (carnauba, candelia, and beeswax among them).
The concept is that the oil penetrates and beautifies the wood, and the wax adds more depth and protection—without peeling, flaking, or cracking over time as a film finish might.
However, some products in the category include hardeners and other chemicals, meant to add durability and protection and decrease drying time, with corresponding health and safety implications.
To be sure we were including the right products in this test, beyond those that explicitly call themselves “hard-wax oils,” I read ingredients labels closely. When in doubt, I spoke to manufacturers to be sure they agreed to have their products included in this category.
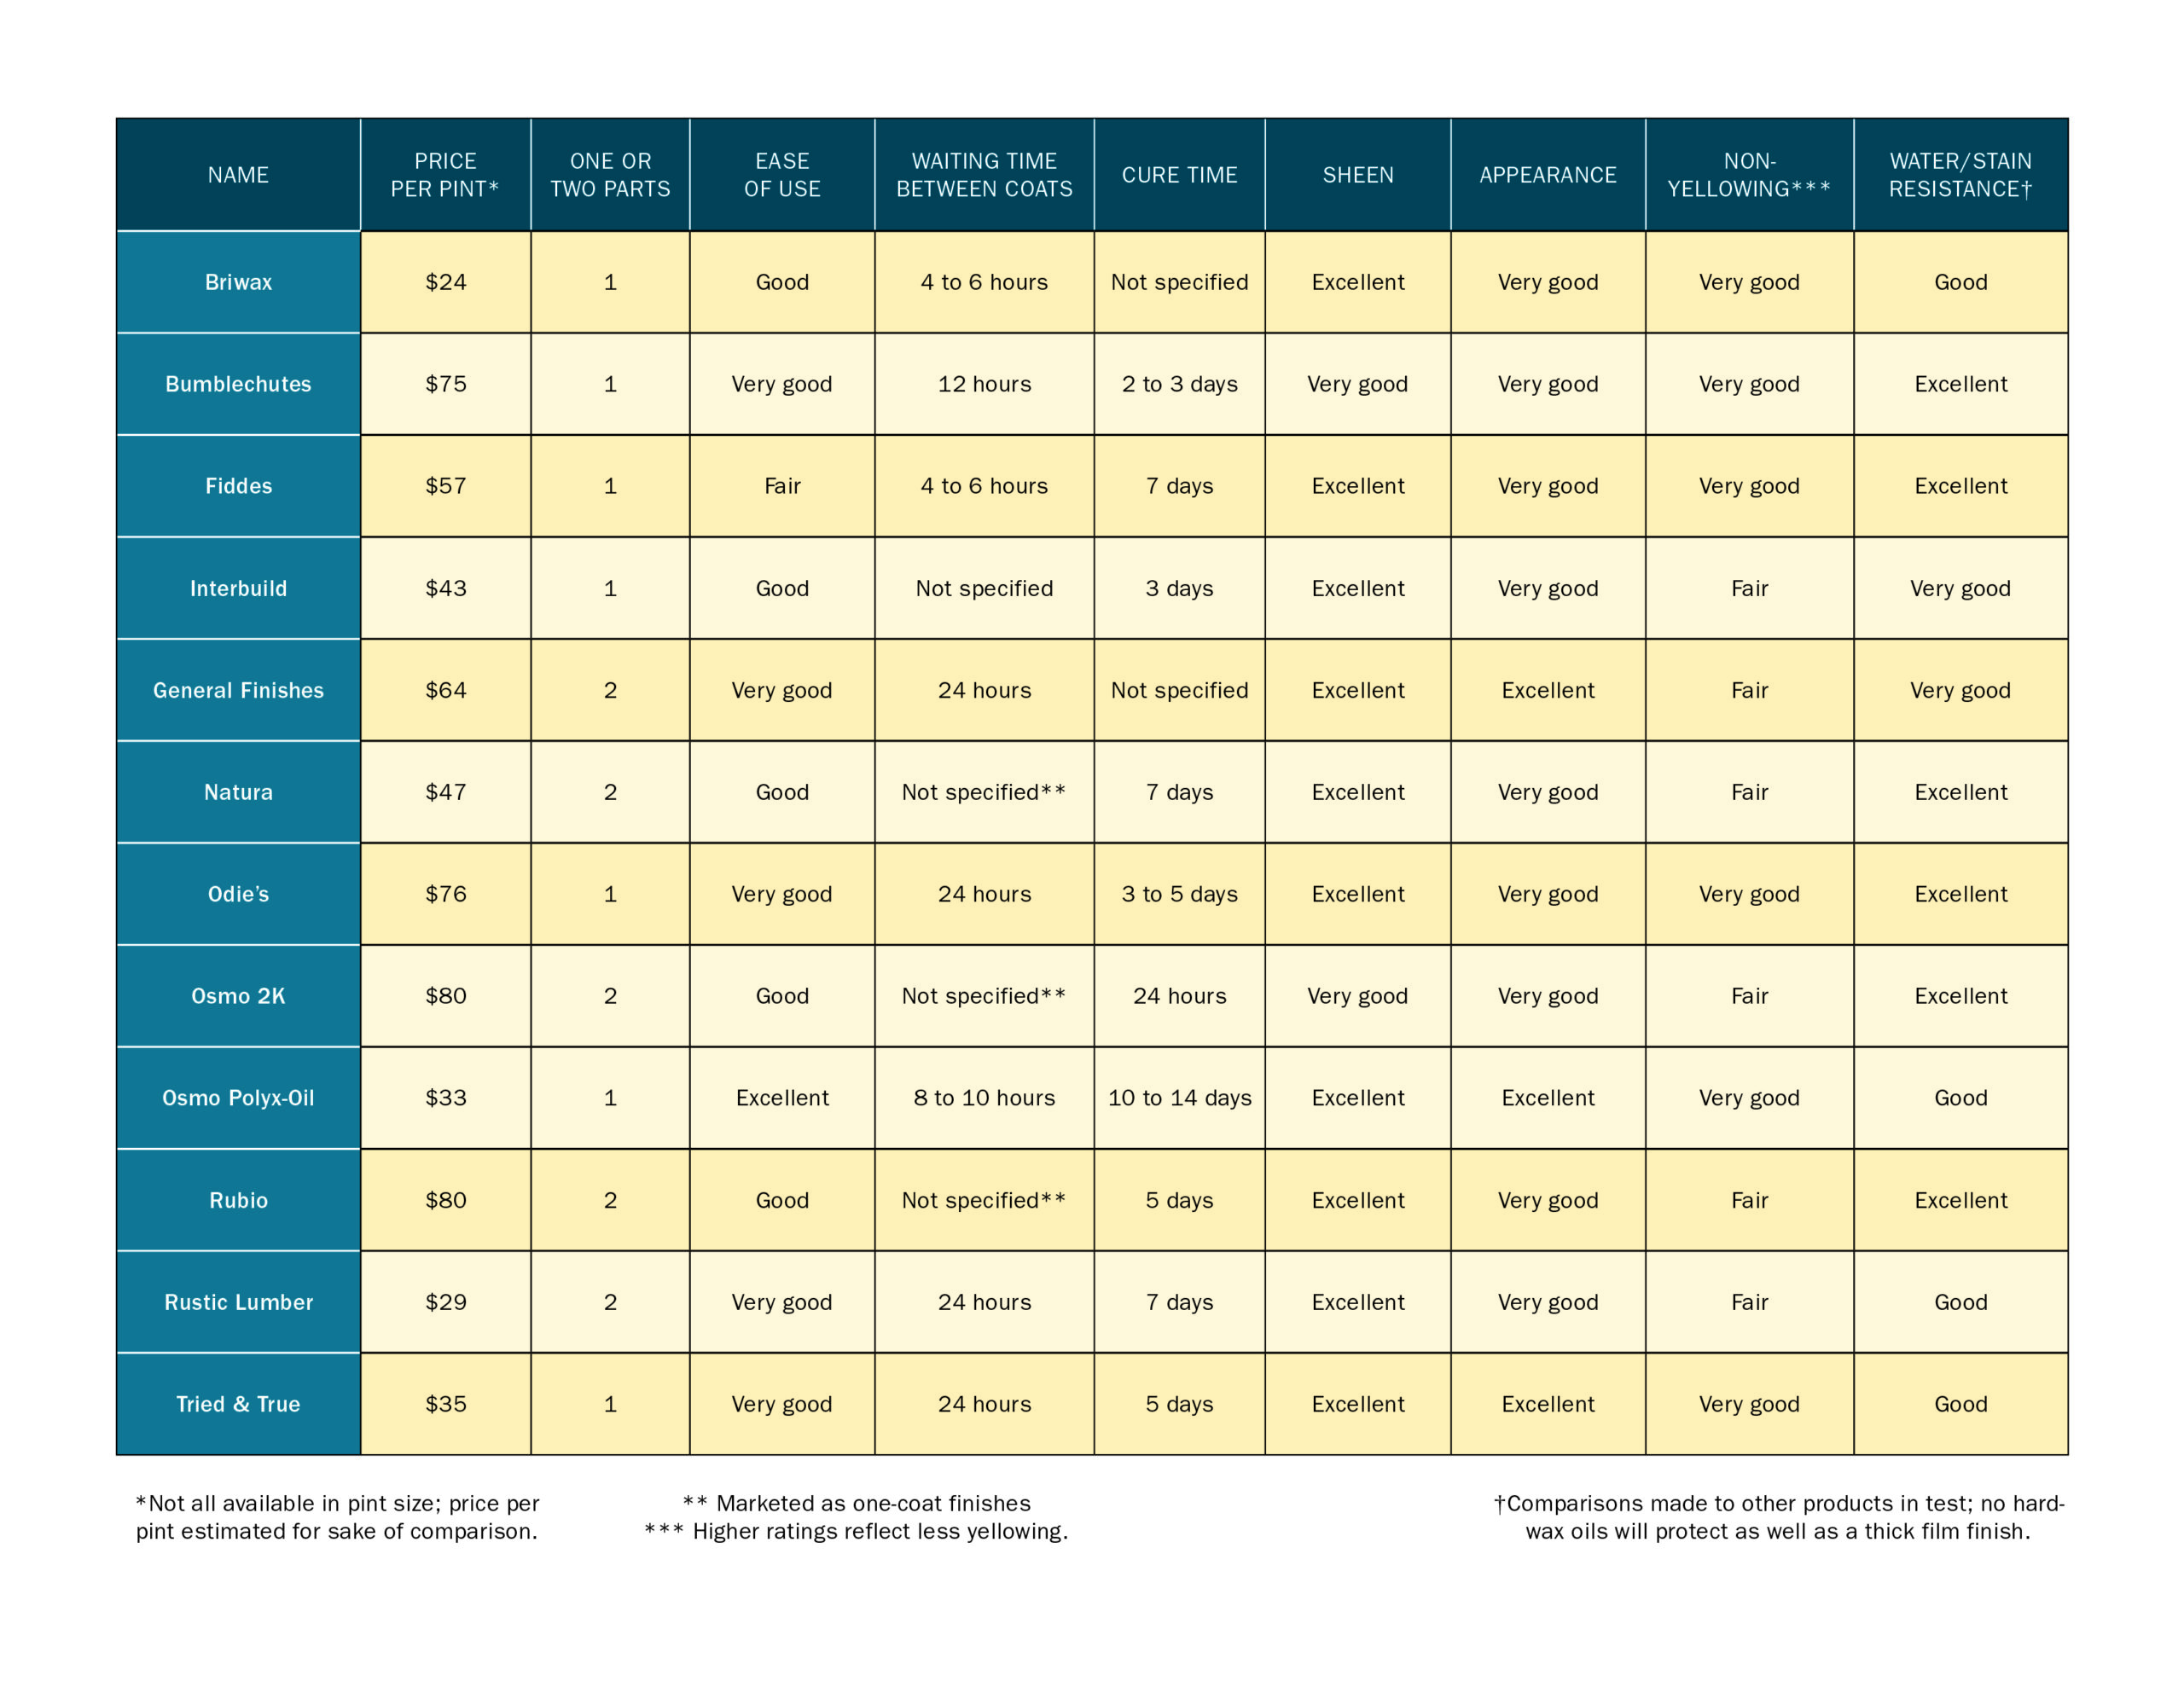
Twelve finishes made the cut. The one-part products are Briwax Hard Wax Oil, Bumblechutes Bee’Nooba Wax, Fiddes Hard Wax Oil, Odie’s Oil, Interbuild Hardwax Oil, Osmo Polyx-Oil, and Tried & True Original Wood Finish. The two-part products are General Finishes Hard Wax Oil, Natura Onecoat Wood Oil 2K, Osmo 2K Wood Oil, Rubio Monocoat, and Rustic Lumber Furniture Oil.
While several of these products offer colored versions to help you change the tone of the wood, we went with the clear, natural versions for our tests. These work well for most species and applications. When sheen was specified, we went with satin.
Finally, as a control of sorts, I applied a few coats of Minwax Wipe-On Polyurethane to a sample of each of the woods used in the test. It’s another oil-based finish that can be wiped on easily, and looks good after two or three coats. However, like a number of popular wiping varnishes and oil-varnish mixes, it contains a resin that forms a protective film.
The health equation
Quite a few woodworkers have been drawn to hard-wax oils for their lower purported VOCs. So I looked at the cans and the material safety data sheets to determine whether users should wear gloves and/or a respirator while applying the finish. I also looked for overt health warnings.
Based on this examination, some products are clearly less concerning than others. Odie’s, Tried and True Original, Interbuild, and Bumblechutes do not come with any significant health precautions, including the need for gloves or respirators.
On the other end of the spectrum are products with multiple health warnings, including General Finishes and Briwax. Like Minwax Wipe-On Poly, these products require gloves and a well ventilated area and/or respirator.
The rest of the products offer general notices to avoid skin contact and inhalation. So I would wear gloves when using these, and add a respirator if the area is not well-ventilated.
We tested manufacturers’ instructions
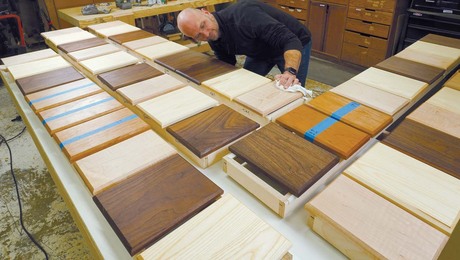
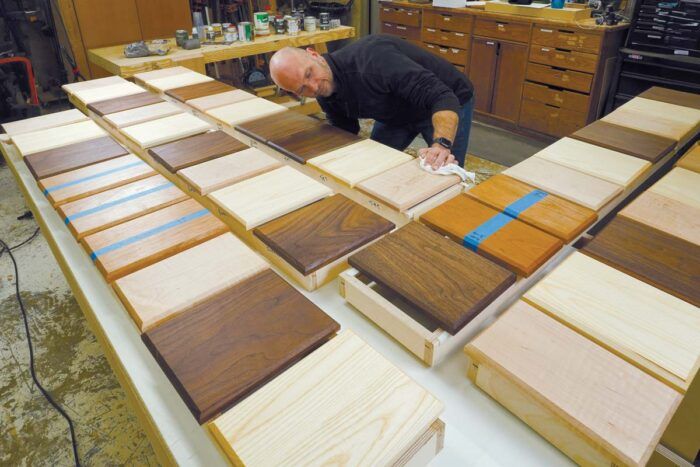
Because manufacturers’ instructions vary widely, and my own experience with these finishes generally conflicts with their advice, I tested every finish in two ways: I followed manufacturers’ recommendations on my main set of samples, and took a different approach on another set.
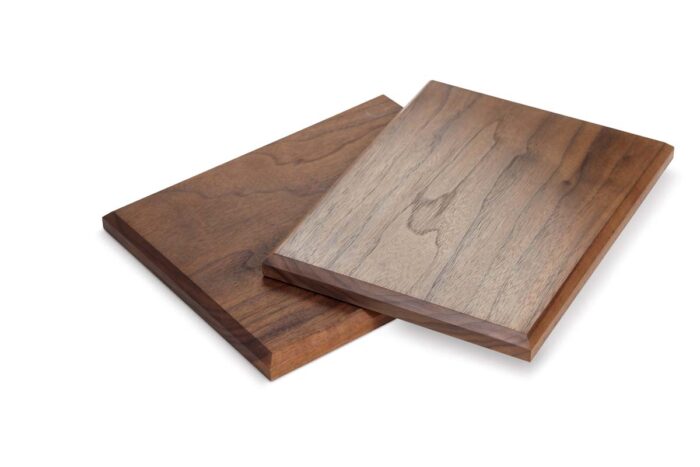
For the main set of samples I used ash, walnut, and curly maple, which allowed me to compare performance on both open- and closed-pore woods, as well as one figured wood and one very light-colored wood. I cut the samples of each species from a single board (or, in the case of ash, from two single boards glued side by side) to avoid significant variations in color or grain.
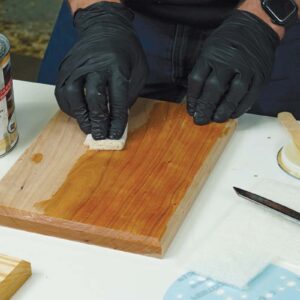
I followed manufacturers’ directions to the letter on these samples, from surface prep to application tools and techniques to the number of coats recommended.
If the directions didn’t specify a sanding grit or a specific number of coats, I went with the directions given most commonly, stopping at 220-grit and applying the finish twice.
When a specific tool for applying and/or wiping off a product was not indicated, I went with my favorites for oil finishes: white, non-woven, nylon pads, which apply thin, even coats. Norton Bear-Tex is a common brand. These pads are roughly equivalent to 0000 steel wool, so they have a mild buffing effect as they apply finish. To wipe off the excess, I used cotton rags.
We also tested an enhanced approach
For a second set of samples, I used cherry and followed a more universal approach to preparation and application—one based on my own sense of best practices for hard-wax oils and other oil finishes, which I covered in FWW #269.
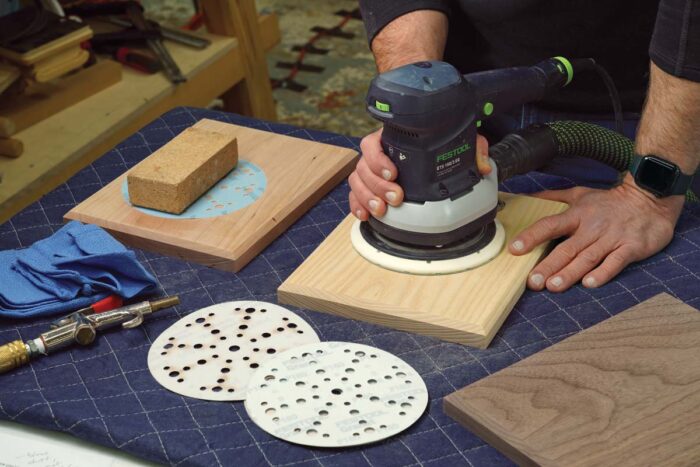
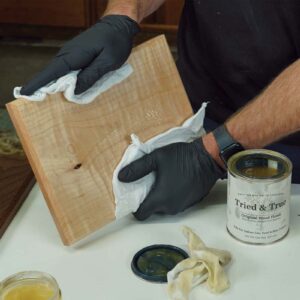
Since penetrating finishes don’t form a film, adding extra polish to the bare wood has a significant effect on the finished surface, helping it to reflect light and giving it a more satiny feel. My preferred method is to sand up to 320 or 400 grit (360 in this case) before jumping up to 1,000. I’ve tried intermediate grits between the 300s and 1,000 but haven’t found them to be necessary. For large surfaces, I used a random-orbit sander; for narrower ones, sandpaper backed by a block. I did not sand the surfaces between coats. To apply the finishes I used the white, nylon pads mentioned above, wiping off the excess with cotton rags.
The enhanced approach worked best—For every product but one, the enhanced surface prep improved the look and feel of the surface. The one exception was Tried & True, where the manufacturer suggests buffing with 0000 steel wool between coats. I followed this advice on the standard samples, and those looked and felt slightly better than my “enhanced” samples (which had no buffing between coats).
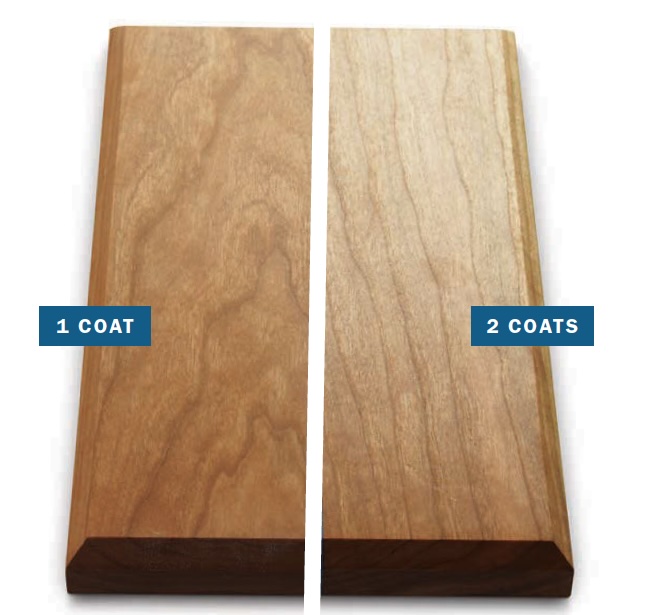
I also tried additional coats—To see if the number of coats makes a difference, I divided these same sample boards into halves. For the two-part finishes that promise top performance with one coat, I applied a single coat to one half and two to the other. For the one-part finishes, which generally recommend two coats, I applied two and three coats to the respective halves.
The results were revelatory. Almost all of the products—including the finishes that promise one-coat coverage—looked and felt their best after two coats. The one minor exception was Tried & True: great after two coats, but subtly improved by a third.
Look and feel
In terms of sheen, or the quality of reflected light on the finished surface, as well as clarity and depth, all of my enhanced samples met the standard for fine furniture.
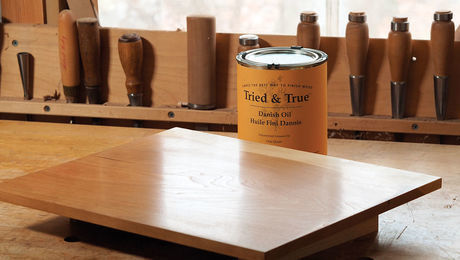
At the tip top, there was a tie between Tried & True and Osmo Polyx-Oil. While the best Tried & True samples—with the manufacturer’s suggested steel-wool scuffing between coats—had a slightly warmer, softer glow, with unmatched clarity, Osmo was a very close second, with no polishing required.
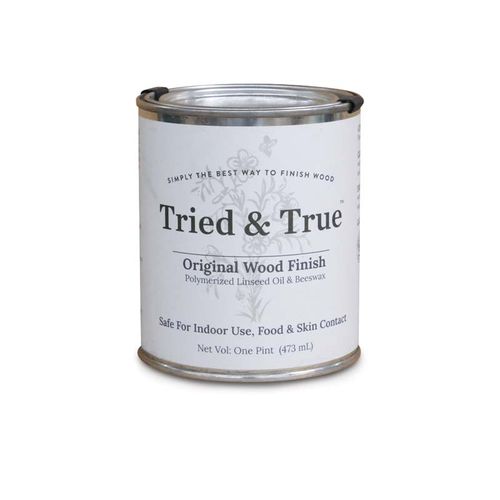
Tried & True Original
For the ultimate warmth, glow, and clarity, in a hard-wax oil, Adam Godet recommends Tried & True Original. To get there, however, you’ll need to buff it between coats.
Price: $34.99 at the time of writing
“Popping the curl”—Depth is also related to a finish’s ability to highlight figure, or “pop the curl” in the case of our curly maple boards. All of the finishes did a good job here, but some stood out.
Interbuild, Natura, Osmo 2K, Rubio, and Rustic added a distinctly amber color to the maple, which helped to accentuate the figure. Tried & True, Osmo Polyx-Oil, and General Finishes also accentuated the curl without adding as much yellow to the wood.
Some are too yellow for light woods—To get a clearer picture of the yellowing effect, particularly on the whitest woods, I referred to the ash samples. On those General Finishes, Interbuild, Natura, Osmo 2K, Rubio, and Rustic imparted more yellow than I would like to see.
Surprising level of protection—Based on their performance promises for flooring, I expected hard-wax oils to deliver better durability and protection than basic oil finishes. And they delivered on that promise, with two coats of each product protecting at least as well as two coats of our control—Minwax Wipe-On Polyurethane, which builds a thin film.
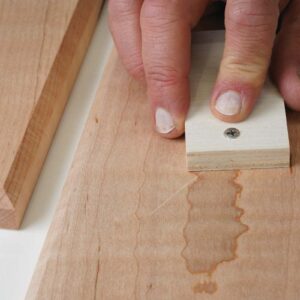
The standouts were Fiddes and Odie’s Oil. Fiddes was not a surprise, given its very likely inclusion of varnish resin, but Odie’s was, leaving only the slightest haze after 12 hours of my water test (below).
Protection was surprisingly good
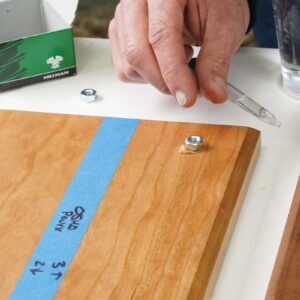
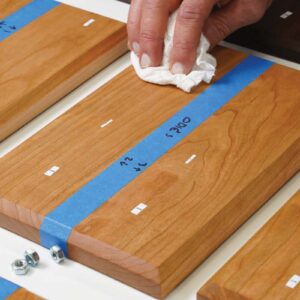
I dripped water onto three areas on each sample surface, placing a steel nut in each puddle. I removed the water and steel after 90 minutes, 3 hours, and 12 hours, respectively, to check for haziness and staining. Hard-Wax Oil with Highest Level of Protection (tie) Odie’s Oil Ease of Use = Very Good
Price: $55.90 at the time of writing 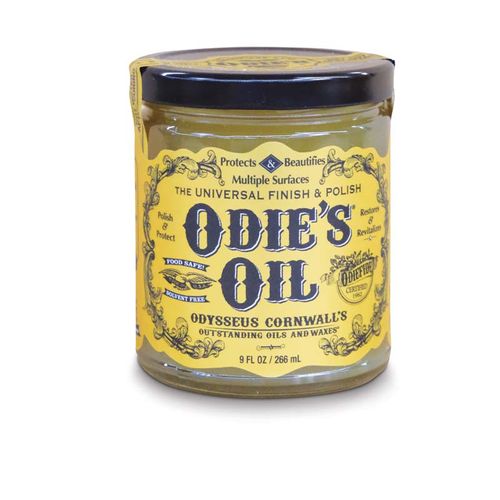
Like most of the products, Osmo Polyx-Oil (left) was fine after 90 minutes, but showed some issues after that. Bear in mind that the steel nut kept the puddle from evaporating as quickly as it might otherwise have. Odie’s oil (right) was a standout, showing only the slightest haze and no staining after 12 hours. Hard-Wax Oil with Highest Level of Protection (tie) Bumblechutes Bee’Nooba Wax Ease of Use = Very good
Price: $37.49 at the time of writing 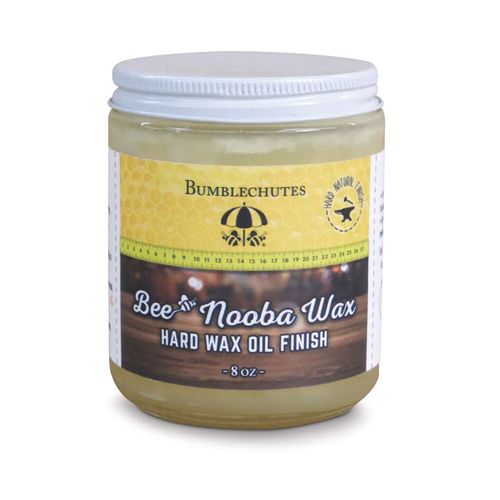
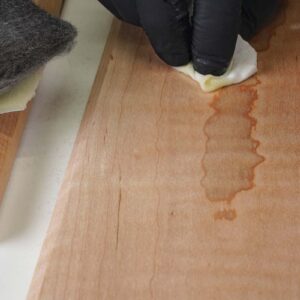
Like all oil finishes, hard-wax oils make damage easy to repair. To hide a scratch, sand it up to the same grit as the surrounding surface, and apply more finish. |
The bottom line
If you need a bombproof finish for a tabletop, or a perfectly smooth surface with a deep sheen, reach for a finish that builds a film. For everything else, it’s hard to beat hard-wax oils. In fact, the way these finishes beautify the wood while still allowing you to see and feel the grain gives pieces a distinctly handmade quality.
The best hard-wax oils are easier to apply than any other finish I’ve used, with no sanding needed between coats, no danger of streaks or drips, and no buffing required afterward. They are as easy to repair as any oil finish, while providing enhanced protection against water damage and stains.
If I had to choose one of these hard-wax oils to keep on hand, it would be Osmo Polyx-Oil. It’s relatively affordable and very easy to apply. For the ultimate warmth, glow, and clarity, I would go with Tried & True Original. To get there, however, you’ll need to buff it between coats. For the highest level of protection, consider Odie’s Oil or Bumblechutes Bee’Nooba Wax. All four of these finishes are one-part products, and all are the least likely to add a yellow cast to white woods. Osmo also makes a UV-resistant version of its product for outdoor items.
-Adam Godet is a professional woodworker in Washington, D.C.
Keep it on hand—Osmo Polyx-Oil
Osmo Polyx-Oil
If I had to choose one of these hard-wax oils to keep on hand, it would be Osmo Polyx-Oil. It’s relatively affordable and very easy to apply.
Price: $54.99 at the time of writing

The ultimate warmth, glow, and clarity—Tried & True Original
Tried & True Original
For the ultimate warmth, glow, and clarity, in a hard-wax oil, Adam Godet recommends Tried & True Original. To get there, however, you’ll need to buff it between coats.
Price: $34.99 at the time of writing

For the highest level of protection—Odie’s Oil or Bumblechutes Bee’Nooba Wax
Hard-Wax Oil with Highest Level of Protection (tie)
Bumblechutes Bee’Nooba Wax
Ease of Use = Very good
Sheen = Very good
Appearance = Very good
Non-Yellowing = Very good
Water/Stain Resistance = Excellent
Price: $37.49 at the time of writing

Hard-Wax Oil with Highest Level of Protection (tie)
Odie’s Oil
Ease of Use = Very Good
Sheen = Excellent
Appearance = Very good
Non-Yellowing = Very good
Water/Stain Resistance = Excellent
Price: $55.90 at the time of writing

To view the entire article, please click the View PDF button below.
Sign up for eletters today and get the latest techniques and how-to from Fine Woodworking, plus special offers.
Download FREE PDF
when you enter your email address below.

