Three Dimensional Marquetry – FineWoodworking
As I’ve progressed in my woodworking career, I’ve begun to look for new and inventive ways to add decoration to furniture pieces and establish my own unique style. I often do this by combining different embellishment techniques – for example, texturing a surface, adding paint, and sanding back to give a worn appearance or laminating different species together and surface carving to reveal the wood underneath. One of my favorite new ways of combining embellishments in a piece is by doing what I am tentatively calling three-dimensional marquetry – a sort of combination of marquetry and intarsia.
The idea came to me after taking an introductory double-bevel marquetry class with Craig Stevens. In traditional double-bevel marquetry, both field and insert veneers are the same thickness. But what if I used thicker stock for my insert pieces? The result, after experimentation with altering my sawing angle, is an insert piece that sits proud of the field.
[This can be illustrated fairly easily following the same general framework found in The Art of Marquetry, Craig Vandall Stevens, Fine Woodworking 290, page 67]
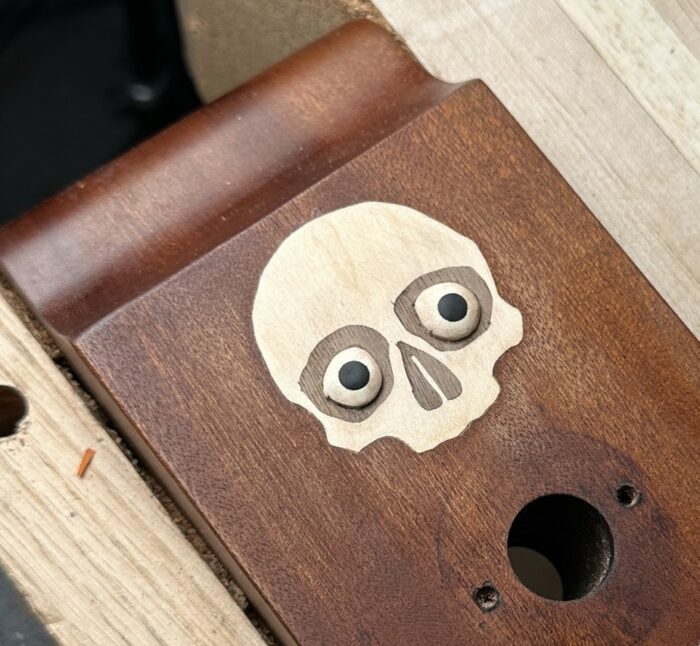
This insert piece can then be shaped, carved, and textured before being glued in place in the field. This allows me to create marquetry panels that have both two and three dimensional elements – for example, using this technique, I can make it appear as though the petal of a flower is flat against a surface and then “peels” off above it. I recently used this technique to create three dimensional eyeballs in a skull – since the holly eye pieces had some thickness to them, I was able to easily embed ebony dowels for the pupils prior to shaping them.
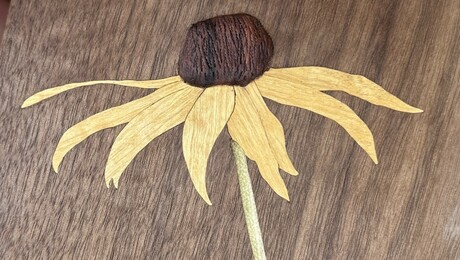
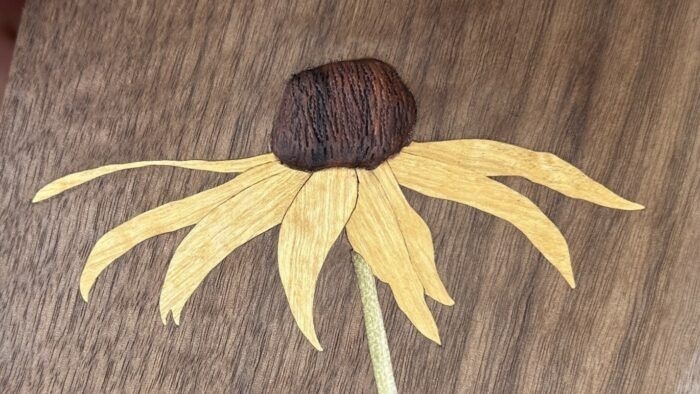
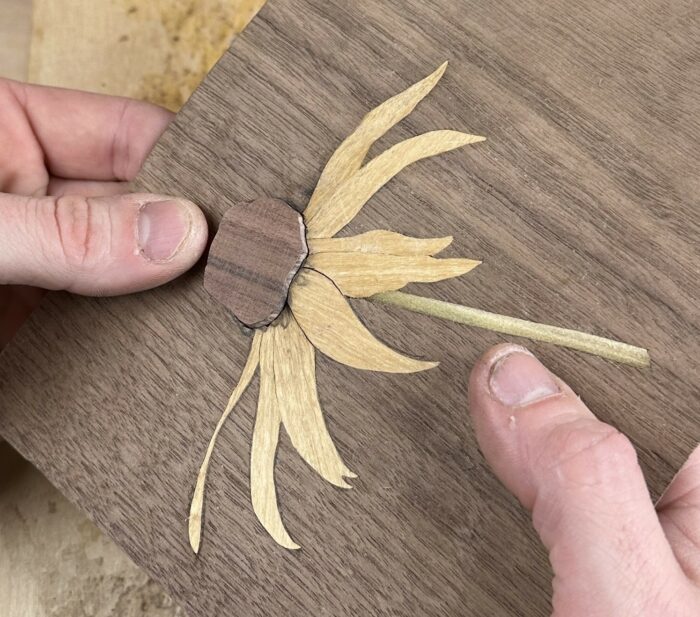
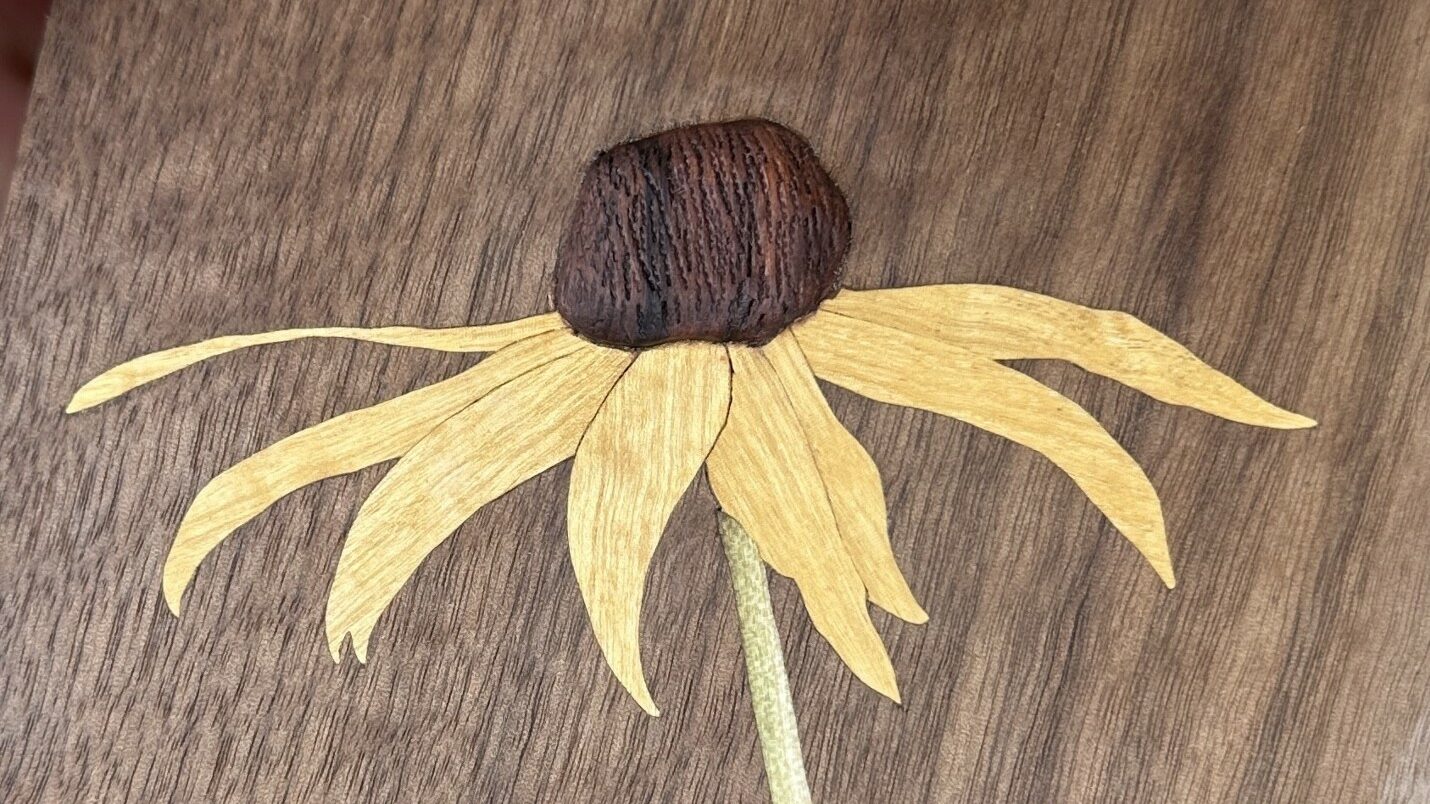
To get a feel for the technique, its best to start with something simple. This black eyed Susan pattern combines traditional flat double-bevel marquetry and three-dimensional marquetry. I’ll also go over some simple techniques to shape and add texture to the three-dimensional elements safely and effectively.
Do All the Flats First
Start by assembling all materials. For this project, I am using figured walnut for the field, satinwood for the petals, poplar for the stem, and rosewood for the center portion. All stock is 1/16” thick except for the rosewood, which is 3/16” thick. Since the three dimensional pieces are thicker than what would normally be considered veneer, I try to always use quartersawn stock to mitigate issues that may arise from wood movement.
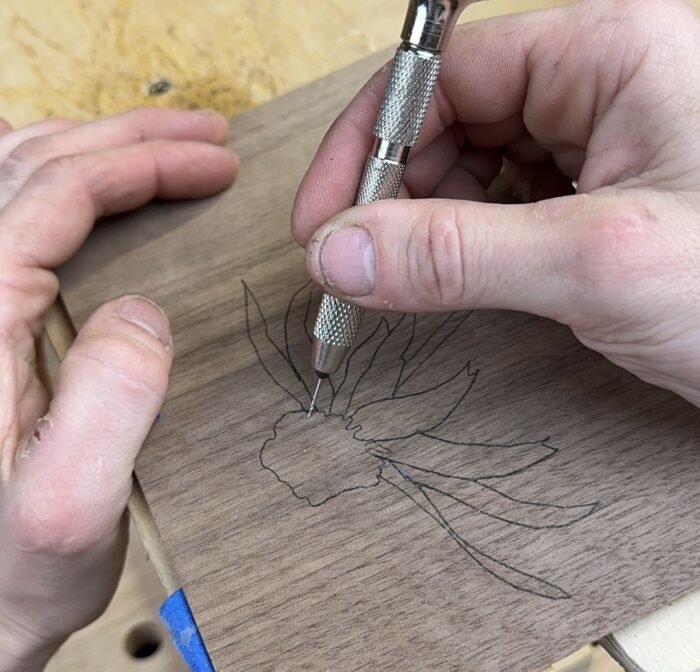
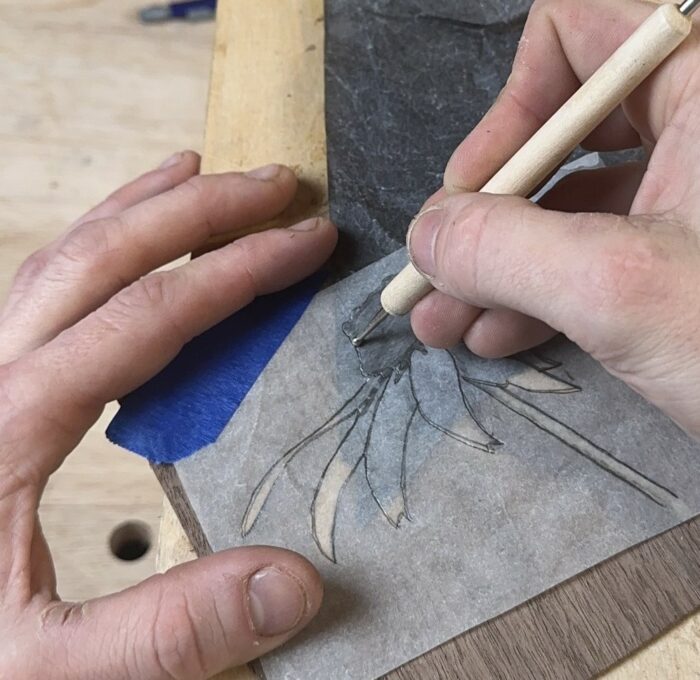
The beginning of the process the same as that described by Craig Vandall Stevens in Fine Woodworking 290. Trace the pattern onto the field veneer and identify a petal piece that is furthest in the background. Arrange your insert veneer stock in the appropriate location on the back of the field veneer and secure it with tape. Using a pin vise and a #69 drill bit drill through the packet of veneers in a waste section of your drawing.
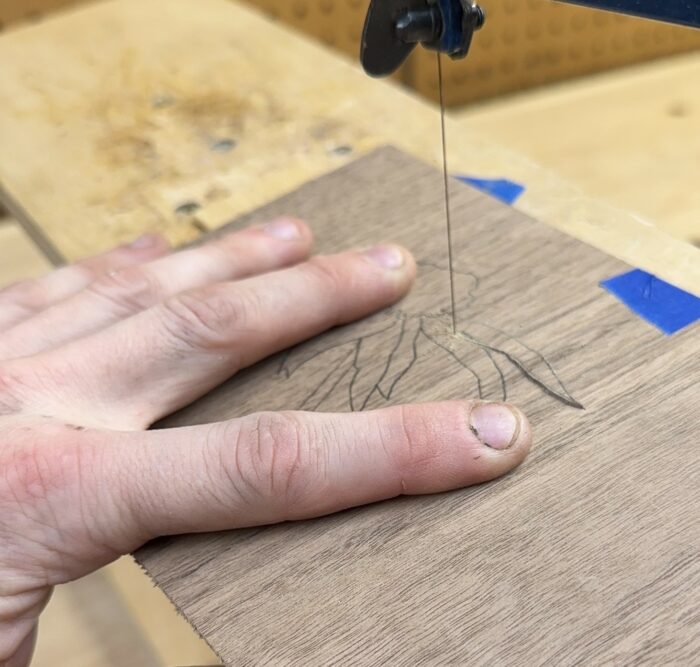
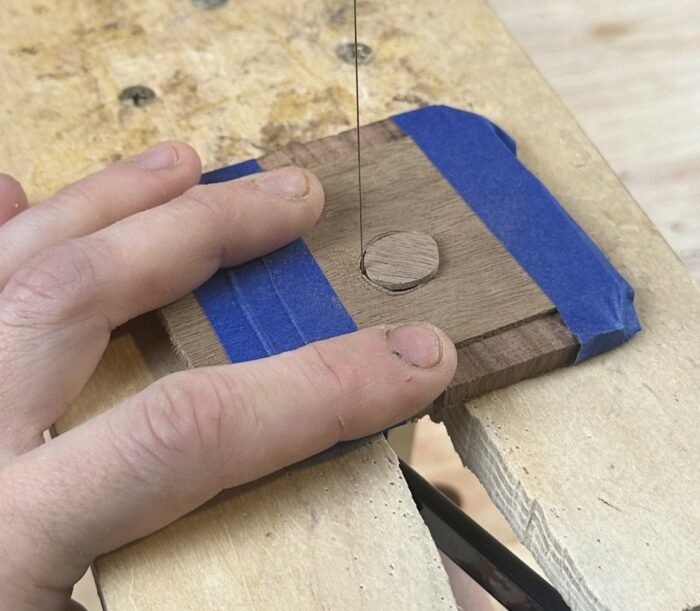
Thread a 2/0 blade in a deep throat fret saw, and with your donkey table tilted to the left 7 degrees, cut along your line moving clockwise. Be sure to focus on sawing straight ahead and perpendicular to the ground. Any deviations here will result in gaps when you assemble the panel. Test fit your piece and sand shade any portion that will be behind any subsequent petals.
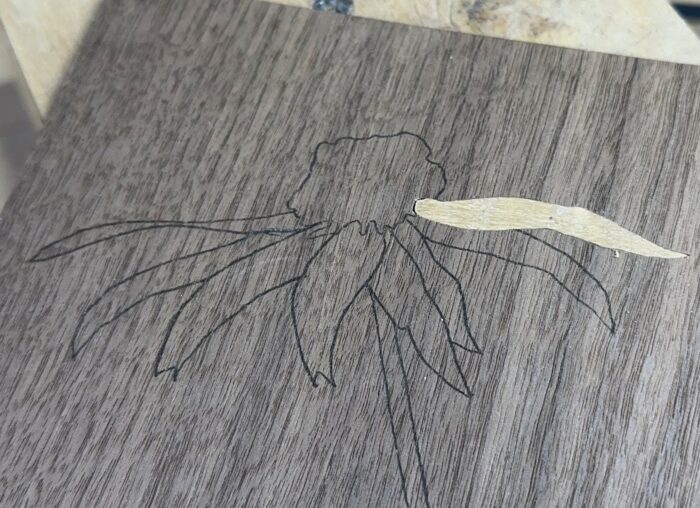
Apply glue to the edges of the inset piece and glue it into the field veneer. Redraw any lines in your design that you cut away so that your design is whole again. Identify the next piece closer to the foreground, drill, thread your saw, cut, sand shade, and insert. The process of double-bevel marquetry is extremely repetitive – you simply identify individual pieces to be cut, determine the optimal order to cut them in, and get to work.
Adding Dimension
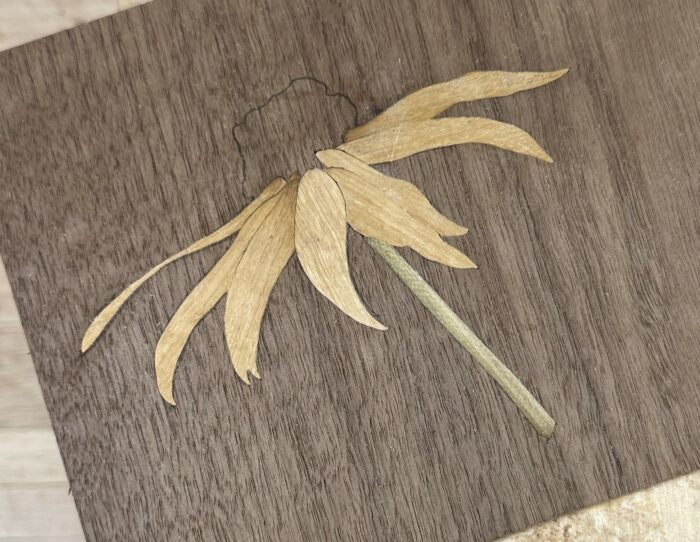
Once you have finished with the petals and stem, its time to move onto the three-dimensional portion. Before taping your thicker veneer on and getting to sawing, you first have to figure out the optimal sawing angle. I find it’s best to do this on a practice piece first.
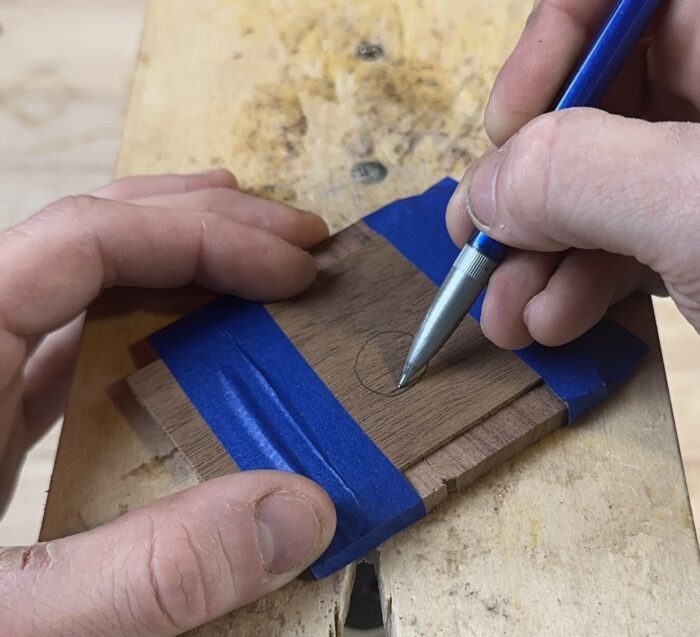
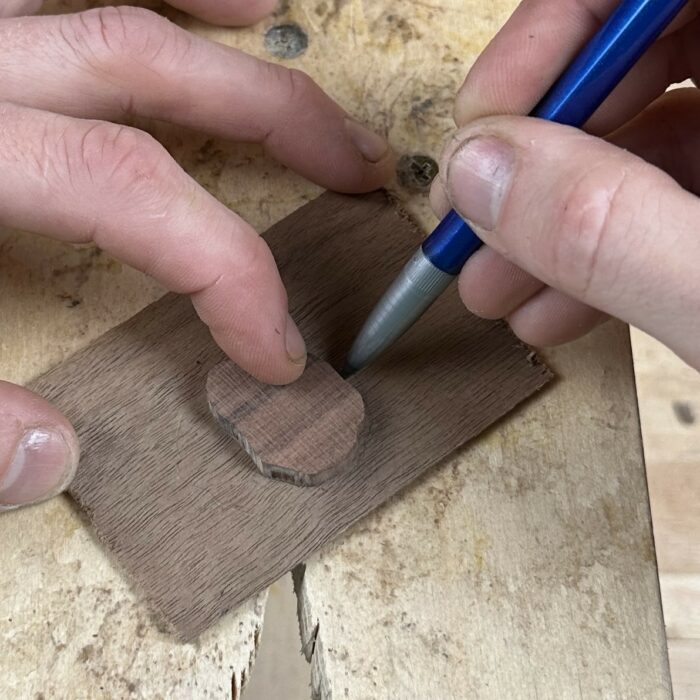
Take a scrap piece of your field veneer and tape a scrap of your thicker insert veneer to the bottom. Draw any random shape you want – this is just a test piece. I did a circle since it is similar to my project piece.
Since the insert veneer is three times as thick as normal, the angle of the table needs to be decreased. I have found that with a 1/16” field veneer and 3/16” insert veneer, about 2.5 degrees works best. Drill and cut your test piece as you would any other veneer. The thicker veneer can be kind of a slog to saw through, so take your time. You also may find that when you get to the end of the cut, your waste will release before your insert piece. If this happens, gently move your saw up and down until the insert piece releases – if you’re too aggressive here you could cause damage.
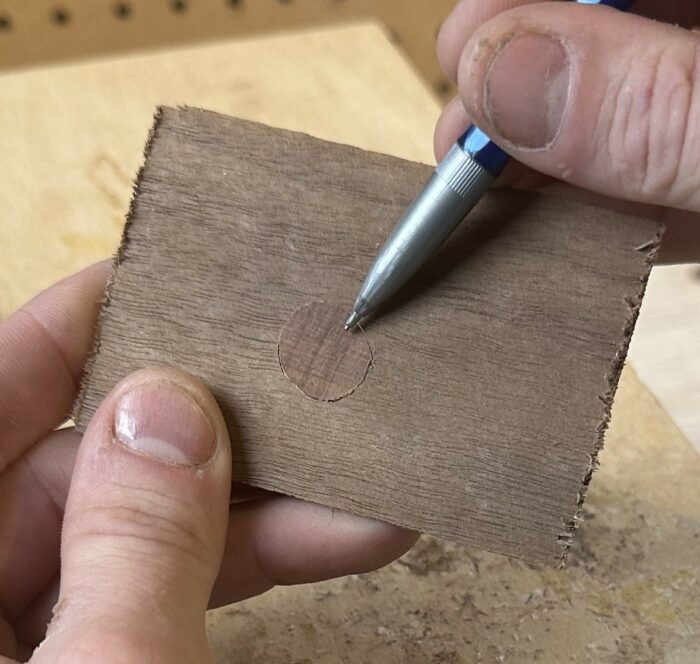
7. Insert the test piece into your field veneer and examine the fit. Ideally, the insert piece will be flush with the field on the back and 1/8” proud on the front. If it’s too loose, your angle isn’t steep enough. If it’s too tight, your angle is too steep. Adjust your table accordingly and cut another test piece until you have established the correct angle. In my piece, you can see some small gaps. I increased the cutting angle on my project piece to ensure a gapless fit.
8. Retrace the three dimensional portion of the pattern onto your field veneer if you haven’t already. Position and secure the thicker veneer to the back of the field (don’t be afraid to use ample tape here – you really don’t want things to shift!). Drill a pilot hole and cut, again taking your time to account for the much thicker insert veneer. Test fit the insert veneer and admire your work.
Finishing it Off
In order to make the three-dimensional component more convincing in the image (and visually interesting), you can shape and add texture. You could do this after gluing the piece in place, but then you’d risk damaging the already completed components of the project. You could shape it freehand prior to glue up, but if you aren’t careful, you might modify the geometry of the piece where it fits in the field, resulting in an unsightly gap. I find it best to make a quick little jig that allows you to safely and methodically shape your insert piece without risk of ruining it.
 |
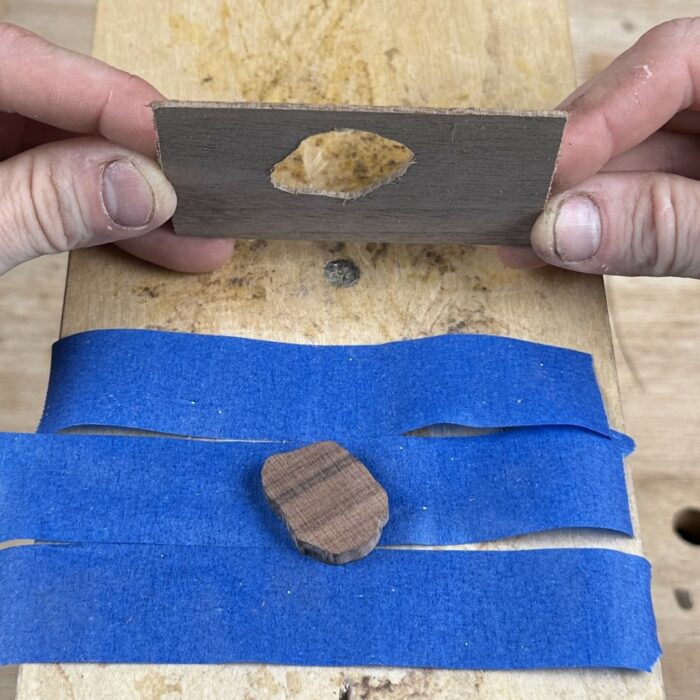 |
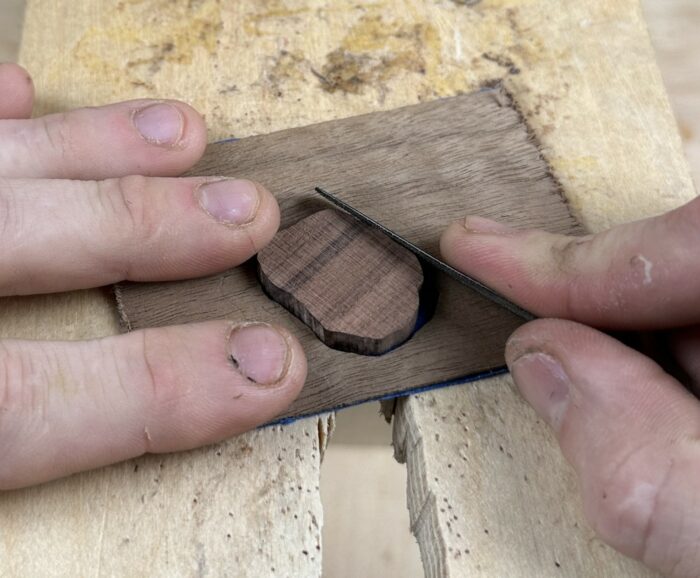
Start by tracing your insert piece on a scrap of your field veneer material. Using your fret saw, cut a hole in the scrap slightly larger that the line you drew. Place some blue tape sticky side up on your bench and place the insert veneer show side up in the middle, Affix the scrap veneer onto the blue tape so that the insert veneer protrudes through the hole and trim excess tape.
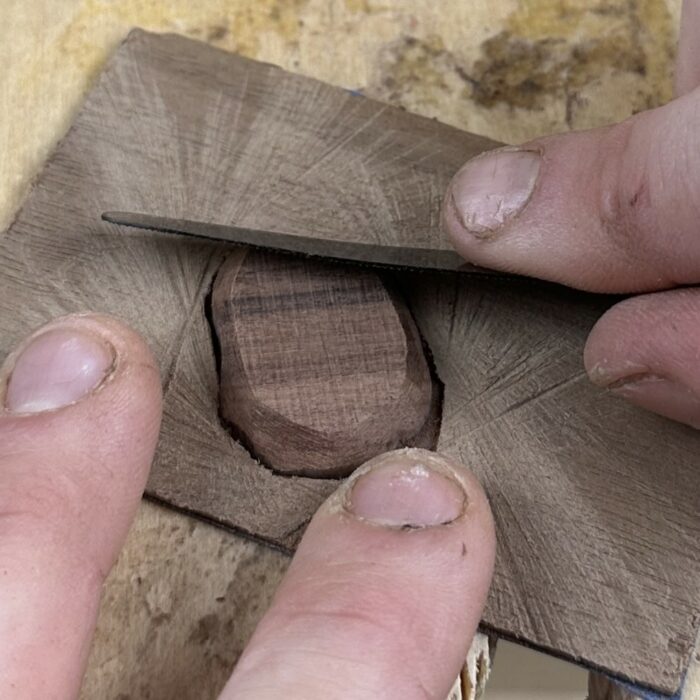
Use a small finger file (or sandpaper affixed to a popsicle stick) to shape the insert piece. I do this by resting one edge of my file against my scrap veneer and angle it at about 45 degrees against the
insert piece. File back and forth, turning the scrap veneer as you work to ensure you are hitting every edge of your insert veneer. Continue this process until the facet you are creating is just proud of the scrap veneer – this ensures that your piece will be shaped entirely before it enters the field veneer.
 |
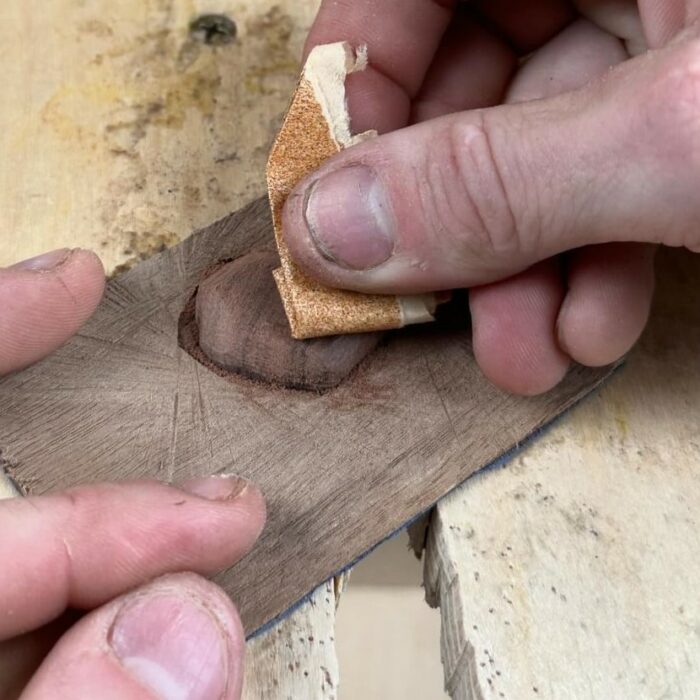 |
Angle your file 45 degrees against the top edge of the facet you created and repeat the process in step 10 to create another facet entirely around the insert piece, this time further up from the field. Continue this process until you have created a series of concentric facets to your liking. I left a bit of a flat spot on my project because I knew I was going to add some texture. Soften all the facets you created with a file or some folded sandpaper – the idea is to round and dome the insert piece.
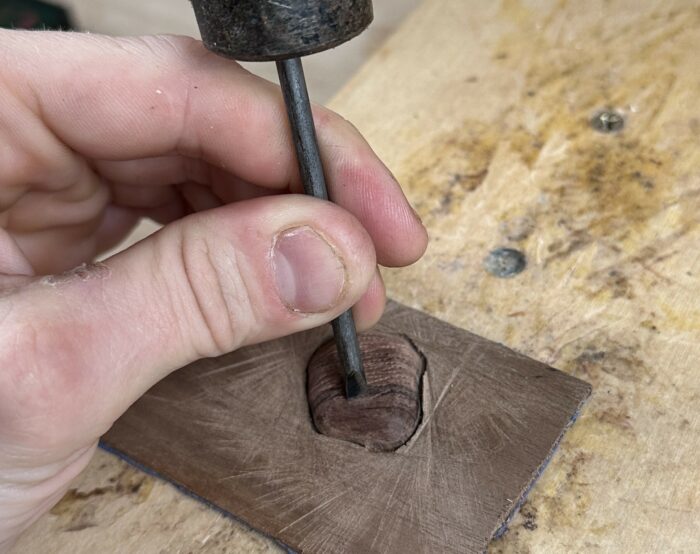
To add some texture to the insert piece, I use a small punch from a set of jewelers punches. I’ll test out the punches on some scrap first to identify the look I am going for, and then with the insert piece still in the jig for shaping, I’ll fully texture it.
After you have shaped and textured the insert piece to your liking, it’s a good idea to surface the rest of your project prior to gluing it in. The three-dimensional insert piece will make any sanding or scraping of the full panel a chore, so spend your time wisely here. Apply glue and insert the three dimensional piece just like any other veneer. You can now incorporate the panel into other projects or enjoy it on its own by affixing it to a substrate.
Sign up for eletters today and get the latest techniques and how-to from Fine Woodworking, plus special offers.

