Tips For Turning Spalted Wood
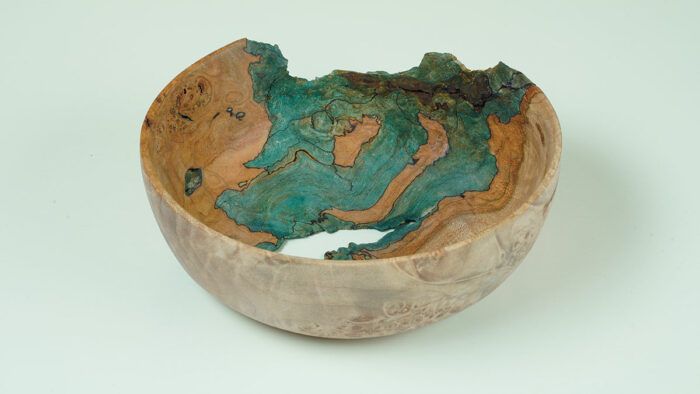
Synopsis: Spalting, the internal coloring caused by fungi in wood, offers a great opportunity for woodturners to enliven their work. The beautiful colors and patterns are found in domestic as well as exotic woods, and might even be as close as your firewood pile.
However, because spalting is a sign that wood is deteriorating, there are ways to choose wood wisely and work with it carefully to produce smooth cuts. Here is a guide to working with spalted wood, from choosing it to turning it, to finishing.
Richly colored and patterned woods are prized by turners, but exotic species and burls can be both pricey and hard to turn. Spalted woods offer an easier path to eye-catching work.
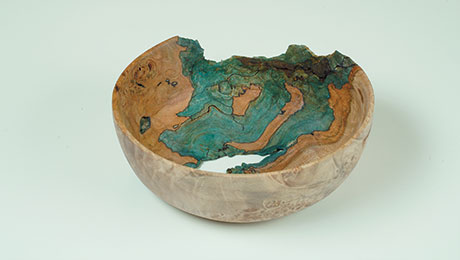
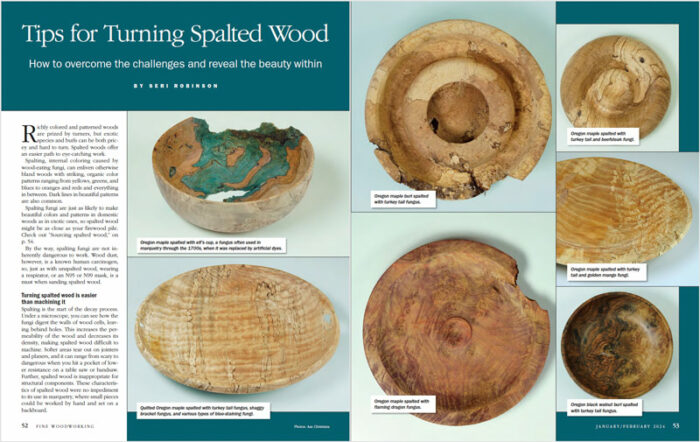
Spalting, internal coloring caused by wood-eating fungi, can enliven otherwise bland woods with striking, organic color patterns ranging from yellows, greens, and blues to oranges and reds and everything in between. Dark lines in beautiful patterns are also common.
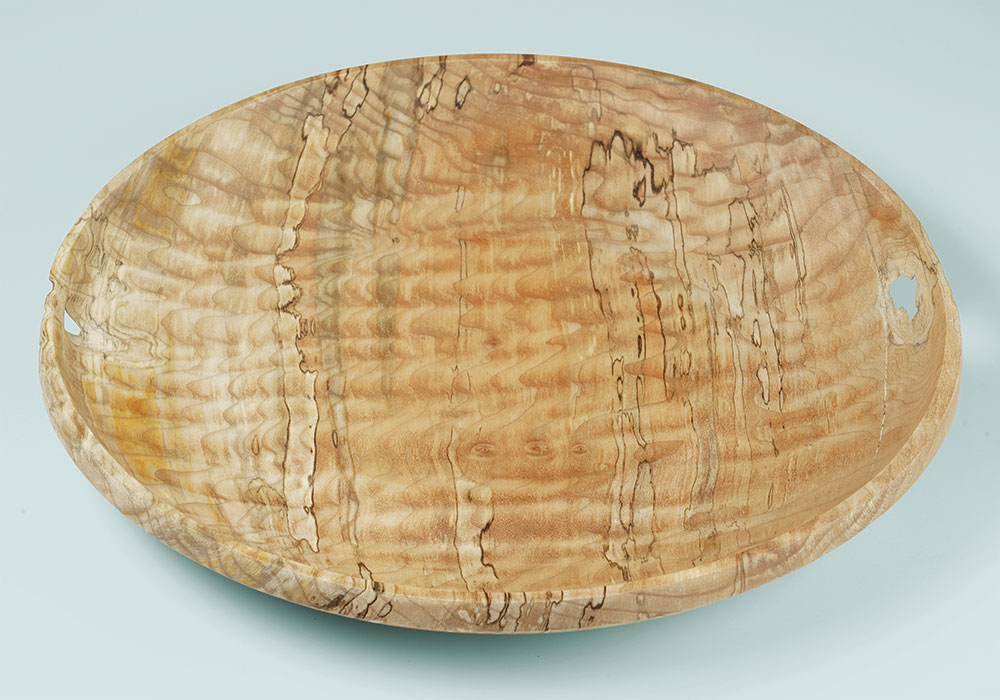
Spalting fungi are just as likely to make beautiful colors and patterns in domestic woods as in exotic ones, so spalted wood might be as close as your firewood pile.
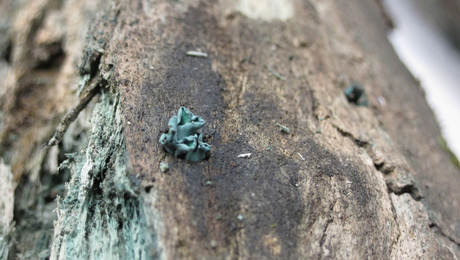
By the way, spalting fungi are not inherently dangerous to work. Wood dust, however, is a known human carcinogen, so, just as with unspalted wood, wearing a respirator, or an N95 or N99 mask, is a must when sanding spalted wood.
Setting up for success
Spalted wood is weaker and less consistent than sound wood, so you’ll need to slow down and use very specific techniques. But it’s well worth the extra effort.
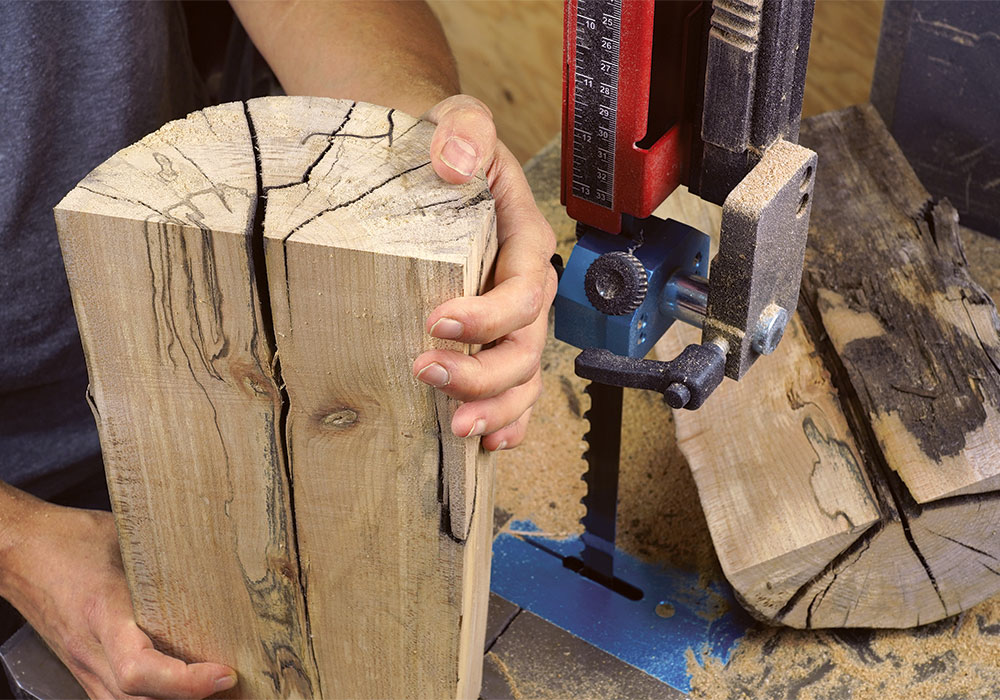
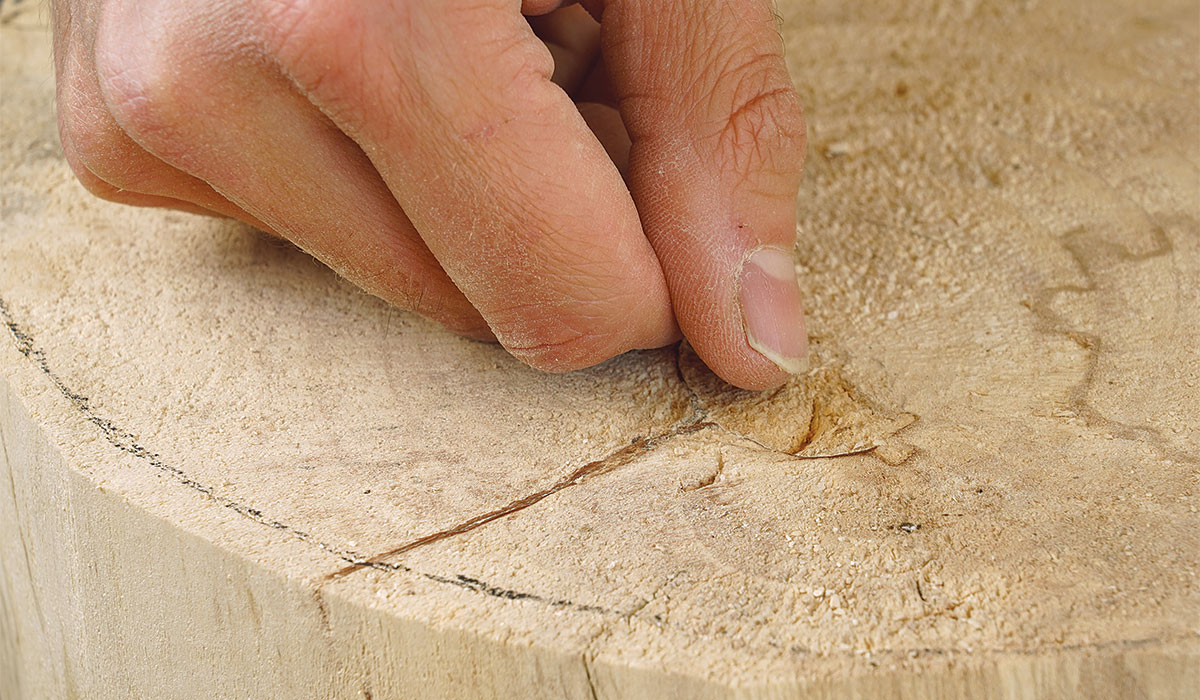
TipThe fingernail test. Press hard with your thumbnail to evaluate punkiness and rot. A deep dent shows a weak structure, found where white rot has progressed significantly. |
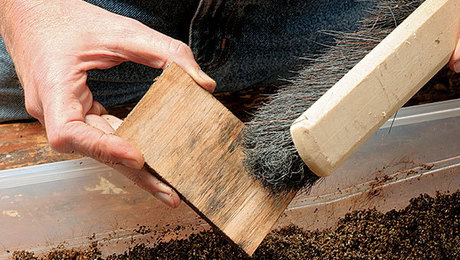
Sourcing spalted woodSpalted wood might be as close as your firewood pile or local big-box store, hiding in piles of standard oak, maple, and pine. Some stores even carry “blue” or “denim” pine with blue spalting. You can also find spalted lumber at retail hardwood stores, from independent, local businesses to chains like Rockler and Woodcraft. There are also specialty retailers online, such as Cook Woods, who will ship you spalted turning blanks in a variety of species. You can also spalt your lumber by introducing various types of fungi to sound wood. I covered that process and more general information for furniture makers in a 2008 article titled “Spalted Wood” (FWW #199), along with several blogs on FineWoodworking.com. Wherever you get your spalted wood, it will be much easier to turn if it is fully dried, because moisture exacerbates the differences in density between spalted and sound areas. Retail material is likely to be kiln-dried and have a low level of overly soft punkiness. You’ll pay a premium for it, but it will pay you back on the lathe. |
Turning spalted wood is easier than machining it
Spalting is the start of the decay process. Under a microscope, you can see how the fungi digest the walls of wood cells, leaving behind holes. This increases the permeability of the wood and decreases its density, making spalted wood difficult to machine.
Softer areas tear out on jointers and planers, and it can range from scary to dangerous when you hit a pocket of lower resistance on a table saw or bandsaw. Further, spalted wood is inappropriate for structural components. These characteristics of spalted wood were no impediment to its use in marquetry, where small pieces could be worked by hand and set on a backboard.
Woodturning, by contrast, is one of the best ways to work with spalted wood. For one thing, turned work isn’t always functional or structural. Another advantage is the control that turning offers. While most woodworking machines tend to spin at a fixed speed, with the blade brought to the wood at a set angle under continuous pressure, these factors can be varied on a lathe and adjusted on the fly.
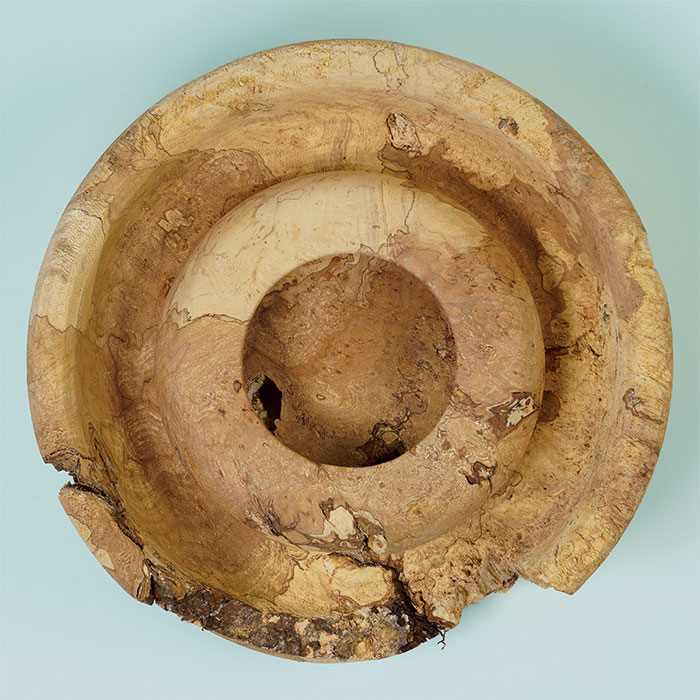
With the right tools and techniques, you can minimize tearout as you turn, and produce smooth cuts in all sorts of spalted wood. And that’s a good thing because spalting makes it harder to clean up major problems in the usual way—by sanding the piece while it’s spinning on the lathe.
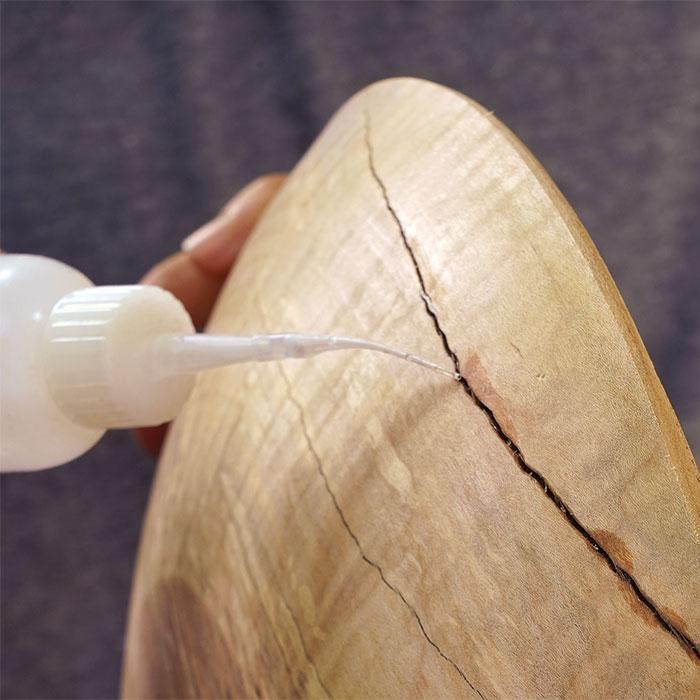
Stabilizers usually aren’t necessary—Some turners think that to turn spalted wood successfully, it must be fully stabilized by injecting resin or glue into it. However, some of the punkiest pieces can be turned successfully using the techniques outlined in this article. That said, I do sometimes stabilize cracks and punky areas with a squirt of cyanoacrylate (CA) glue.
Turning the outside of a bowl
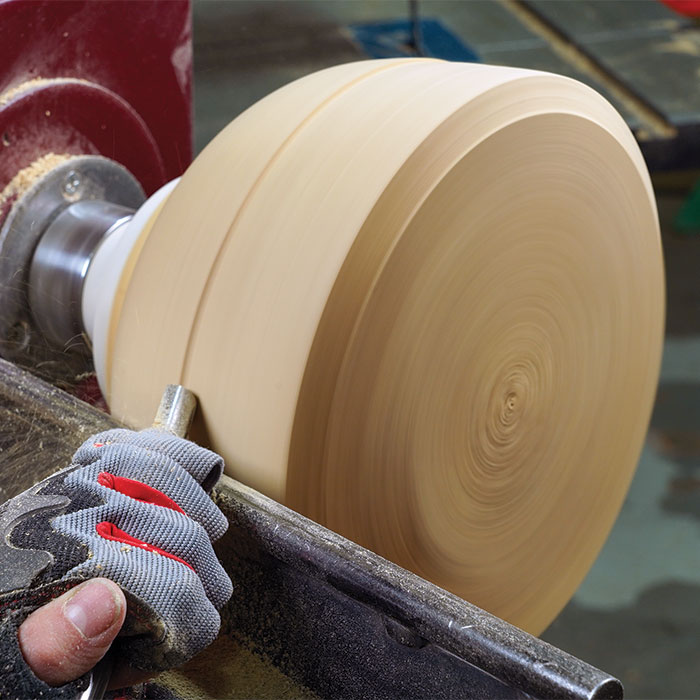
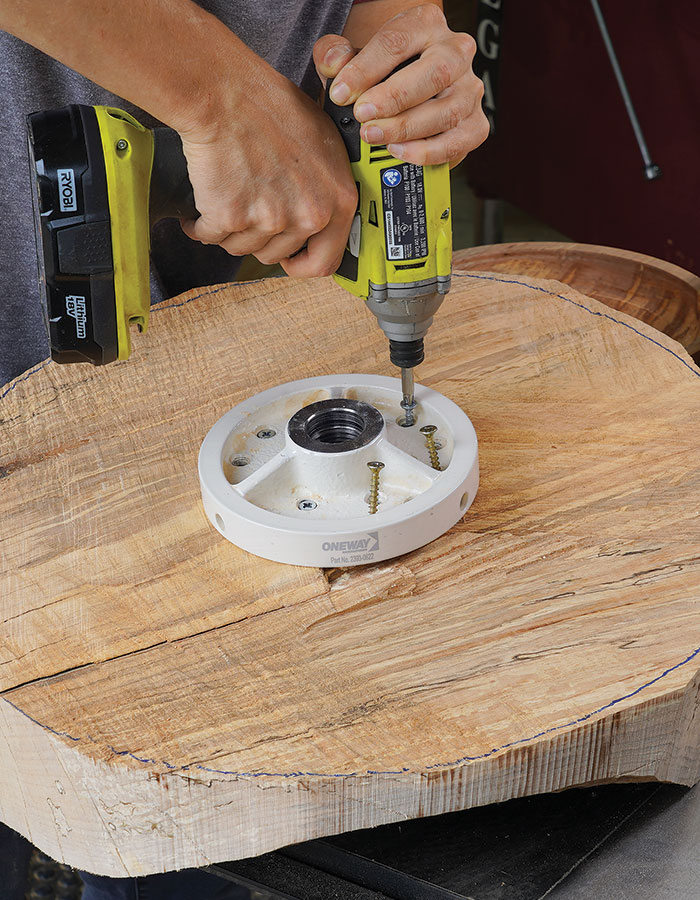
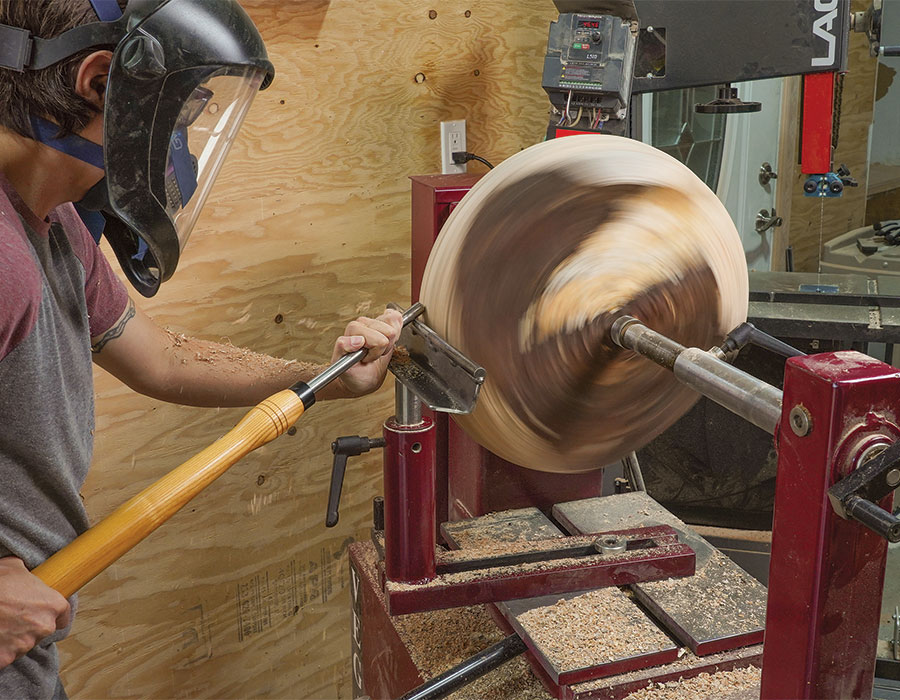
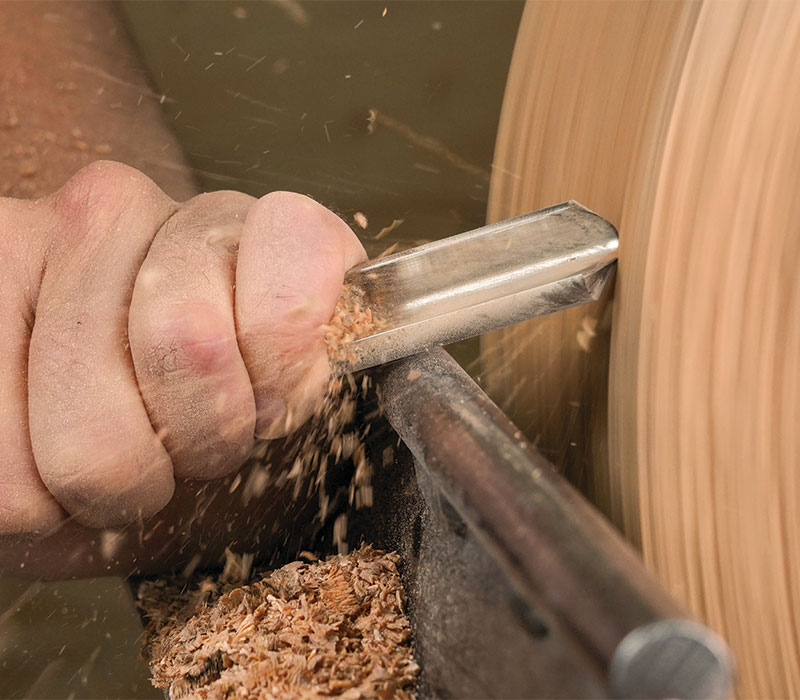
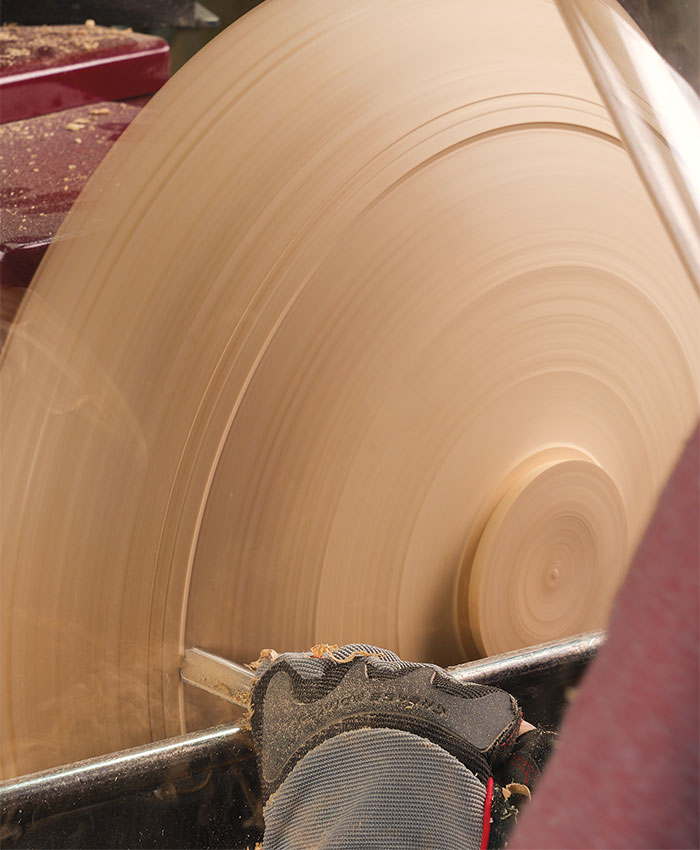
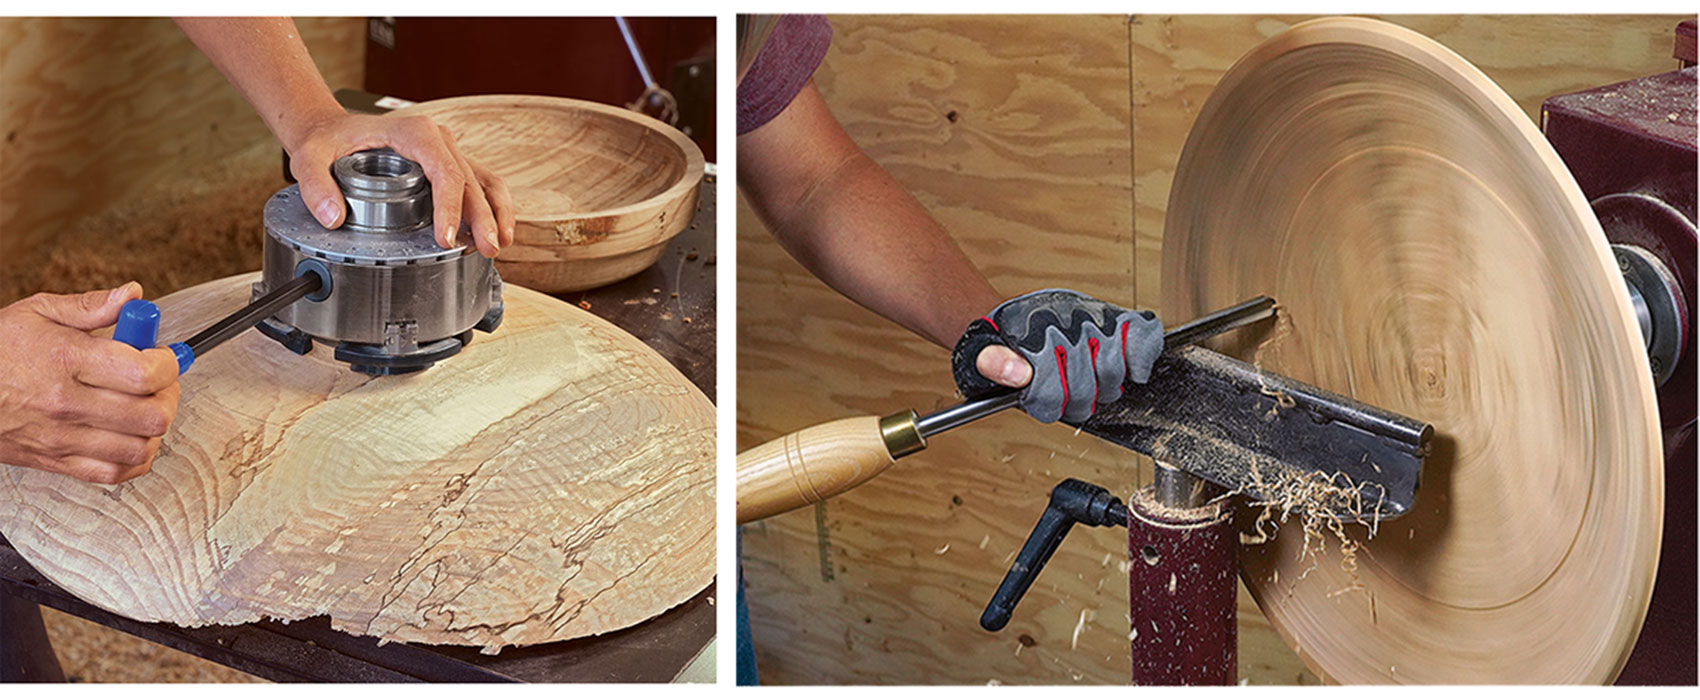
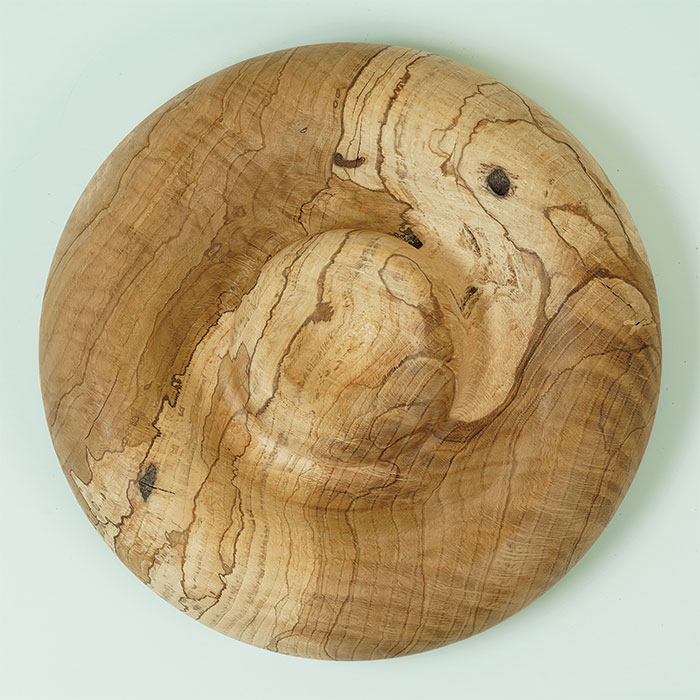
Robinson uses a faceplate while turning the exterior and adds a small foot that will be held in a chuck for turning the interior.
Choose blanks and forms wisely
Just because you can turn any piece of spalted wood successfully, that doesn’t mean you should. Not every piece deserves to be turned. You’ll need to balance its beauty with the potential tearout, stabilizing, and sanding you’re willing to put up with.
And no matter how good you get at evaluating spalted blanks, you can still expect a failure rate of roughly one-third, in my experience, from big damage, cracks, and unexpected degrees of rot.
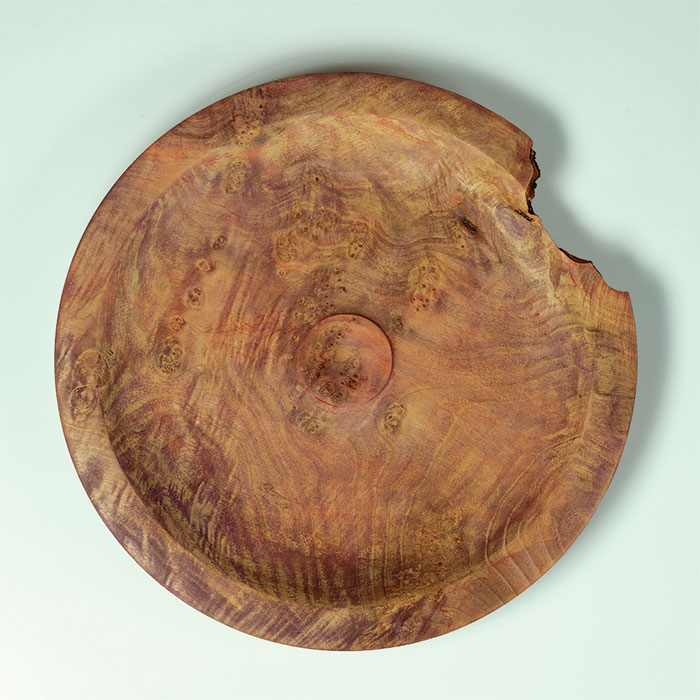
Consider the type of spalting—White rot is the most destructive type of spalting. If it’s too advanced, your spalted wood is firewood. However, some white-rot fungi secrete dark pigments that build up at the edges of colonized areas, creating so-called zone lines, which can be very beautiful. These can make white rot worth dealing with. Pigmentation, specifically any coloring other than that of white rot, is less damaging to the wood structure.
Bowls and platters work best—When starting out turning spalted wood, stick with basic forms and thicker walls. Wide bowls and platters are ideal, as they offer lots of support for the cutting forces and showcase spalting beautifully.
Spindles can also be turned from spalted wood. There aren’t that many uses for non-structural spindles, however, so I’ve focused on bowl and platter forms in this article.
Turning the inside of a bowl
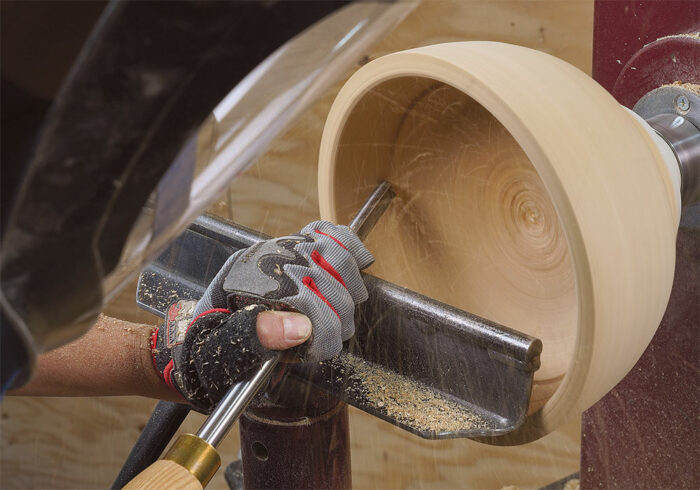
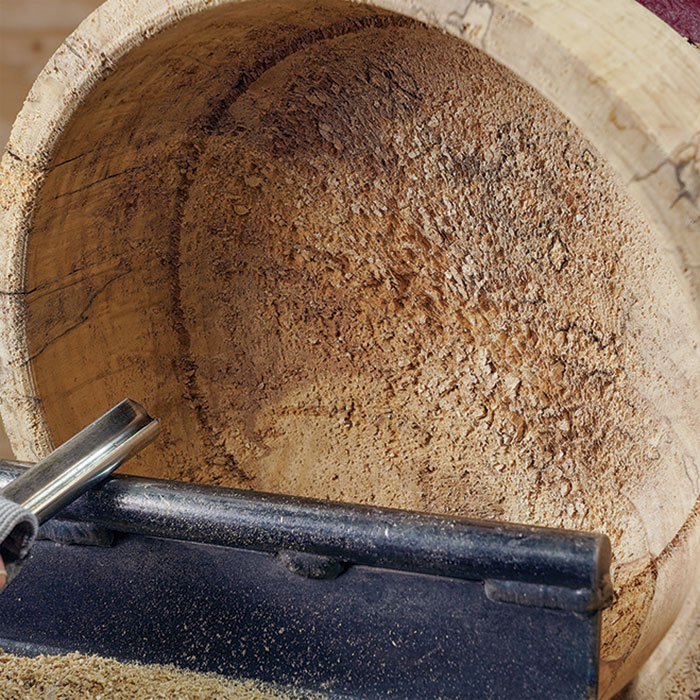
Remount the bowl using a four-jaw chuck to secure it. The same techniques that were used on the outside of the bowl can be used for the inside.
Secrets of Success
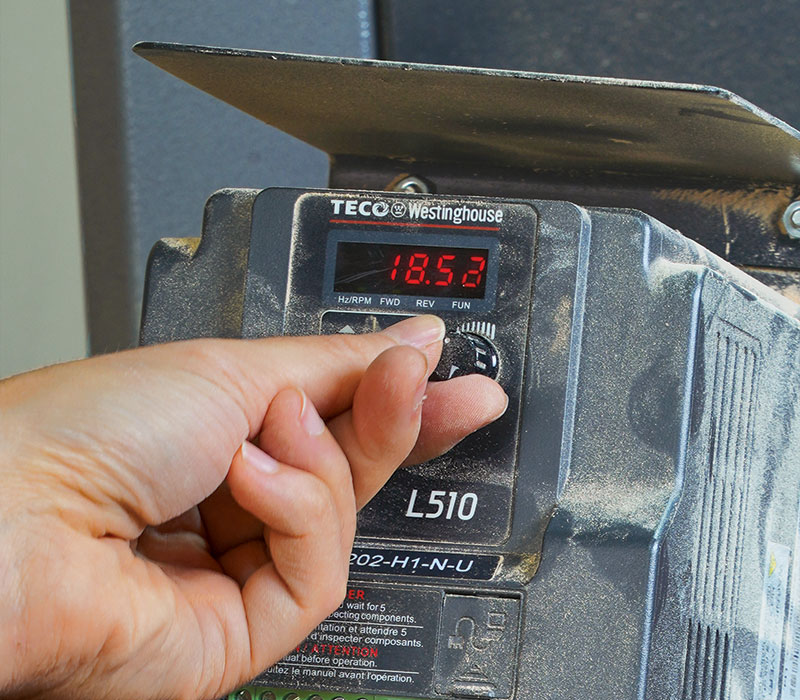
Faster speeds usually make wood easier to turn. But spalted wood has dramatic differences in density, which can throw blanks out of balance, so slower speeds are advisable.
It’s especially important to go slow when roughing spalted blanks to round; stay at speeds below the point at which the lathe starts shaking. This will help faceplate screws maintain their hold and also force you to make light cuts, which will help you avoid blowing up the piece.
Using rough, aggressive cuts to quickly round a rough blank will take big chunks out of spalted material. Because heavy sanding isn’t possible on this material, you need to take lighter, relatively clean cuts to start with. Scraping tools are another no-no, for the same reasons.
While your initial cuts will inevitably cause some tear out, it can be eliminated as soon as the surface is fully round and unbroken. This is done by keeping the bevel of the tool in contact with the wood as you lever the tip into the cut. Riding the bevel will prevent the tip from diving into softer sections.
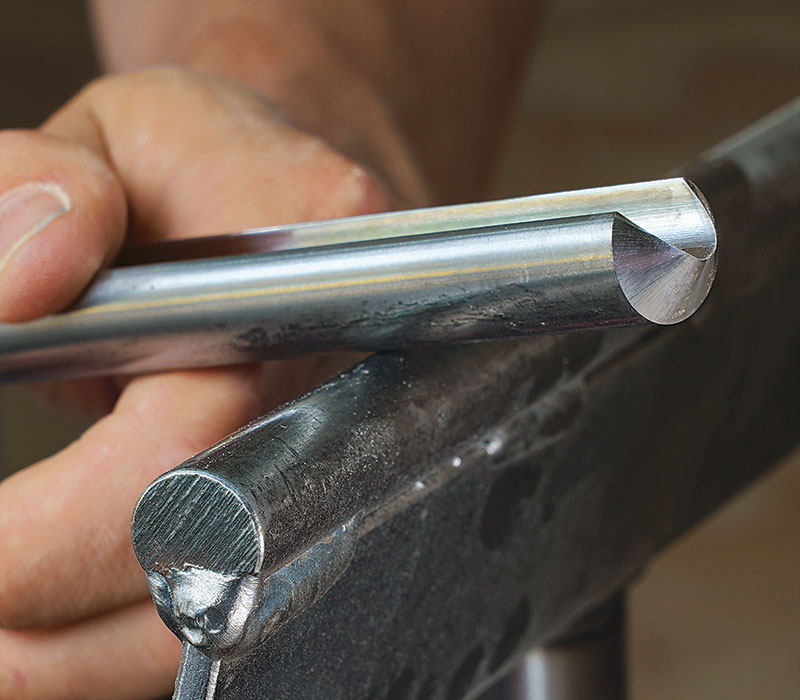
Because aggressiveness is the opposite of what we want in spalted material, a traditional bowl-gouge grind is best. This grind falls in the middle between the two extremes—flat “bottom feeders” and pointy fingernail grinds—offering a bevel that is wide enough to make a smooth transition between the side and bottom of a bowl.
Sanding and finishing
Spinning a piece on the lathe for sanding doesn’t work well with spalted wood. Robinson spins the abrasive instead of the work.
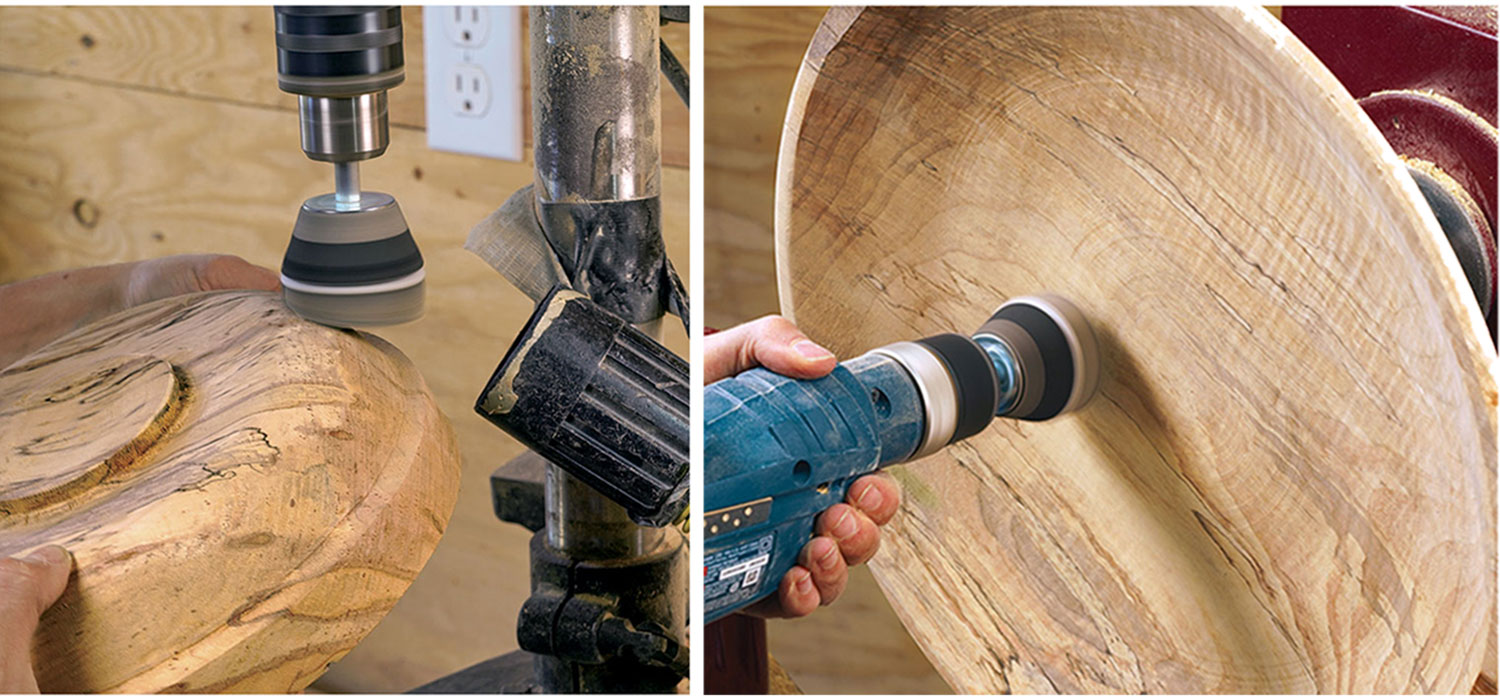
Alternatively, the work can stay on the lathe (not spinning), and the sanding mandrel can go in a handheld drill, set on its highest speed (right). Robinson frequently starts at 220 grit, and always goes to 600 at least, continuing up to 2000 in many cases.
When to fix it and when to pitch it
|
Sanding and finishing are different—Your first goal is to avoid tearout in the first place, which will prevent excessive sanding. But sanding is still necessary.
The problem with sanding spalted wood in the usual way, while the piece is spinning on the lathe, is that the softer areas will be removed much more quickly than sound ones, leading to an increasingly bumpy surface.
The best way to sand spalted projects is to spin the sandpaper, not the project, using a small mandrel that can be mounted in a drill press or handheld drill. The sandpaper takes the form of hook-and-loop disks, attached to a soft foam pad.
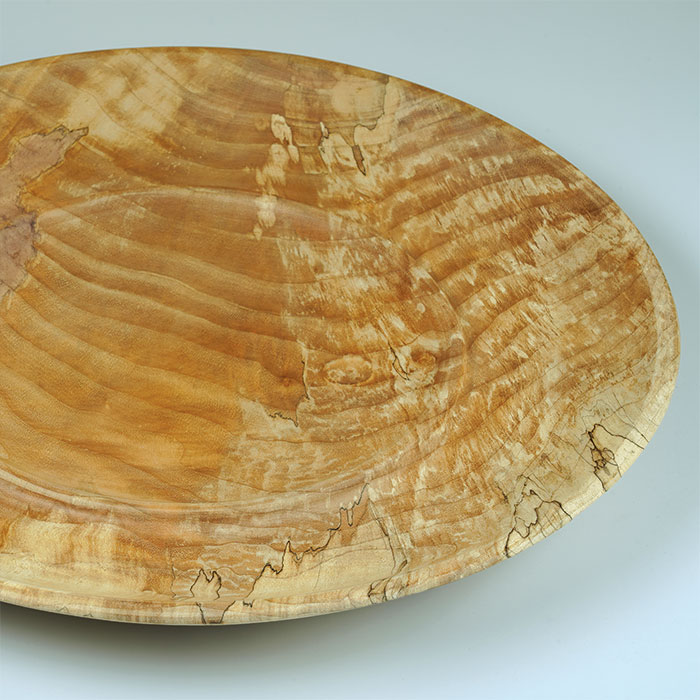
I’m usually able to start sanding at 220 grit, and it doesn’t take long to remove tool marks and smooth out the surface. Then I move up through 600 grit at least, going as high as 2,000 to produce a buttery soft surface that shows off the spalting beautifully and needs no finishing at all.
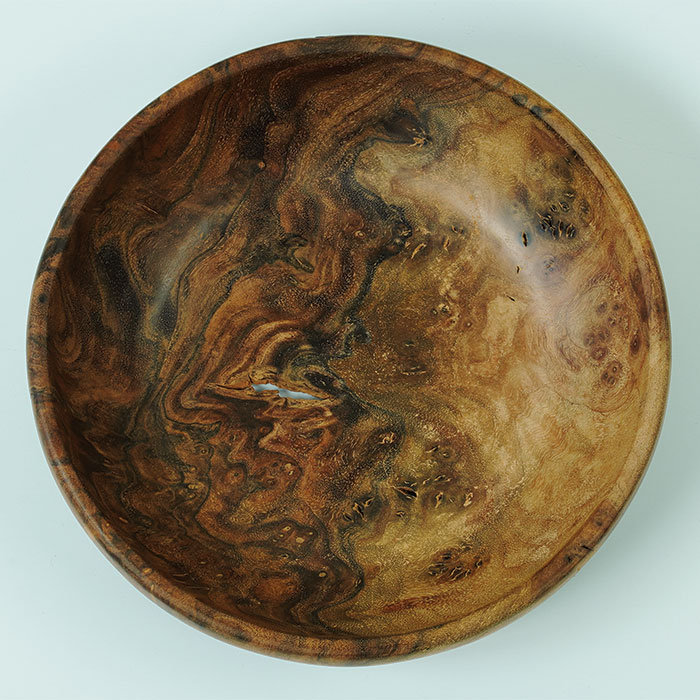
I avoid finishes on spalted wood. The worst are oil-based finishes, whether they build a film or not, because of the way they penetrate spalted wood unevenly, creating a varying sheen.
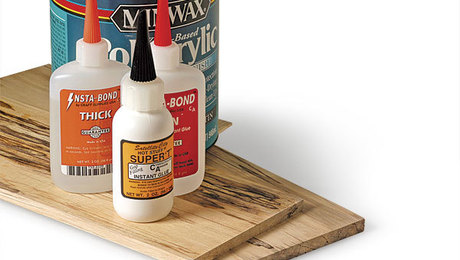
If you must finish a spalted piece—because it will be used and handled often, for example—water-based acrylic finishes, such as Deft Acrylic, work well, as do true lacquers, like Deft’s brushing and spray-can versions.
–Seri Robinson is a professor of wood science and an avid woodturner.
Photos: Asa Christiana.
To view the whole PDF, click on the “View PDF” button below:
From Fine Woodworking #308
Spalt Your Lumber
Spalted Wood: Let’s Talk About Health
Best Finish for Spalted Woods
Sign up for eletters today and get the latest techniques and how-to from Fine Woodworking, plus special offers.
Download FREE PDF
when you enter your email address below.

