Traditional Tansu, Part 2: Drawers and Doors
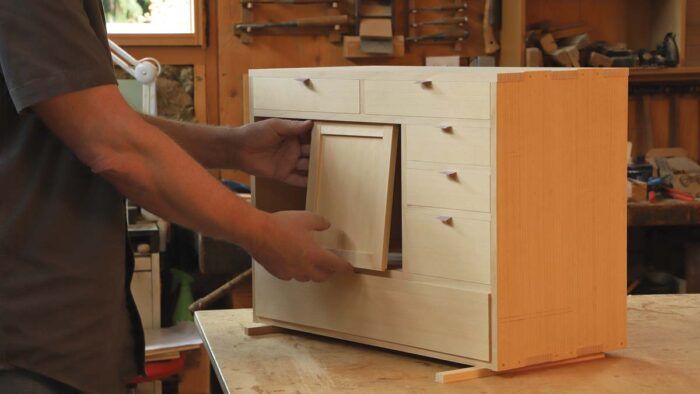
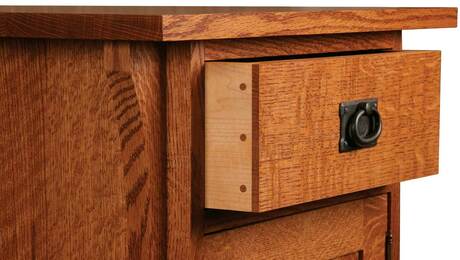
Tansu drawers are built differently from their Western counterparts. They have pinned joinery at the corners, and the bottom of a tansu drawer, instead of being slotted into grooves, is pinned directly to the bottom of the drawer box. In use, the whole bottom is supported by the dust shelf beneath it.
This kind of cross-grain attachment can be problematic in wider drawers, so for the three wide drawers, I made bottoms composed of two or more pieces tongue-and-grooved together so they can expand and contract. I also used high ring count, very dry, vertical-grain western red cedar.
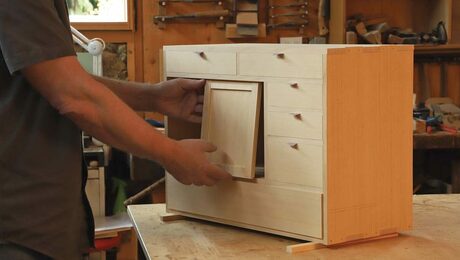
The first step is to verify the fit of each drawer front and determine the orientation. Because I can be a bit of a grain nerd, I try to keep everything oriented in the same direction as it came from the board; that way when light hits it, no piece will reflect differently from the others. Tansu drawer fronts should be snug, but not super tight. (Pro tip: Do not push them all the way flush, as they might be extremely difficult to get back out. Trust me on this.)
Tansu drawers start with rabbets
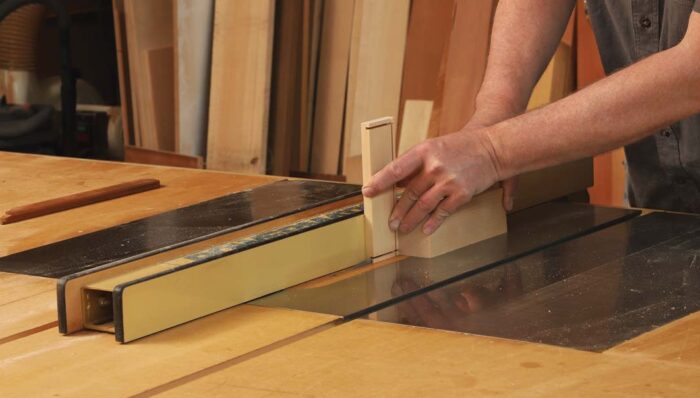
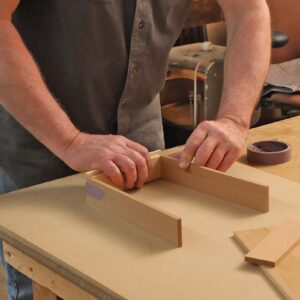
Once all of the fronts are oriented and marked, it’s back to the table saw for rabbeting. I rabbet both ends and the bottom edge of each drawer front, and then, using a chamfer plane, I cut a 45° chamfer along the inside top edge of the drawer front.
Tape the drawer box and pin it
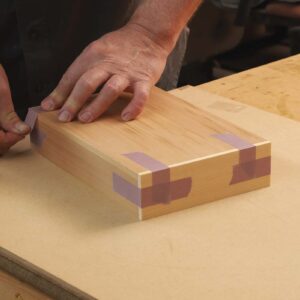
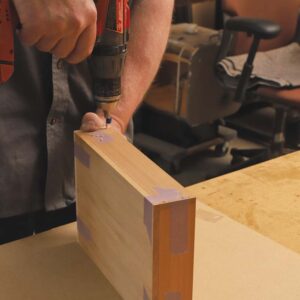
With all the drawer parts made, it’s time to drill for pins. Using tape, I assemble each drawer dry, then do all of the pin layout, and drill. For drawer joints, I typically use two pins near the top. This not only strengthens the weakest part of the drawer, but I also think it looks cool. The pins I use are 3/32 in.-diameter toothpicks. I cut them in half, so each toothpick yields two pins.
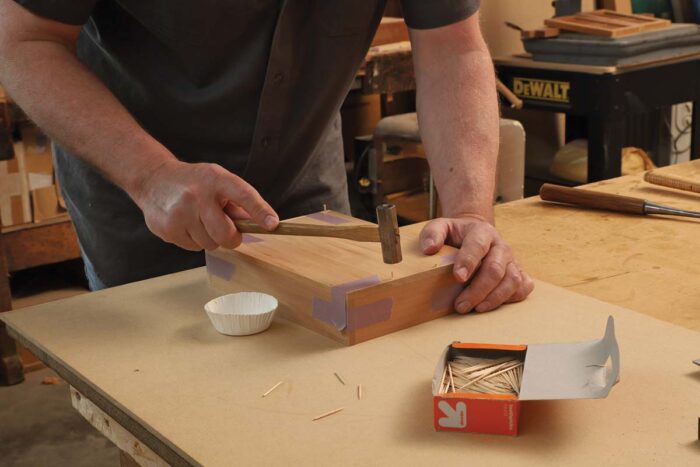
When all of the holes are drilled, it’s time to start gluing. Leaving the tape attached to the bottom, I remove the bottom and set it aside (noting its orientation). Next, I release the tape on one joint and open the drawer fairly flat. After applying glue to the joints, I pulled the tape tight and drove in pins dragged through the glue.
When one side is pinned, I cut off the pins, then repeat on the other side. Next I run a bead of glue around the perimeter of the frame, re-tape the bottom, and drive its pins. Because this process takes a little time, I recommend using glue with an extended open time. Apply clamps and set aside. When all of the glue has cured, pull the tape and plane the drawers to fit.
Tips for sliding tansu doors
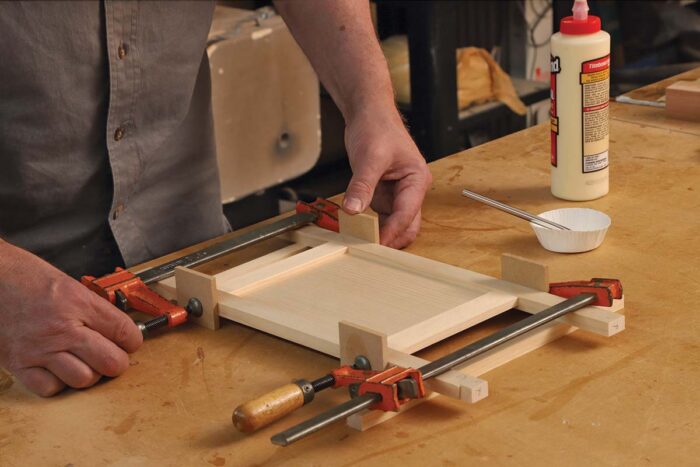
With the drawers complete, I move on to the mortise-and-tenon, frame-and-panel doors. To make the mortising of these small parts safer and the glue-up easier, I leave the stiles an inch or more over length on both ends until after assembly. Because these are light doors, be conservative with the amount of glue you use.
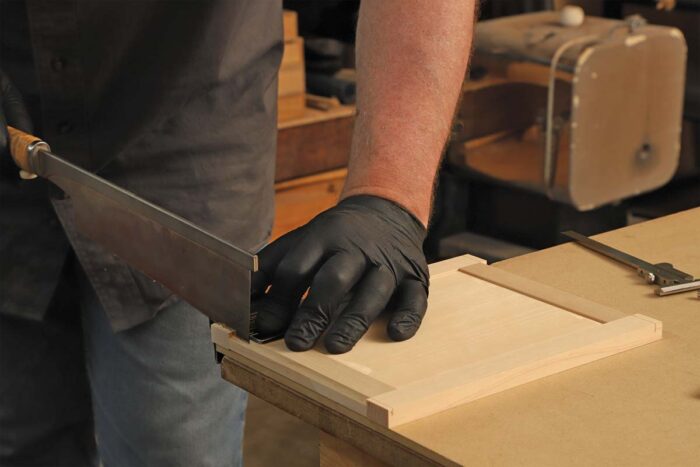
A very light wetting on the tenon and a light coat in the mortise is plenty. If squeeze-out can be avoided, it should be. I insert two rails into one stile, slide in the panel dry, then carefully tap on the other stile, making sure the panel edge doesn’t bind. Then I clamp, measure for square, and let cure. When the glue has dried, I saw away the extra material on the stiles and cut rabbets at the top and bottom of each stile to match the rabbets on the rails.
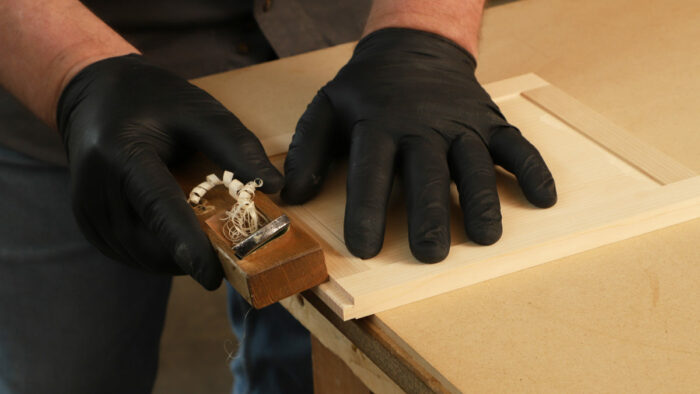
Last, using a rabbet plane, I adjust the fit of the doors until they slide freely (a little wax in the grooves helps a lot).
-This is the second of three posts for this project. Part 3: Shopmade tansu hardware on Feb 28th. Of course, if you can’t wait, the article PDF is available below, and the digital issue is available to Unlimited members now!
Traditional Tansu, Part 1: The case
Fine Drawers Without Dovetails
All About Japanese Planes
Sign up for eletters today and get the latest techniques and how-to from Fine Woodworking, plus special offers.

