Carve an Acanthus Leaf – FineWoodworking
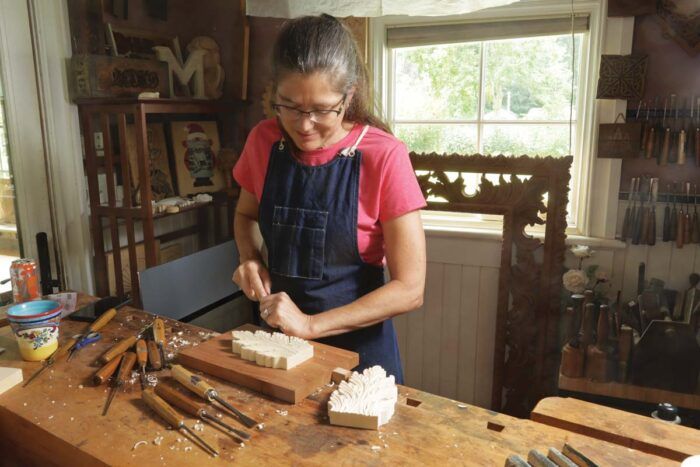
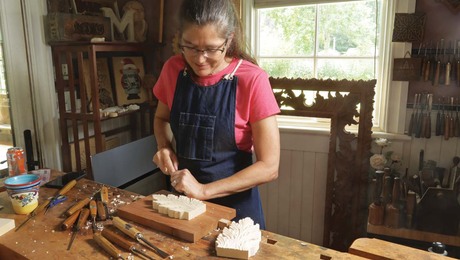
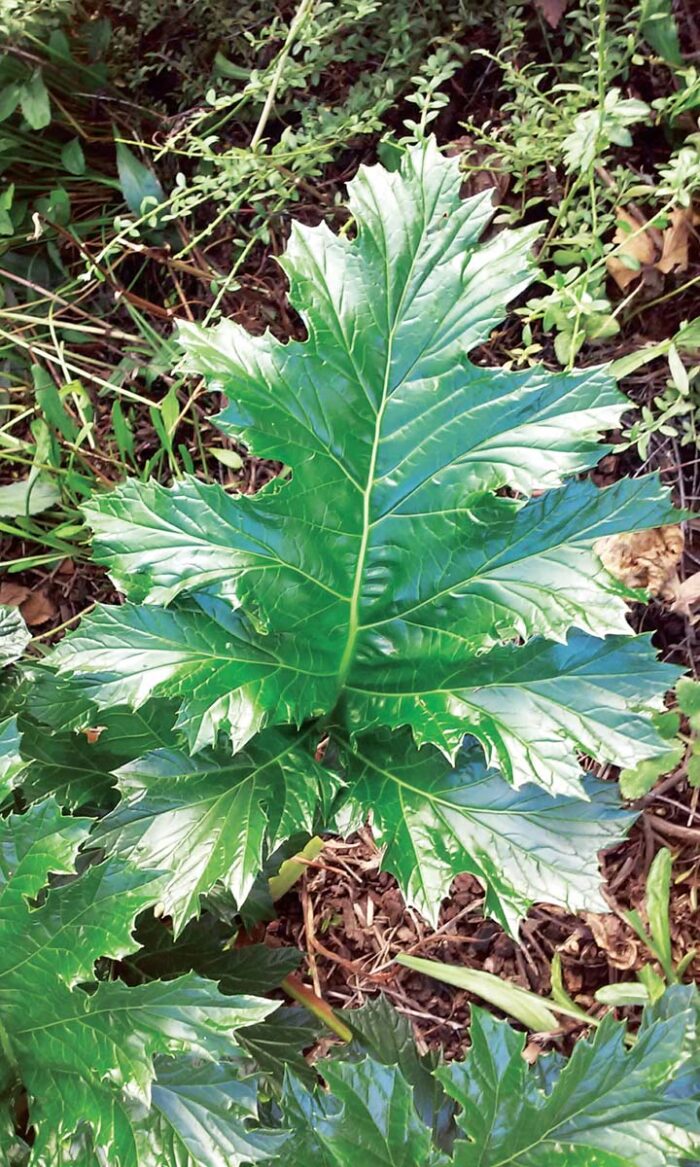
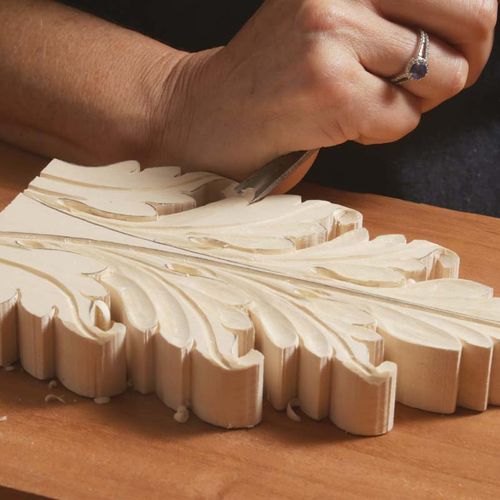
When teaching how to carve an acanthus leaf, I often ask my woodcarving students if they have ever seen an acanthus leaf. Usually, at least half of them say they’ve never even heard the word, much less seen the actual plant.
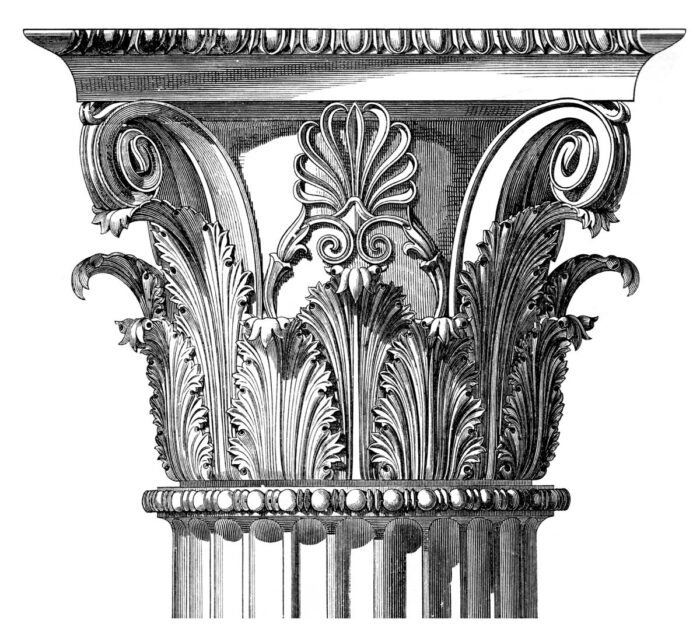
I explain that it is the leaf that curls in layers around a Corinthian capital, the leaf that repeats along the edge of a mirror or picture frame, and the scrolling, curling leaf commonly seen decorating antique furniture; and they discover that there is an actual plant behind this common design with millennia of history.
This article’s acanthus pattern is your entry point into that history. While this specific design is loosely based on the American Rococo bracket on a period fireplace in a 1780s home in Charleston, S.C., it’s also informed by countless other carved acanthus leaves I’ve studied. After drawing different versions through the years by simply copying earlier designs, I discovered a loose mathematical approach.
The easiest way to understand the details is to begin with a symmetrical leaf, like the one I carved here. From there you can create more curling, decorative leaves in endless variations. Numerous styles have adapted this leaf, and you should be no different.
If you do adapt your own, consider whether to use different gauges. I name specific tools for each step, but other designs, be they bigger, more ornate, or asymmetrical, may require gouges of other sweeps and widths.
Tools and Materials
Saw out the blank
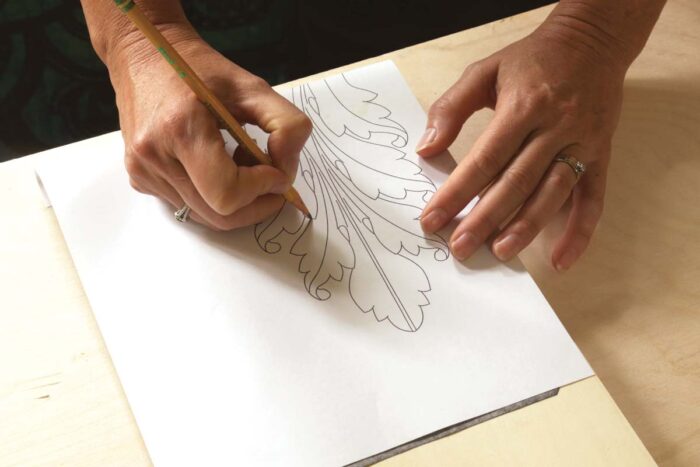
Use carbon or graphite paper to trace the design onto your carving blank. Note that the tracing has less detail, like veining, than the finished carving. This is because the initial carving would remove many of those details.
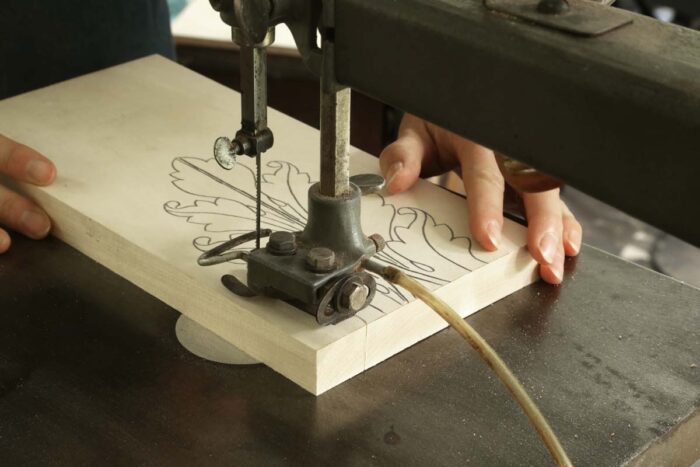
Saw out the blank. Cut as close to the perimeter as possible. You can use a bandsaw or fretsaw but May prefers a scrollsaw for its combination of ease and control.
Carve the vein of the acanthus leaf
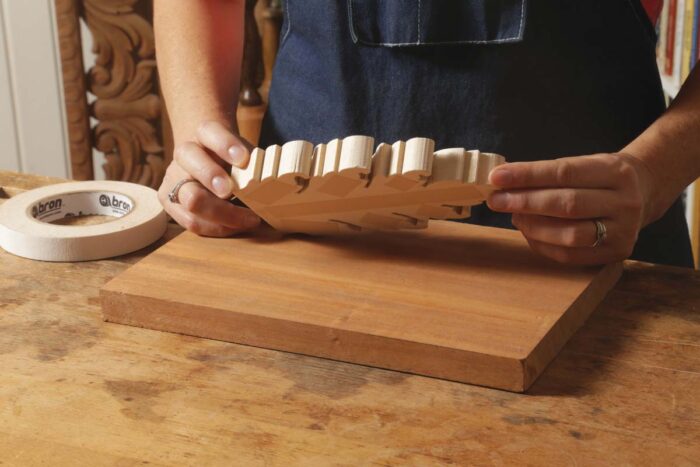
Secure the blank to a backer board with double-sided tape or a paper joint. This lets you clamp the backer board rather than the carving, giving you full, unobstructed access to the leaf.
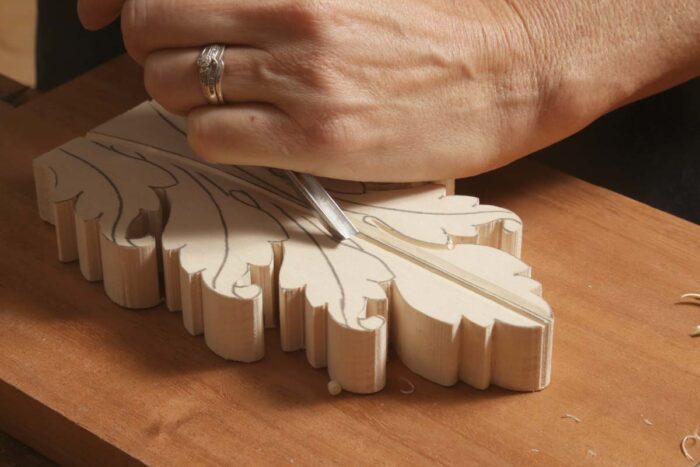
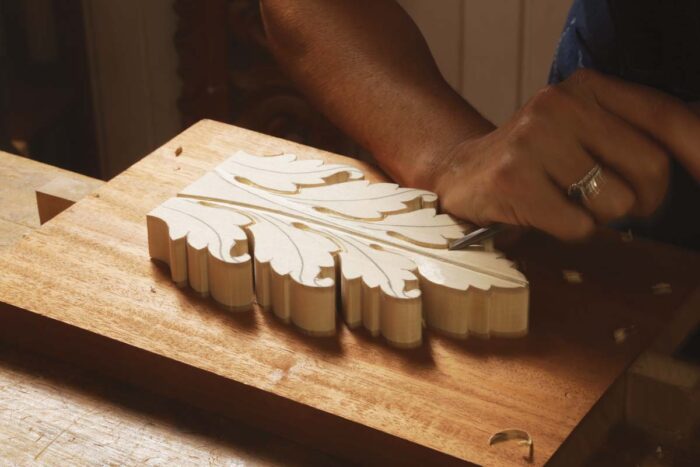
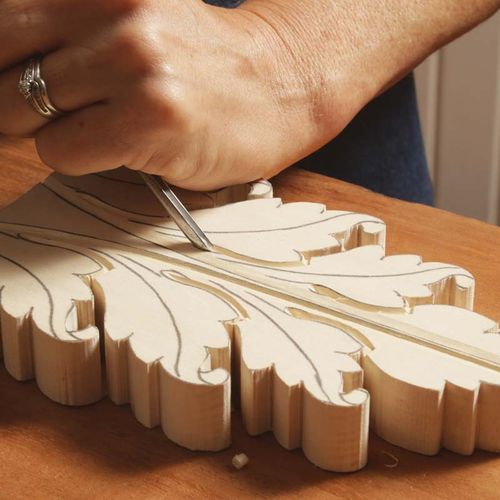
Use a V-tool along both sides of the middle vein. These cuts should start 1⁄16 in. deep but get shallower as they reach the tip of the leaf. Make several passes to reach the full depth and ensure clean, sharp edges.
Lower the leaf near the middle vein. Use a #3–14mm gouge, holding it bevel down while gently rounding it away from the vein until about ¼ in. into the leaf. A bench chisel-held bevel-down will also work.
Define secondary lobes and eyes
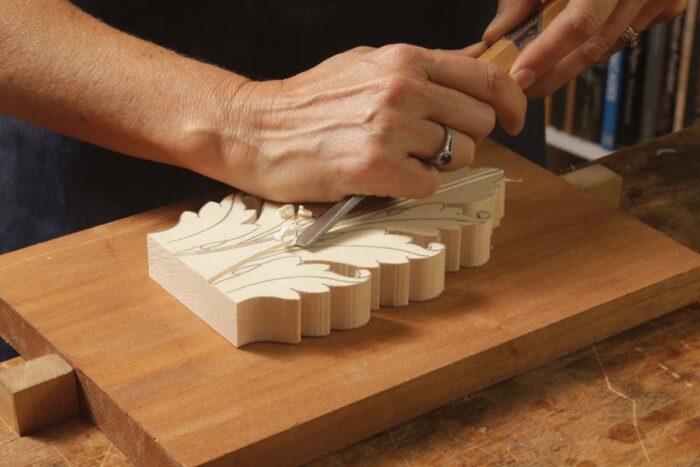
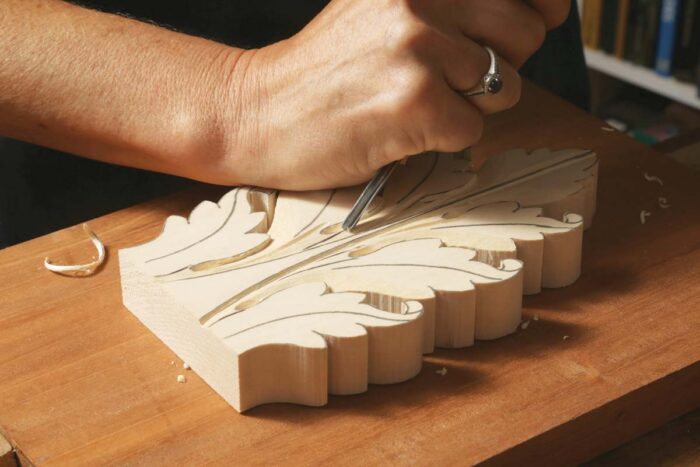
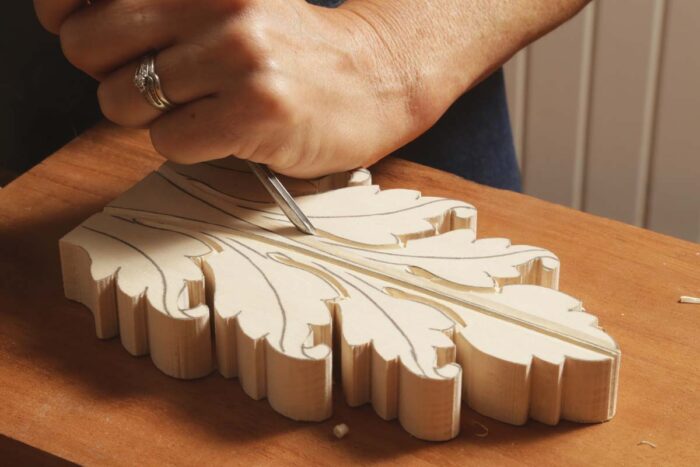
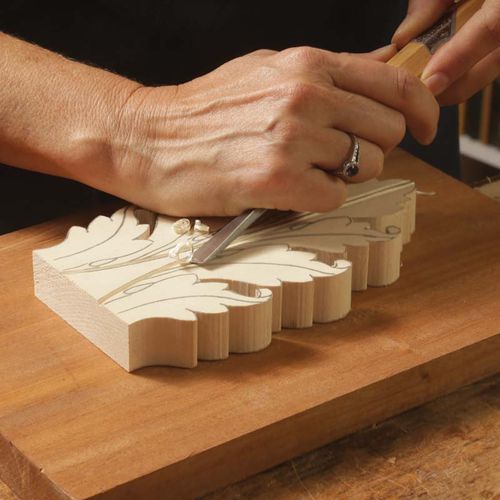
Use a V-tool where the secondary lobes overlap. Cut from the center of the eye and along the edge of the overlapping lobe. Make sure you leave the line visible, and that you cut on the side of the lower lobe.
 |
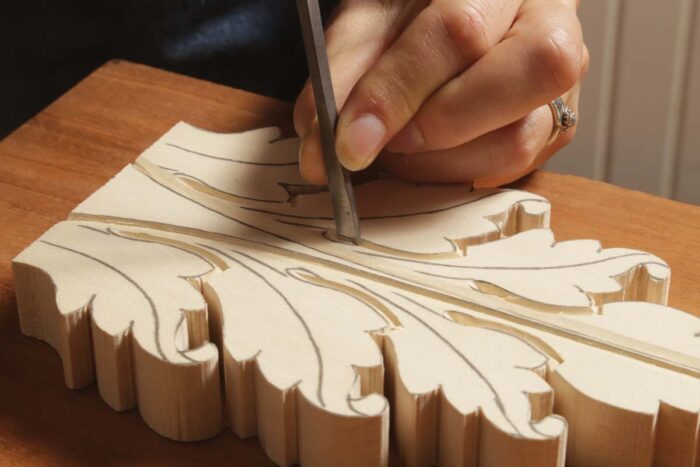 |
From the curved bottom of the eye before extending the walls. Hold a #11–3mm veiner at 45° for the curved, lower end of the eye. Then carve each side of the eye with a #3– 6mm to complete the teardrop shape. These cuts should be at a slight angle so they meet at a sharp corner.
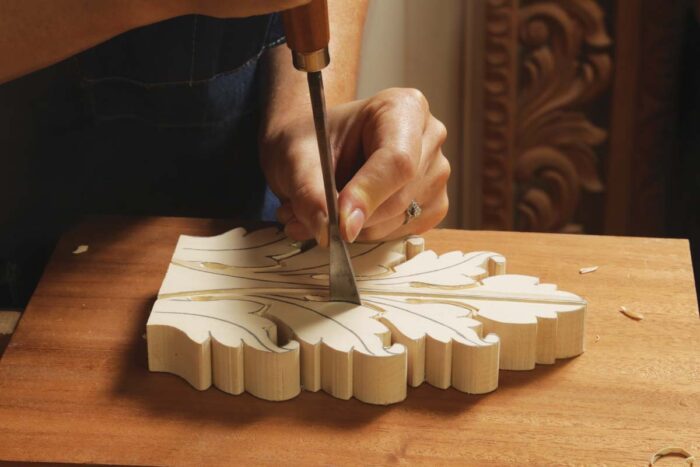
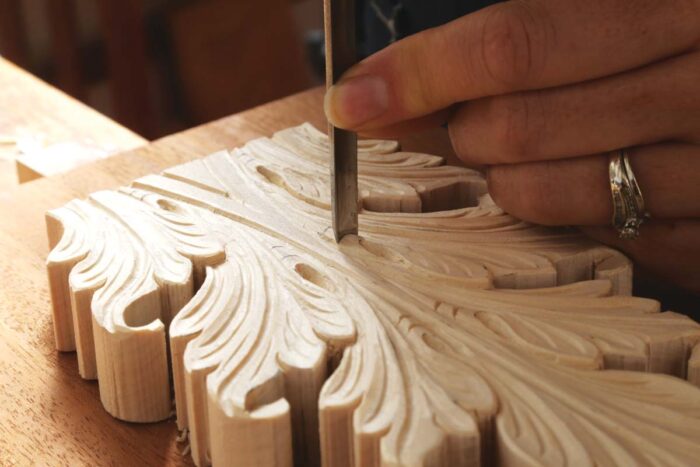
Define the secondary lobes’ upper edge. Make a vertical cut directly on the line. Use a #5–14mm for the longer sections and #3–6mm for the smaller sections. These cuts should connect with the eye’s walls.
Lower the lobe. Use a #3–6mm gouge. These cuts create the illusion that the lobes overlap.
Carve the pipes
Carve along the pipe. With a #11– 3mm gouge, make two sweeping cuts down the leaf to define the pipe. These cuts should start on either side of the eye and converge as they reach the middle vein.
In this design, these cuts also extend and curve around the eye to begin shaping the leaf detail. Round over any sharp corners with a #3–6mm gouge.
Curl the acanthus leaf tips
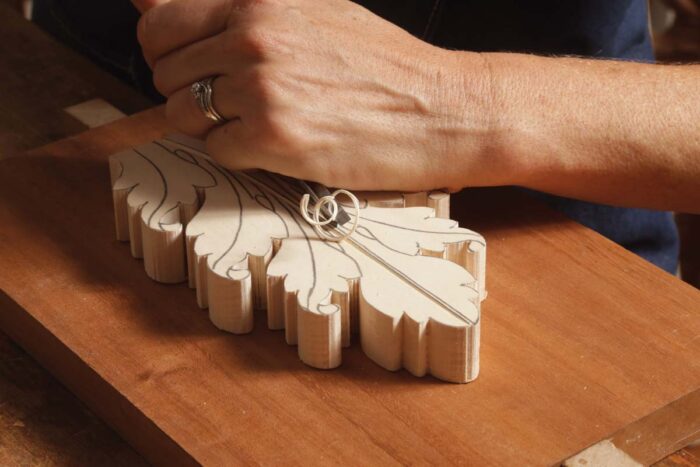
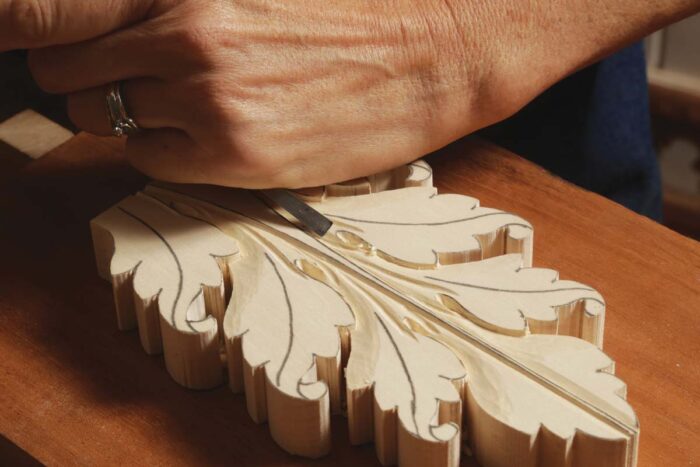
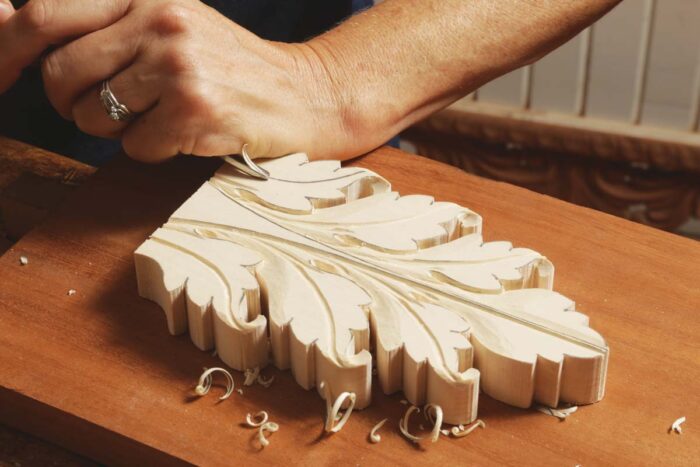
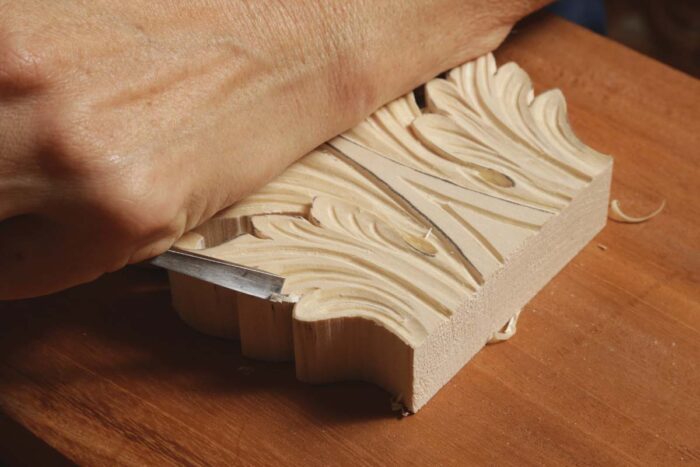
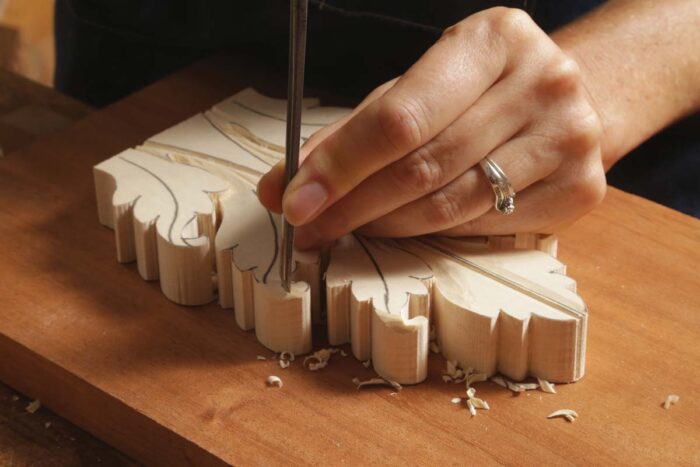
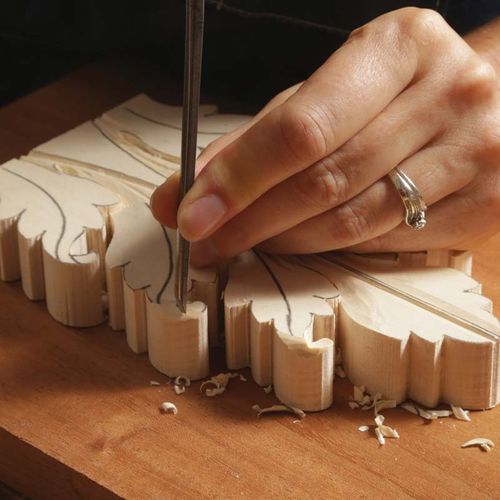
Round over the outer edges of the curling leaf. Use a #3–14mm and mind the grain direction. Take multiple smaller slices to maintain control.
 |
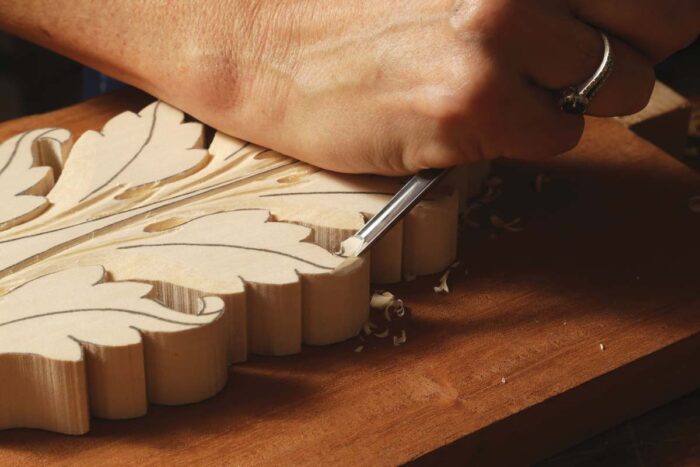 |
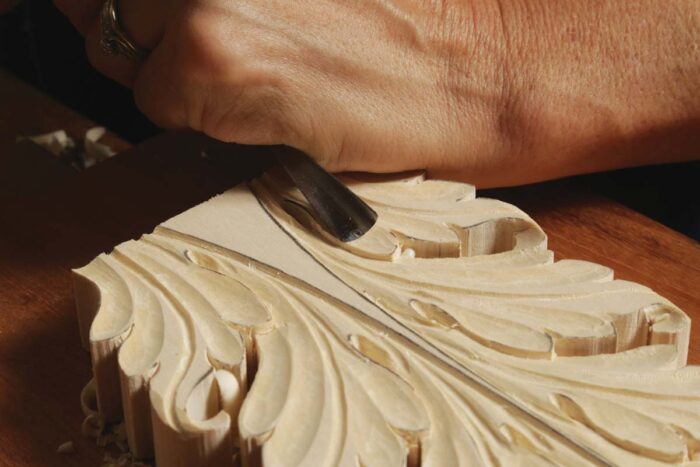
Lower the leaf. Using a #7–6mm, start with a vertical stop cut along the layout line (left). Follow up by angling the gouge 45° and carving toward the stop cut (right) so the leaf tip looks like it’s curling under.
Veins and serrations
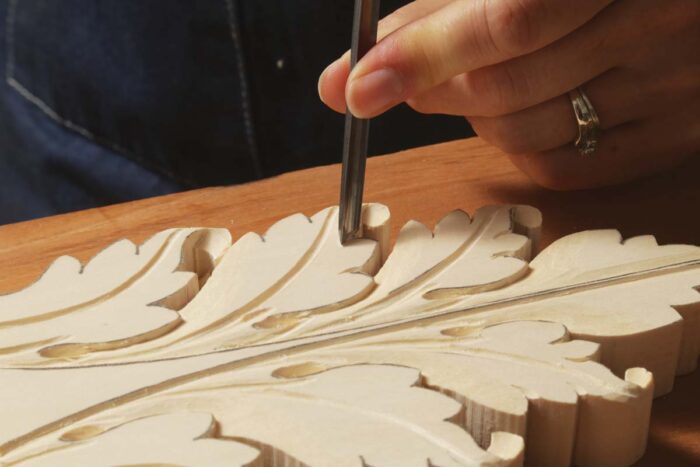
Carve the primary lobe’s center vein. Using a #11–3mm gouge, make sure this line curves in a natural, pleasing S shape as it follows the lobe’s curl.
 |
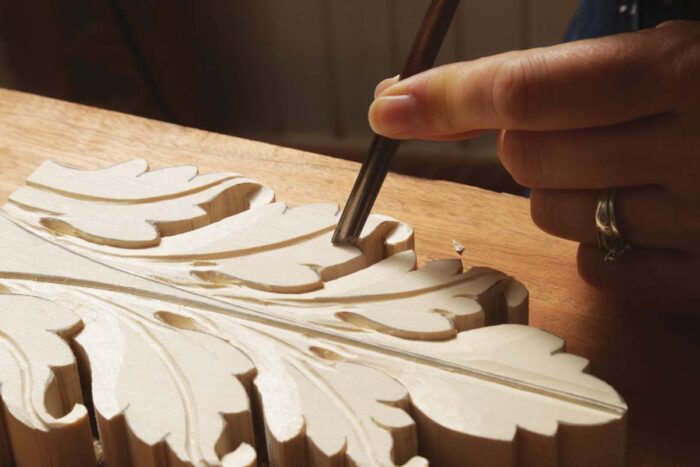 |
Notch the serrations using a thumbnail cut. Carve these serrations with two cuts using a #7– 6mm. Start with a vertical chop that continues the serration into the leaf, then angle the gouge to remove a small triangular chip. This should give the appearance that the lobes slightly overlap.
Add depth to the lobes
 |
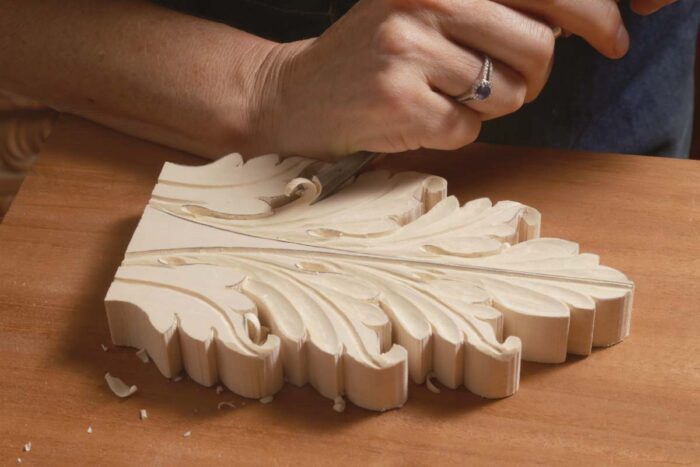 |
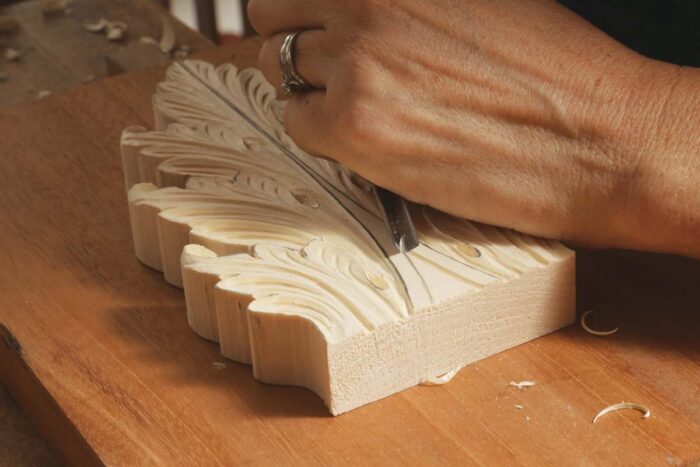
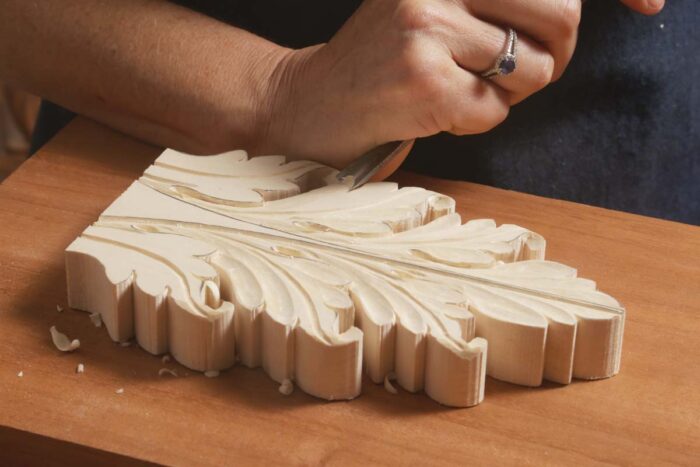
Hollow the lobes. The #8–10mm gouge’s sweep creates good dimension in the lobes. Lower the middle of the lobes in multiple passes if necessary to maintain a clean, crisp surface. The lobes’ sharp, raised edges should follow the curve of the leaf and gently flow toward the base of the leaf along with all other lines.
Be mindful of grain direction. Don’t hesitate to turn the gouge around to cut in the opposite direction if the grain dictates it. You can also take rolling, slicing cuts for an improved surface, and to protect edges from breaking.
Carve the final veins
Create the veins in each lobe. Use a #11–2mm and make sure the veins curve gently down the leaf and fade off without overlapping.
A V-tool forms the central V. This swooping inverted V, cut on the middle vein, breaks up the otherwise large, flat central area.
Round the leaves, wrinkle the pipes
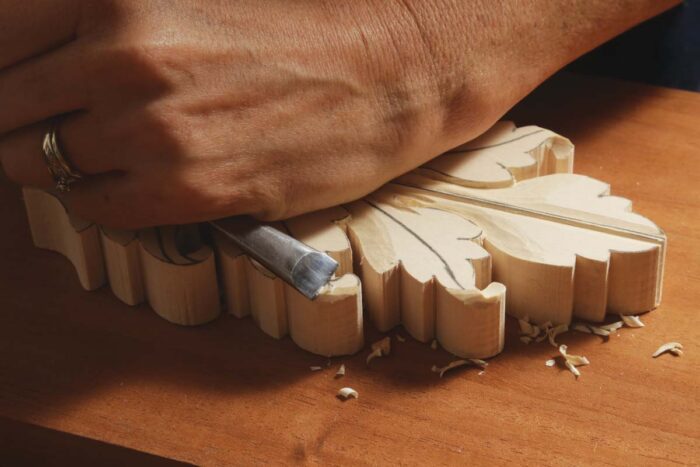
Soften the leaves. Using a #3–6mm, which is a fairly flat gouge, round the outer edges of the leaves so they look like they’re folding away. Also slightly round the edges where they overlap the lower lobes.
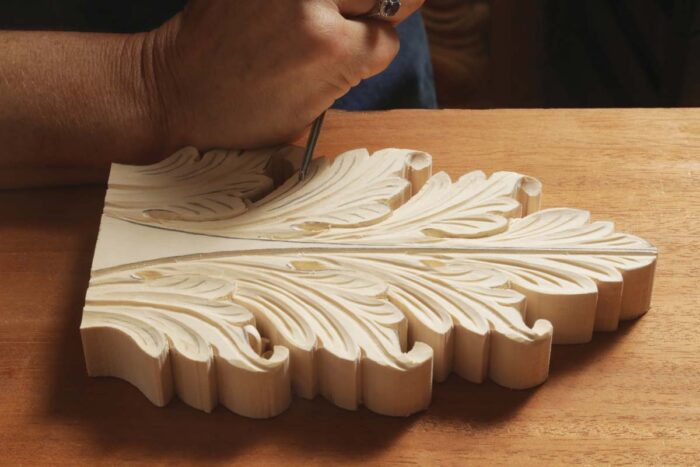
Use thumbnail cuts below each eye. Use a #7– 6mm to cut a pair of wrinkles under each eye using the two-step thumbnail cut. These should get slightly smaller as they go down the pipe.
A little on the acanthus leaf
The first physical evidence of the acanthus leaf in architecture shows up in Greece around the 5th century BC, namely in the sharply pointed leaves of Corinthian capitals. From then on, the acanthus leaf weaves through the art of countless historical art periods, sometimes nearly disappearing, but always re-emerging as a prominent design element. The Roman Empire eagerly embraced all the earlier Greek decorative arts, and it produced a richer, more flexible acanthus leaf with a more naturalistic feel. Overlapping lobes and sharply defined ripples in the leaf brought new boldness and life. The Byzantine Empire altered the design back to the sharply angled Greek style, preferring symbolism over the more realistic Roman designs. This strong tradition lasted for more than 1,000 years. Eventually, the Romanesque, Norman, and Gothic periods rendered the leaf highly stylized and barely recognizable for several hundred years.
This extravagance evolved in the Rococo period, when a lighter, more whimsical approach to design with more delicate, asymmetrical acanthus leaves, along with multiple S- and C-scrolls, decorated walls, ceilings, and furnishings. American styles also emerged during this time with design elements that borrowed acanthus styles from across art periods. Across the 19th century, acanthus leaves reappeared in numerous revivals of earlier art periods, such as the Greek, Gothic, Rococo, and Renaissance styles. More recent periods, such as Arts and Crafts, Art Deco, and Art Nouveau, showed little evidence of acanthus leaves in their designs. However, I’m confident it will come back. After all, acanthus leaves adorn newly made tapestries, architectural details, and furniture, even if these items are designed in a traditional vein. It just goes to show that this remarkable leaf has inspired us for thousands of years, and it’s showing no sign of withering away. |
-Mary May teaches carving at marymaycarving.com.
Get started carving
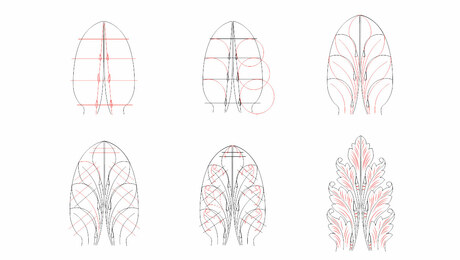
How to draw a basic acanthus leaf

Carving with conflict
Tools used:
Pfeil “Swiss Made” V-Parting Tool #12 Sweep – 6mm
•6mm #12 sweep v-parting tool
•Square tang handle
•Octagonal hardwood handle
•Alloy chrome-vanadium steel
Price: $43.92 at the time of writing
Pfeil “Swiss Made” Gouge #3 Sweep – 14mm
•Electronically hardened alloy chrome-vanadium steel blade
•European hardwood octagonal square tang handle
•14mm #3 sweep gouge
Price: $40.10 at the time of writing

Pfeil “Swiss Made” Gouge #3 Sweep – 5mm
*Alternative to the #3 – 6mm which is temporarily unavailable
•Electronically hardened alloy chrome-vanadium steel blade
•European hardwood octagonal square tang handle
Price: $37.23 at the time of writing
Pfeil “Swiss Made” Gouge #7 Sweep – 6mm
Price: $38.18 at the time of writing
Pfeil “Swiss Made” Gouge #8 Sweep – 10mm
•Electronically hardened alloy chrome-vanadium steel blade
•European hardwood octagonal square tang handle
Price: $42.01 at the time of writing
Pfeil “Swiss Made” Veiner #11 Sweep – 3mm
•Square tang handle
•Octagonal hardwood handle
•Alloy chrome-vanadium steel
Price: $42.96 at the time of writing

Sign up for eletters today and get the latest techniques and how-to from Fine Woodworking, plus special offers.
Download FREE PDF
when you enter your email address below.

