Drying wood in a solar kiln
My article “Build Yourself A Solar Kiln” in FWW #310 includes plans for the kiln I built and descriptions of the process of building it. But there was not enough room to get into the subtleties of operating the kiln. That’s what I’ll cover here. First, however, I’ll explain how I go about sourcing material suitable for drying.
Finding green lumber and logs
There are several ways to get green lumber to dry in your kiln. One is to buy green lumber. You can buy green boards for much less than kiln-dried. Many sawmills will sell green lumber and so will sawyers with portable mills. One good way to find small independent sawyers is to contact companies that make portable bandsaw mills—they’ll usually have customer lists available. Go down the list of local sawyers and get in touch; odds are you will find some that sell green boards.
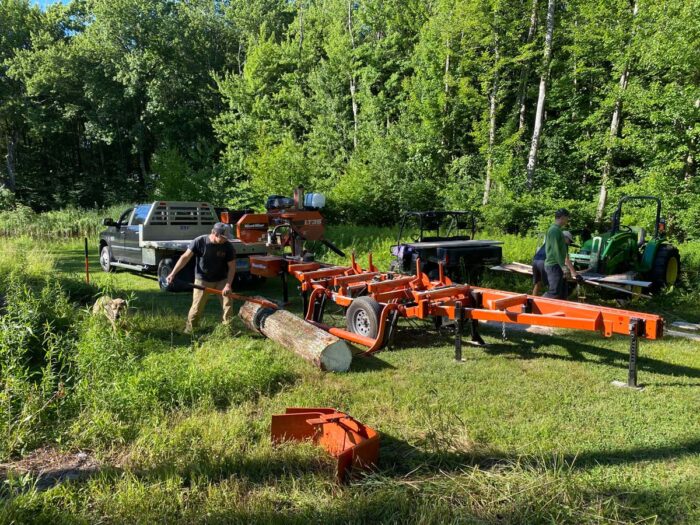
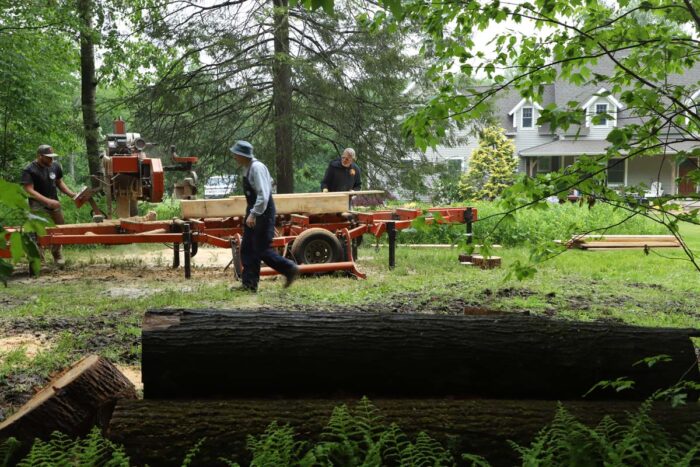
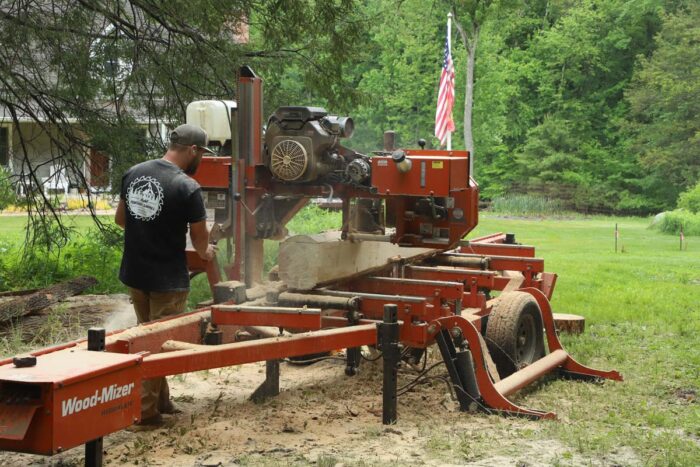
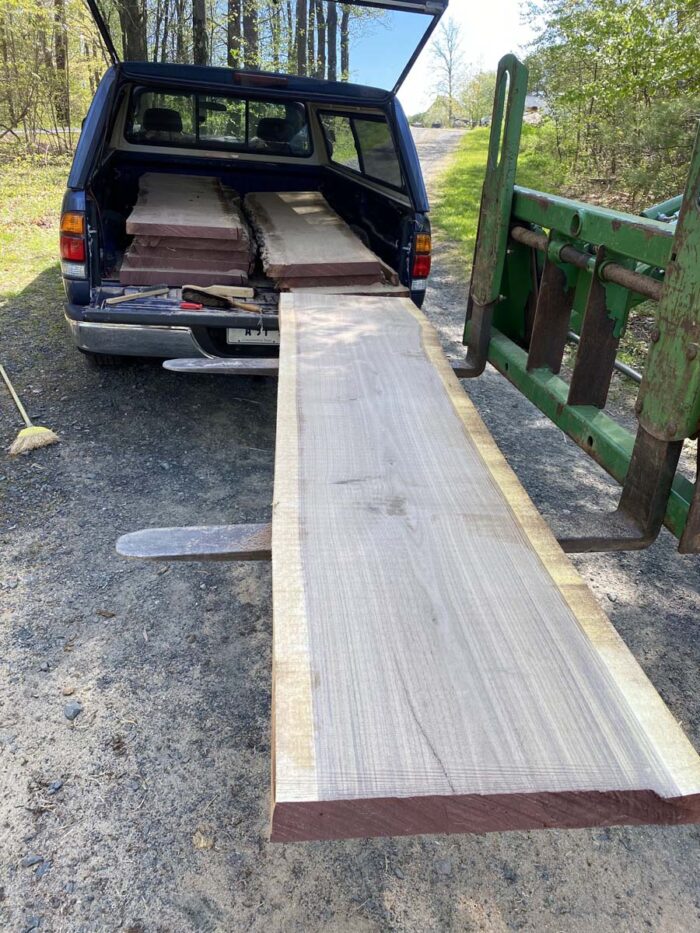
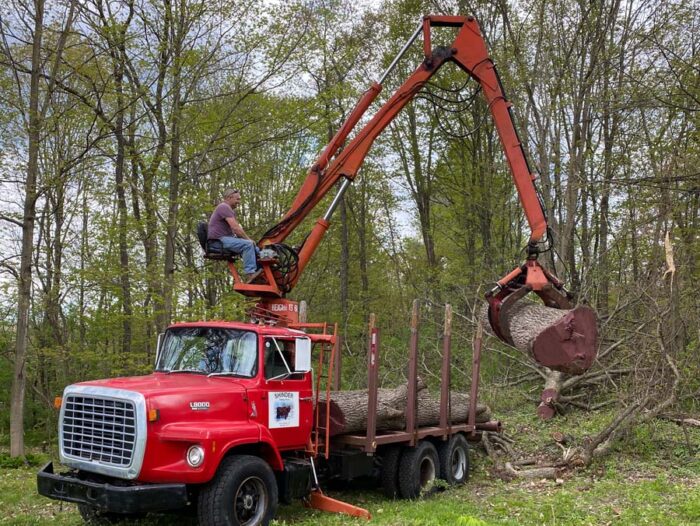
Another option is to source your logs and have a portable bandsaw mill come to you to saw them into planks. If you don’t have your source for logs, they can be surprisingly easy to find. Tree service companies are a good place to start. If you notice a tree service working in your area, talk to them—they’ll sometimes be happy to drop off a few logs and save themselves having to deal with them.
 |
 |
When I first started milling logs, I put an ad on Craigslist to sell a few green boards to offset the cost. I was surprised how many people contacted me from those ads to try and sell or even give me logs. People will have a tree or two removed and don’t want to see it go to firewood or the landfill. After word gets out that you do this sort of thing and have a solar kiln, you will have plenty of people wanting to give you logs. I say no to more logs than I take.
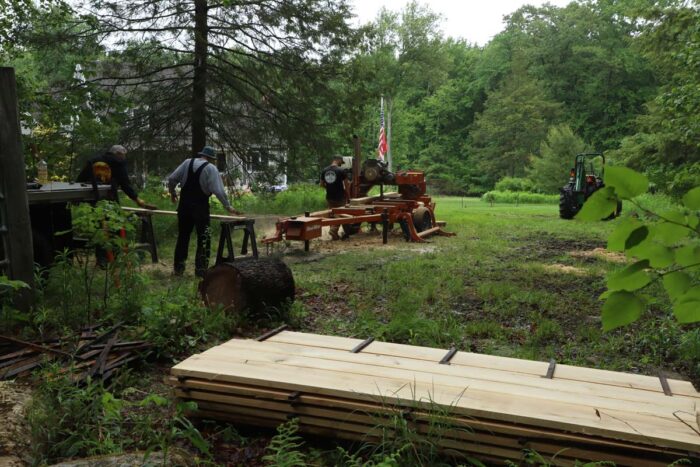
I hire a local sawyer to come cut the logs for me. He owns a WoodMizer bandsaw mill that can saw up to a 30-in. log. The sawyer is great to work with and charges me by the hour. Some of the logs come from my property and others were given to me. I have never paid for logs, but I do sometimes pay to get them transported.
Working with the sawyer, I can mill logs exactly how I want them. I can be picky about cut orientation to get the best grain possible. When I first started having logs milled, I would cut 4/4, 5/4, 6/4, and 8/4 boards. I soon found this too complicated, because when you stack the lumber in the kiln all the boards in a particular layer need to be the same thickness.
With so many thicknesses I was always short a board to fill out a layer or had one board too many. These days I mill just 5/4 and 8/4 stock unless I have a project planned that requires some other dimension. This makes stacking and keeping things tidy much easier.
Right after the logs are milled, I sweep them clean of sawdust and remove the bark. The bark practically falls off a freshly cut board, but on rare occasions, I’ll use a drawknife to remove it. I carefully inspect each board for insects or damage. Any boards that are questionable or odd-shaped I’ll sell green for very cheap. No reason to waste space in the kiln for something I won’t use. When you mill your material, you can afford to be very picky.
To truly sanitize lumber and kill any insects it might be harboring, the wood needs to reach a core temperature of 135°. Most times the solar kiln will get to that temperature and above a few days in a cycle. But I don’t worry about it too much because I am very careful about what I dry. The bark is the main place for insects to live and it gets removed long before it goes into the kiln. The boards are very clean, and I have never had an issue.
Loading the kiln
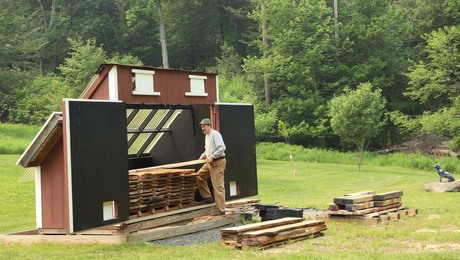
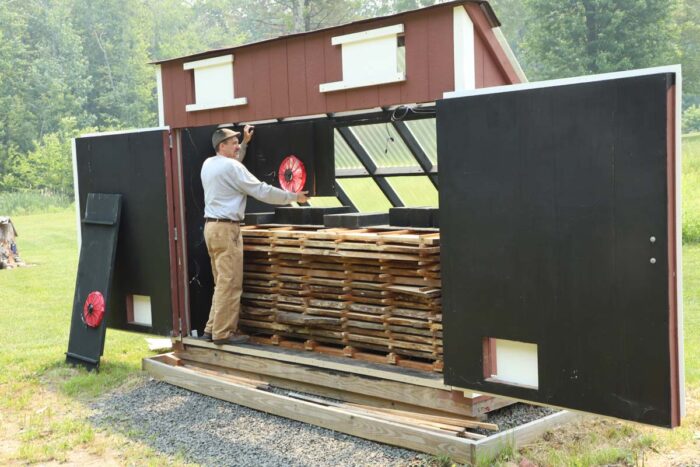
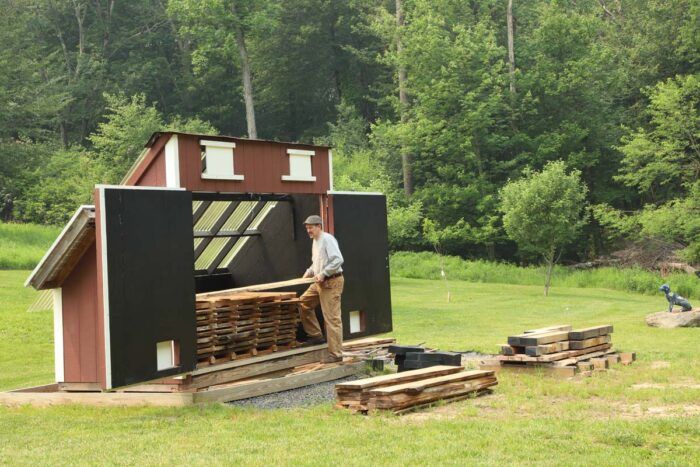
I designed my kiln with large double doors to make loading it as easy as possible. I have a tractor, and I intended to load and unload the whole lumber stack in one go using forks on my tractor. As it turns out, although I could do that, I don’t. Instead, I prefer to see each board as it goes into the kiln and then again when it comes out. When milling I don’t have the time to look over each board and this gives me the chance. When unloading I get to see how they dried and can start to sort the boards in my head.
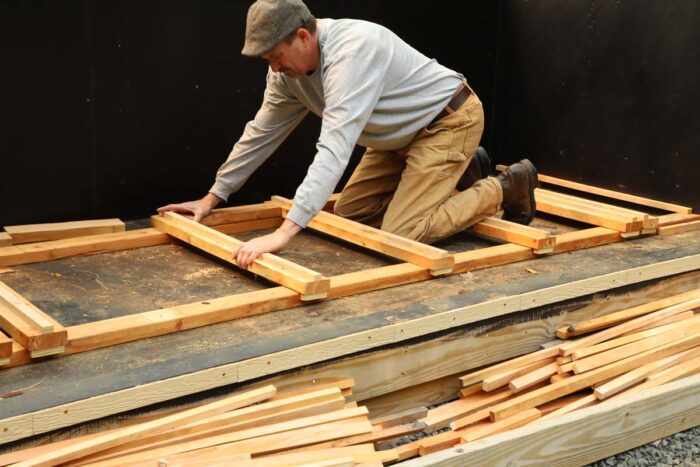
When loading the boards into the kiln I adjust the sliding bunks with stickers I built onto the floor. The standard for stickering is usually 12 in. to 18 in. apart. I go with 18 in. apart for better airflow, and I have been happy with the results. Inside the kiln I use dried hardwood stickers only, making them ¾ in. square. I make them in the shop whenever I have scrap material, so I have them in several species.
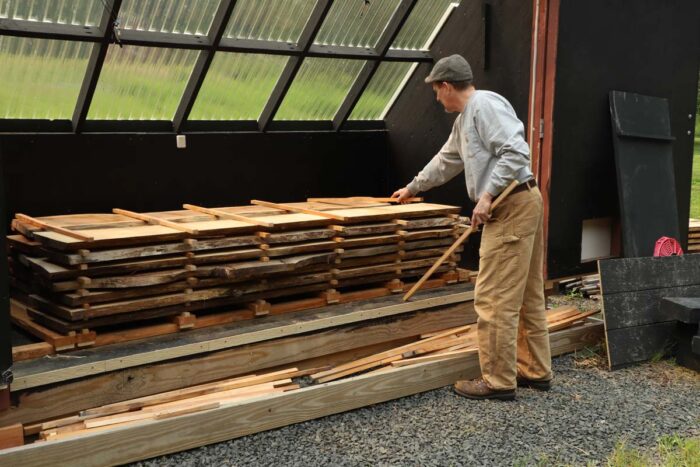
As I add layers of boards to the stack of lumber, I keep the stickers in a nice, straight, vertical line right up the stack. You can dry boards of different thicknesses in the same load, but each layer of boards needs to be the same thickness. I keep each layer as tight and neat as possible.
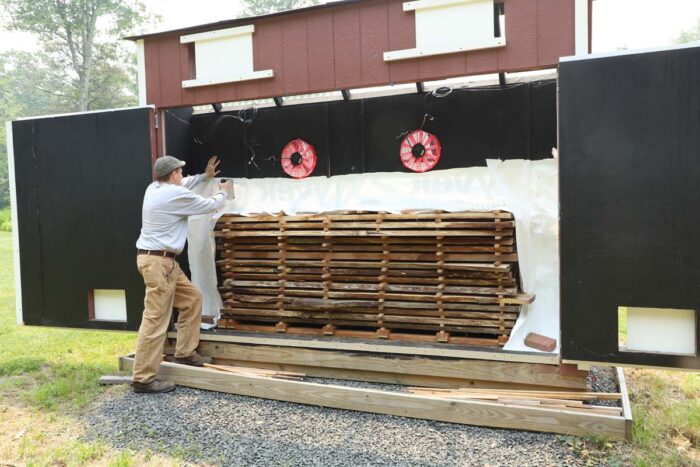
The location of your stack inside the kiln is important. You want about 12 in. of clearance from the front and back walls. This will give you plenty of airflow. In terms of drying, the ends of the stack can be as close to the walls (left and right) as you want. However, it becomes very difficult to load and unload the kiln if the space is too tight there. My kiln could fit planks 10-½ ft. long, but I cut my logs to a little over 8 ft. This gives me extra space in the kiln and makes it much easier to stack the boards.
The top of the stack gets an additional layer of stickers. Then I covered the stack with plywood and painted it flat black. This shades the stack from the direct sun and prevents it from getting sun-bleached. Just remember not to block the 12 in. of airflow on the front and back of the stack.
On top of the painted plywood, I stack some cement blocks that I have also painted black. These sit in the direct sun and act as a fantastic heat bank. They also keep the black plywood shading in place. I don’t think the added weight prevents twisting or cupping; when wood wants to move it’s going to move.
With the stacking done, I hang the fans back on their French cleats, then staple baffling material between the bottom of the fans and the top of the stack as well as between the ends of the stack and the side walls. The baffling keeps the air flowing through the stack and not around it.
For the baffling, I’ve been using some leftover vapor barrier. When that runs out, I plan to have a more reusable system that can be rolled up out of the way when loading and unloading. A black material would be ideal for this.
Operating the solar kiln
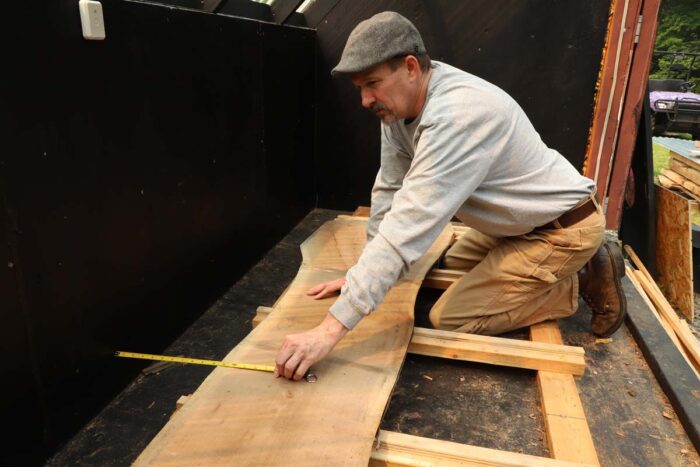
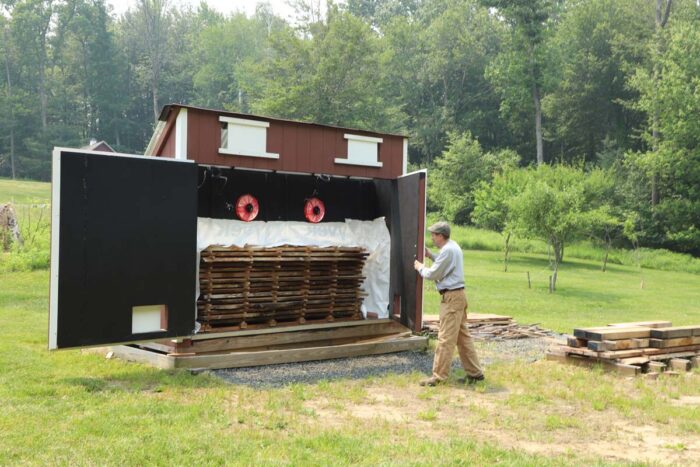
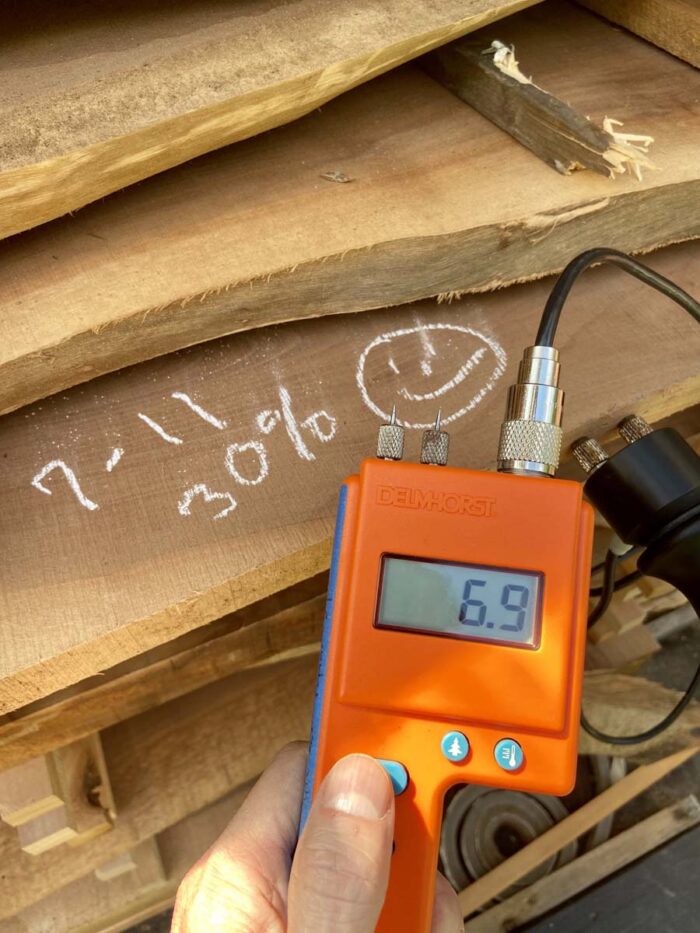
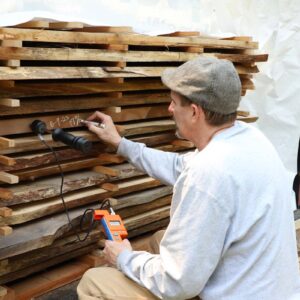
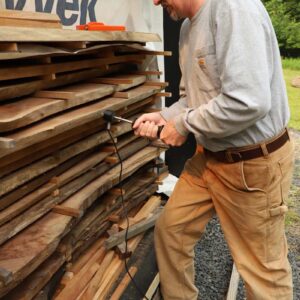
Once the lumber fans and baffle are in place, I take a moisture reading on the thickest board in the center of the stack. I wrote that reading and the date in chalk on the plank I tested. Then I plug in the fans (blowing toward the roof) and shut the doors.
 |
 |
The solar kiln dries lumber in gentle cycles: When the sun is out the fans circulate the heated air, which absorbs moisture from the wood. At night the lumber cools way down, the fans are off, and some of that expelled moisture in the air reabsorbs into the wood.
I have sometimes taken planks right off the mill and put them directly into the kiln, and other times I have stickered fresh-sawn planks for a few months of air drying outside before putting them in the kiln. My drying process is simple and the same for both. I start with the vents closed for one sunny day to get the wood acclimated to the heat.
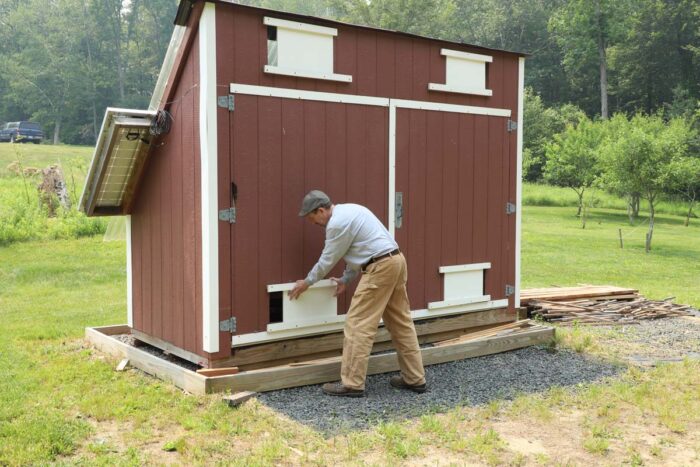
It will soon look like a rainforest inside the kiln if the wood is dead green. If I think of it, I open the vents all the way up at night to let moisture out and close them the next morning. Even closed there will be some airflow from leaks that are impossible to prevent. You can go a couple more days with the vents closed, but you must check inside because mold can start to form.
After this initial acclimation, I open each vent approximately one inch. At the beginning, I will look in the kiln for the first few days and make sure there isn’t any mold forming. Water might start pooling on the floor; I just leave it, since the kiln will dry it eventually. If I notice any mold forming, I will open the vents up another ½ in.
This will vary depending on the size of your vents, the season, and how wet the wood was when you started. Once I am happy there is no mold forming, I leave the vent setting until the wood reaches 20% moisture content.
There are a few steps you can take to adjust the drying rate of the solar kiln. The first option (and the only one I’ve used) is to open and close the four vents in the back. In theory, if your kiln were perfectly sealed and you closed the vents, zero moisture could escape.
The air inside would become fully saturated, but there would be no way for the moisture to escape the kiln. Then at night, the moisture would all eventually be reabsorbed by the wood. Opening the vents allows moisture to be vented from the kiln out into the outside air.
Another way to adjust the drying rate is to cover a portion of the roof. Doing this lowers the temperature inside the kiln and slows the drying. Shutting off the fans during the heat of the day will also slow the drying rate.
To speed the drying rate, you can consider loading less wood into the kiln. With less mass to heat and a higher solar collector-to-lumber ratio, the kiln gets hotter and the drying goes faster. (This relationship is important to remember when you have an empty kiln. With no mass inside, the kiln gets much hotter and the heat can damage the fans or even the roof panels. This can be solved by covering the roof with a tarp to keep the sun out.)
Monitoring moisture in the kiln
There are several ways to monitor the daily moisture loss of the wood in the kiln. I have a Delmhorst J-2000 moisture meter that has a 2-inch. pins I can pound into the wood to get an accurate reading. Pinless meters would be fine to check the initial drying rates in the kiln but don’t penetrate deep enough to accurately tell you when the board is fully dry. Some people make sample boards to put in the kiln and weigh them periodically to monitor the drying rate using the “oven method.”
When I first used the kiln, I carefully monitored the daily drying rates and cross-referenced the safe drying rate charts. I don’t anymore. The size of my kiln, my location, and the species I dry were always under the safe drying rates. Now I just leave the vents open about an inch until the boards reach a moisture content of about 20%.
Most of the defects that are going to happen due to the drying process will occur as the wood goes from green down to 20-22% MC. Once the wood has reached 20%, I open all the vents about 4 in. or so. It’s important to remember there is a tradeoff: The more you open the vents the lower the internal temperature will be. A plank needs heat as well as air flow to dry, and that’s especially true for the center of the board.
 |
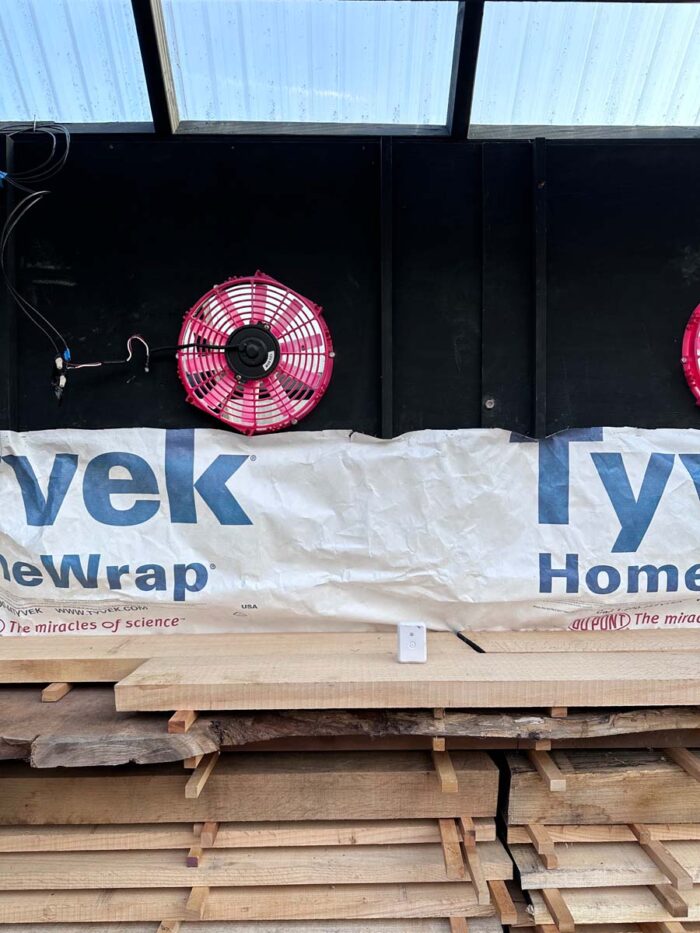 |
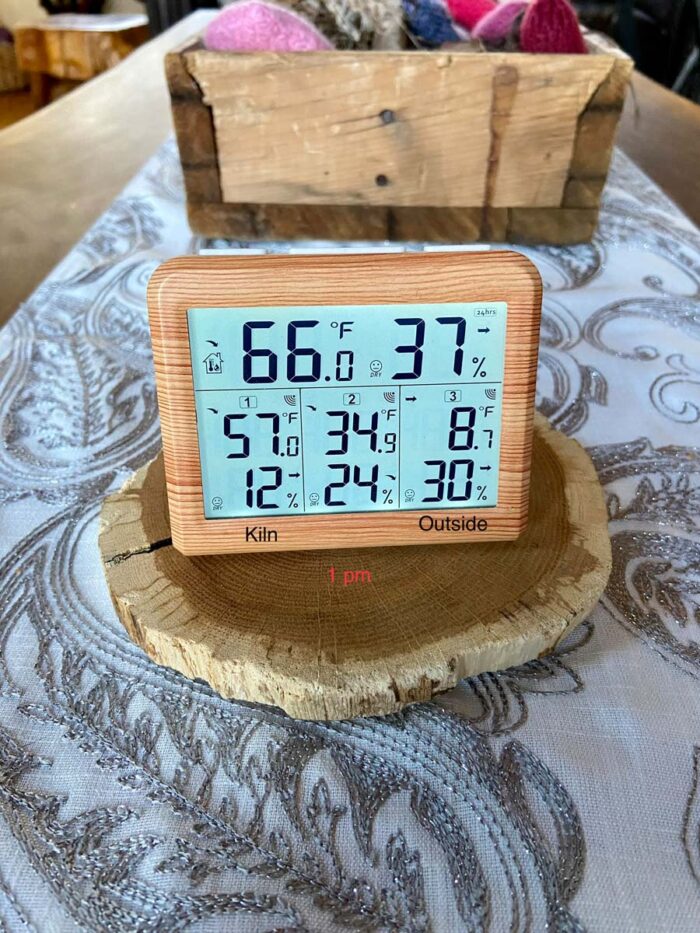
I purchased a standard cheap wireless weather monitoring station that came with three remote monitors. I place one monitor inside the front portion of the kiln, a second inside the rear of the kiln, and a third outside the kiln. The monitors send temperature and humidity information to a digital display that I keep in our kitchen. I use this data to fine-tune my vent settings. The monitors probably aren’t highly accurate, but they are consistent enough.
The best I have been able to achieve is 50° warmer than the outside air in the summer and up to 60° warmer in the winter. The roof is a few degrees steeper than my latitude accounts for the difference. My remote monitoring station maxes out at 140°, and I have maxed it many times in the summer months.
When the wood is green, the humidity reading can often be 100%. When I notice it is down around 10% for several days, I start taking more moisture content readings directly from the boards, because they are getting close to dry.
How long to dry a load of lumber?
Drying time depends on several factors: outside temperature, number of sunny days, how well the kiln is insulated, thickness of material, and even species. For building inside furniture, you ideally want to get the moisture content between 6% and 8%. When I reach 8% or under, I’m ready to unload the kiln. I have gotten it as low as 7%, but it seems to take a disproportionately long time to get there and 8% is fine for my shop.
My solar kiln takes about 4-5 warm sunny summer weeks to dry a load of 5/4 green wood to 8%. I have dried cherry, walnut, ash, red maple, birch, and oak. The quality of lumber that comes out always amazes me. Sure, the pith pieces will split and there are some end checks here and there. But generally, the boards come out relatively flat and retain most of their color. The machine well and works great with hand tools. In my experience wood from my kiln behaves much better than commercially dried material and moves very little when ripped if at all.
Mixing species, and even thicknesses, in the solar kiln is fine. You need to keep the thickness within the layers the same but other than that I have dried 8/4 right on top of 5/4 material. Of course, 8/4 will take longer to dry so I either leave it in for a second cycle or just leave the whole stack in the kiln until the 8/4 is done. The solar kiln will not over-dry the 5/4 material. The kiln is very forgiving and is mostly a set-it-and-go system.
There are ways to modify your solar kiln to speed up dry time. You could add a second layer of your roofing material and attach it inside the kiln to the bottom of the rafters. This will increase the heat in the kiln by increasing the solar collector. You could also add some supplemental heat to the kiln as well as run a dehumidifier. You would have to pay much closer attention to the safe drying rates with any of these modifications.
 |
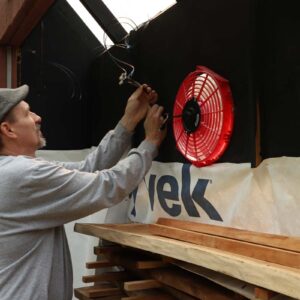 |
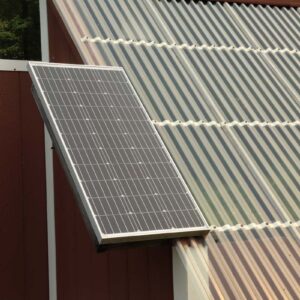
My fans are powered by small solar panels, so when the sun is out, they spin. The solar panels mean I don’t need to run power to the kiln, and the process works quite well. But one way to make my system more efficient would be to add a timer to the fans. Ideally, the fans wouldn’t start to spin until the kiln heated up enough in the morning sun.
The interior will heat much faster without the fans running. And after the sun goes down the temperature still stays high inside the kiln for several hours where you would benefit from the fans still running. This would require me to set up a battery system; if I did have power in the kiln, I would be using a timer.
Final thoughts
One obvious advantage to having a solar kiln is the cost savings. But for me, it is so much more than that. My favorite part is using the resources around me to make furniture. In New England, we are lucky and have hardwoods all around us. It always used to bother me to go to a lumberyard and purchase oak, maple, ash, cherry, or other species that grow locally.
How ridiculous it felt to buy oak that might have come from several states away and been trucked to a mill, then trucked to my local lumberyard. Often, on the way home from the lumberyard, I would drive past an oak tree being removed to clear power lines or make way for construction. What a waste of local resources to have it go to firewood, mulch, or the landfill.
One important thing to note: There is a lot of labor involved in milling logs and loading and unloading the solar kiln. Switching over the loads in the kiln can be done alone, but it’s much faster with two people. I have the sawmill come in about four times a year, and having a few people helping on those days makes for a much more pleasant experience. Anyone who helps me invariably goes home with a nice stack of boards from the previous load I dried.
My solar kiln has been in use for four years and has dried about 4,000 board feet. Over this time, I have learned that the solar kiln is forgiving, and it would be difficult to ruin your lumber. I also learned to mill at least one kiln load ahead. This way, the next stack can be air-dried while it is waiting for a turn in the kiln.
This starts the drying process and shortens the time needed in the kiln. Woodworking friends of mine like the solar kiln as well. I can’t possibly store and use everything I mill, so I will often make trades. The cost of the kiln could potentially be offset by selling dried boards.
People have also asked to rent space in the kiln to dry some of their material. Planning your load schedule maximizes the yield. I try and get two to three loads through from spring to fall, and an additional load stays in the kiln all winter.
Does every woodworker need a solar kiln? Of course not. But if you have a passion for woodworking, a curiosity for the materials you use, and a suitable place to build a solar kiln, I recommend giving it some thought. I have milled and dried a historic tree, a family tree, trees headed to a landfill, damaged trees, and trees that were just in the way of something else.
Now every project I make has a story to tell. I remember the tree, where it came from, and how I got it. I remember milling the tree. Often, I will remember seeing the exact board coming off the mill.
How to build a solar kiln

Stop Guessing at Wood Movement
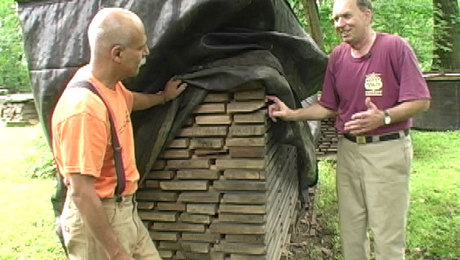
How To Dry Lumber
Sign up for eletters today and get the latest techniques and how-to from Fine Woodworking, plus special offers.

