Arts and Crafts inspired trestle table
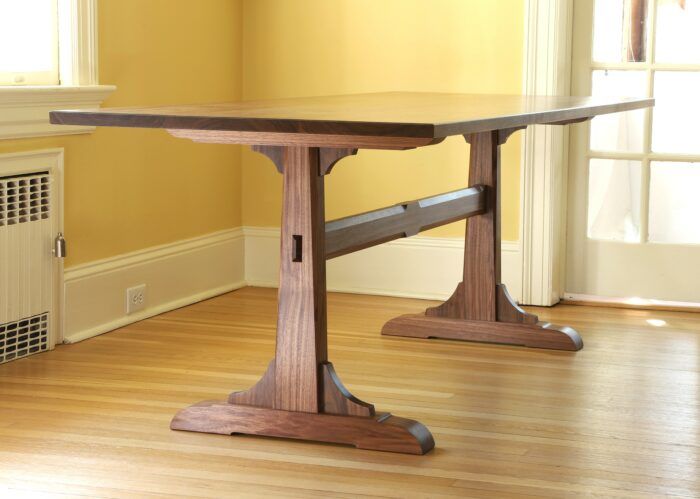
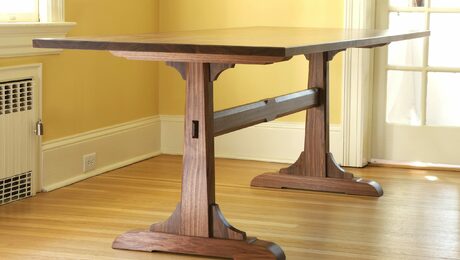
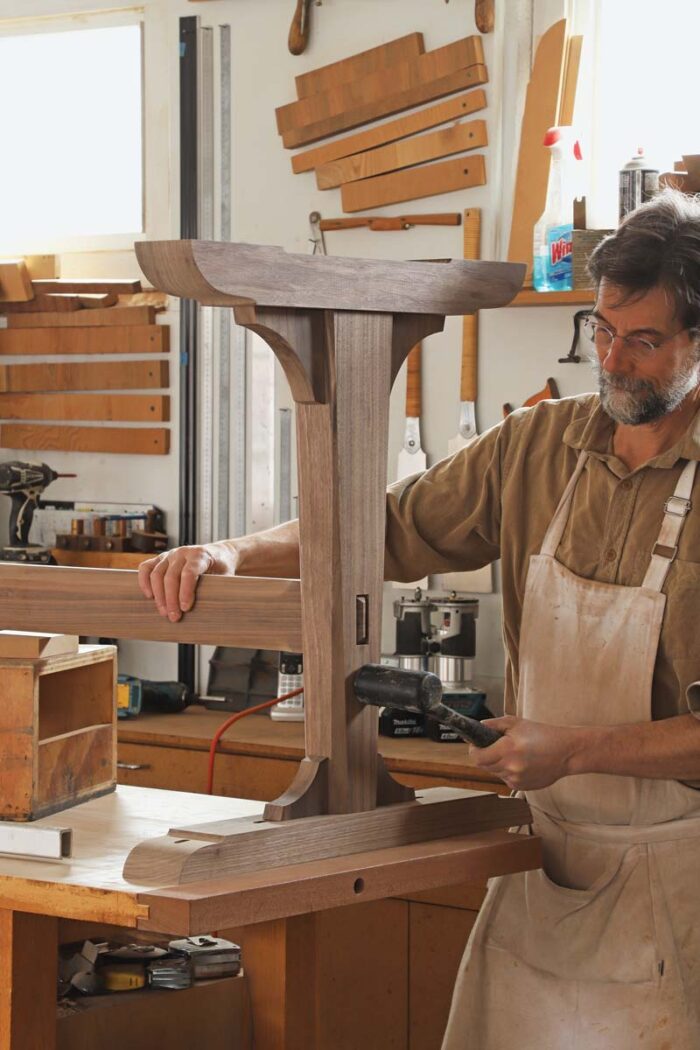
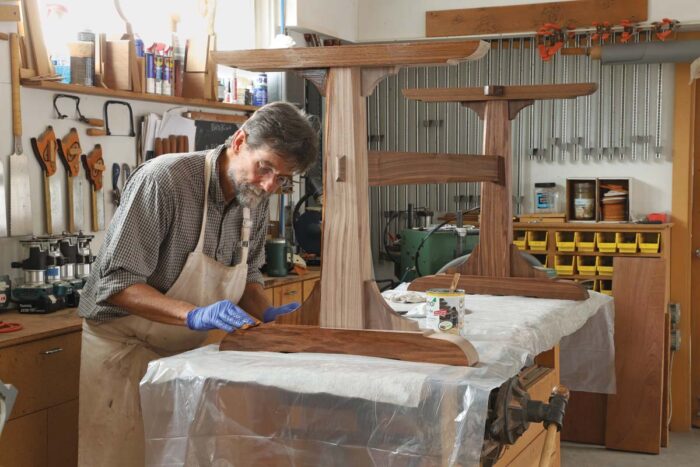
The visible joinery, stout design, and repeating details of English Arts and Crafts are apparent throughout this table, and the use of corbels and chamfers only reinforces that this is not a piece that was designed to blend into the background. Smaller details, such as coved edges on the top and gentle curves on the feet and brace, make the design more approachable. Through-mortises and tenons are the primary joinery.
The original version of this table was designed for a family room in a converted post-and-beam barn. The vast room featured a cathedral ceiling with exposed beams and rafters. Concerned that the wrong design could get lost in such a space, I drew on one of my earliest influences, the English Arts and Crafts movement.
The visual language of expressed joinery, stout elements, and repeating details fit perfectly in this environment. The use of corbels and chamfers on this trestle form further served to invoke the nature of the building as well as the style of the English Arts and Crafts. I did add a contemporary twist by tapering the posts and then accenting the tapers by incorporating long, tapered chamfers.
This adds some upward visual movement and lightness while still maintaining a strong grounded feeling. Smaller details such as the coved edges of the top and gentle curves on the feet and brace were intended to soften the overall form just enough to make it approachable and friendly.
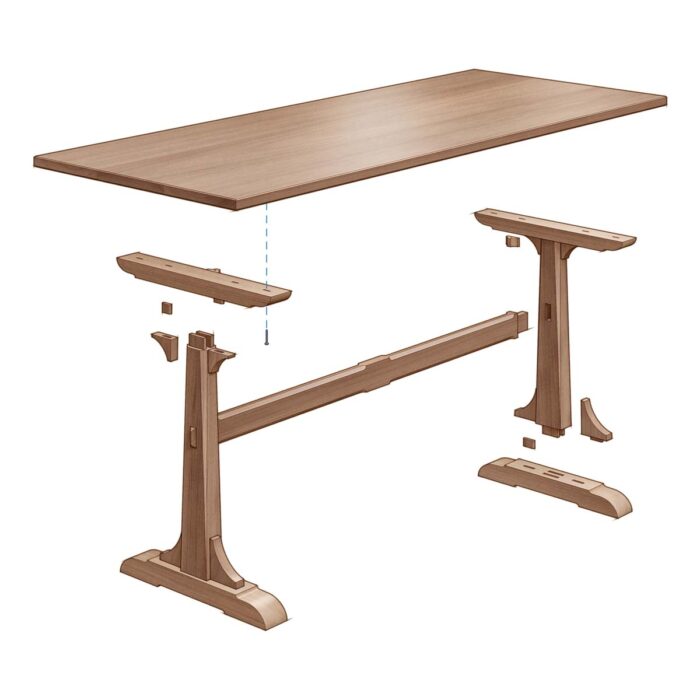
The trestle format is a favorite of mine: It’s economical of material, structurally sound, and elegantly elemental. And with no aprons or legs at the corners, it has great legroom. This one is composed of just eight primary pieces: feet, posts, braces, a stretcher, and the top. Eight corbels and two small tabs for the top attachment round out the parts list.
Tending to the tenons
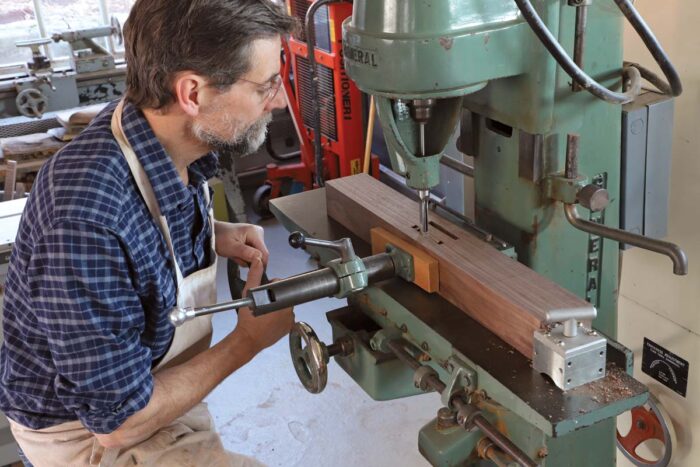
After machining the major parts, I began the table by cutting the mortise-and-tenon joints while the parts were still square. Given the scale of the post, I chose to use double tenons for added strength and glue surface. Before cutting the tenons, I cut the twin mortises for them in the feet and the braces at the hollow chisel mortiser;
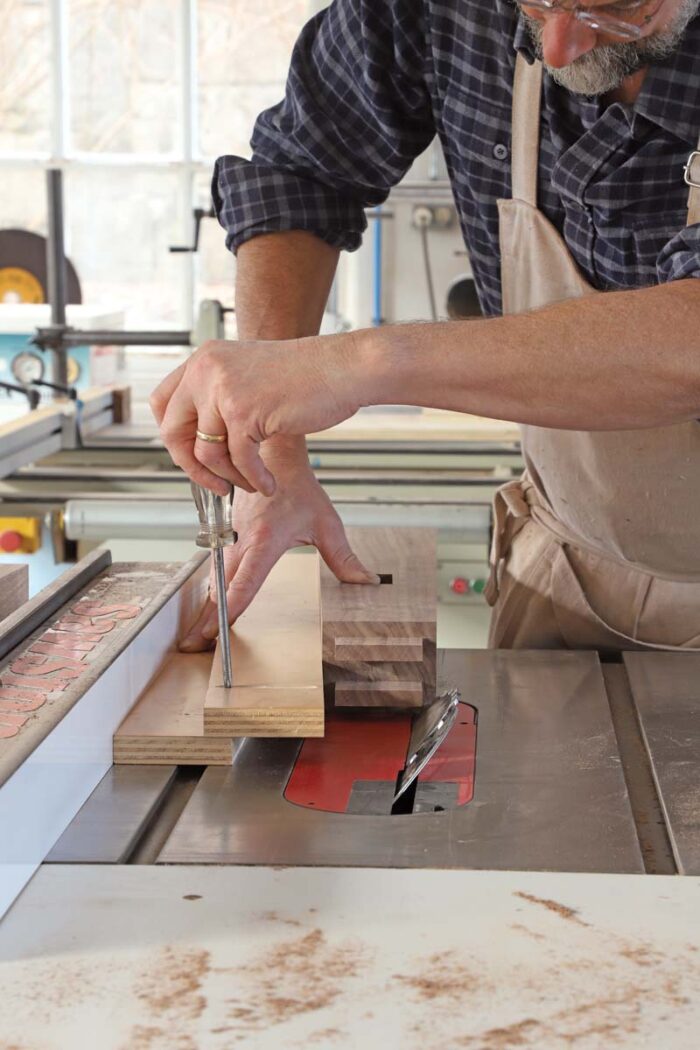
I referenced both sides of each part against the fence to ensure the post would be centered. I started the double tenons at the table saw, followed up at the bandsaw, and fine-tuned them with a shoulder plane. The shoulders were pared to fit with a chisel.
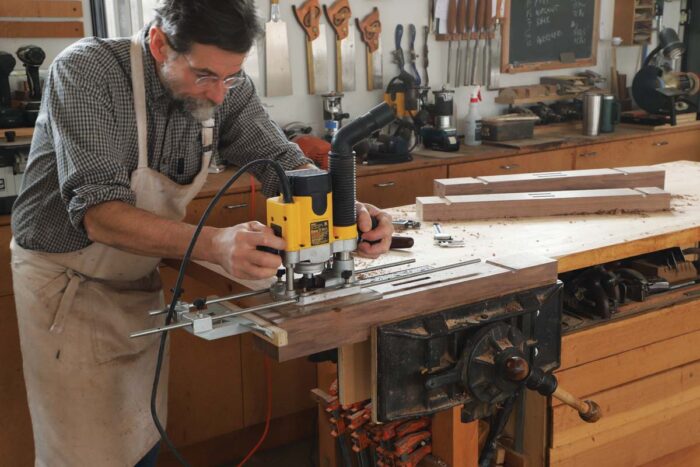
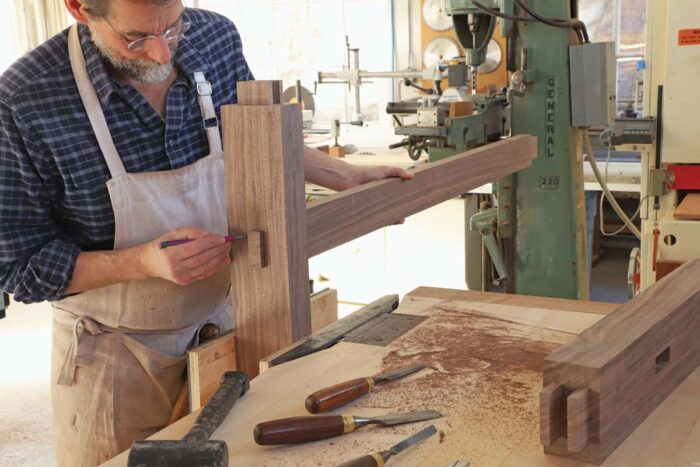
Next, I cut a through-mortise in each post for the stretcher’s through-tenon. I used the slot mortiser for these, though a router could also be used. I plunged in from both sides of the post to avoid exit tear-out, and I squared up the rounded corners of the mortises with a chisel.
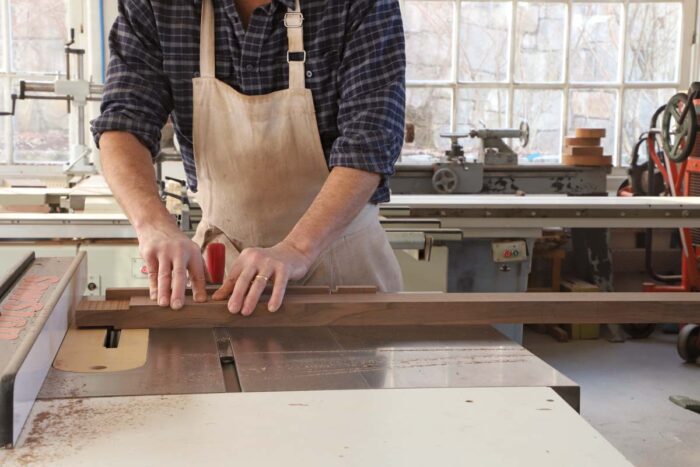
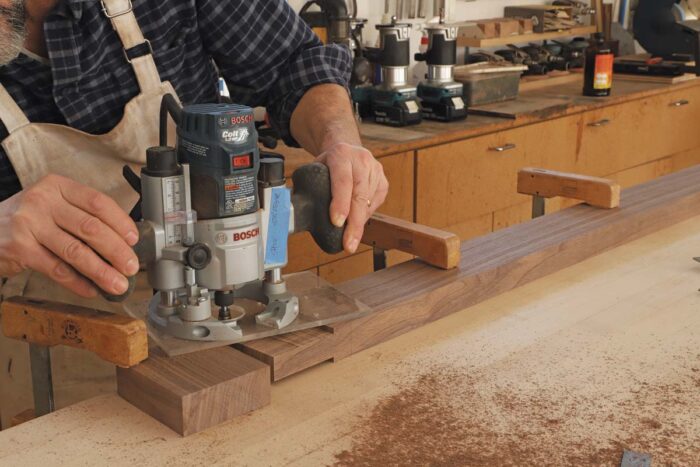
I cut shouldered tenons on the stretcher with multiple passes of a dado blade on the table saw. As these are long through-tenons and I wanted a very clean joint, I took the extra step of fly-cutting the cheeks of the tenon with a router, skimming off just a whisper to make the cheeks perfectly smooth.
Taper and shaping
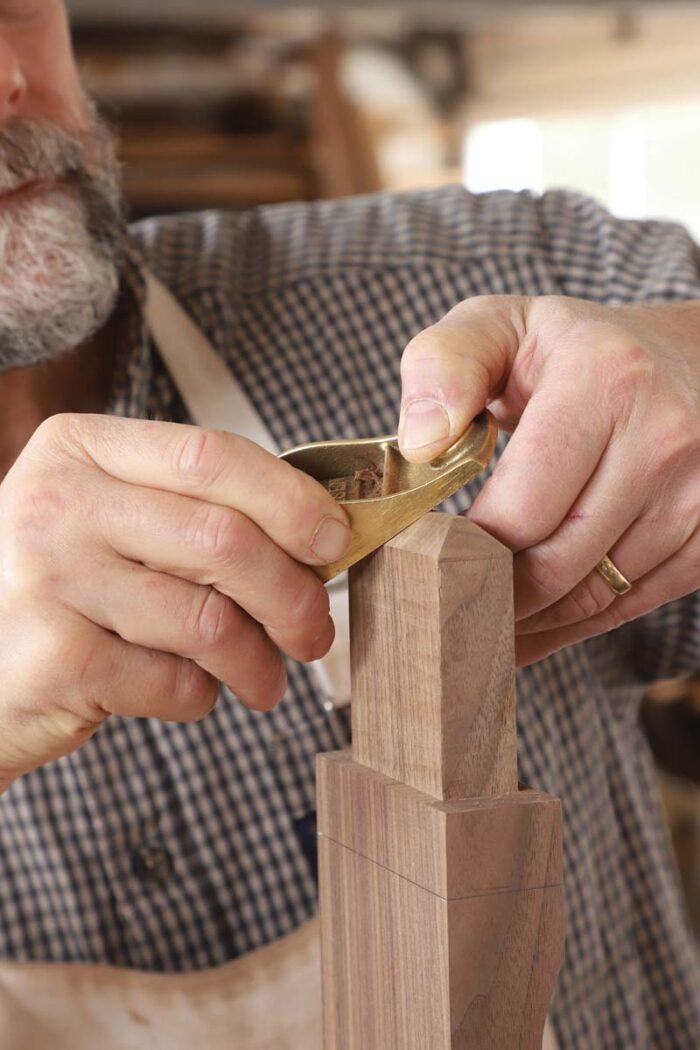
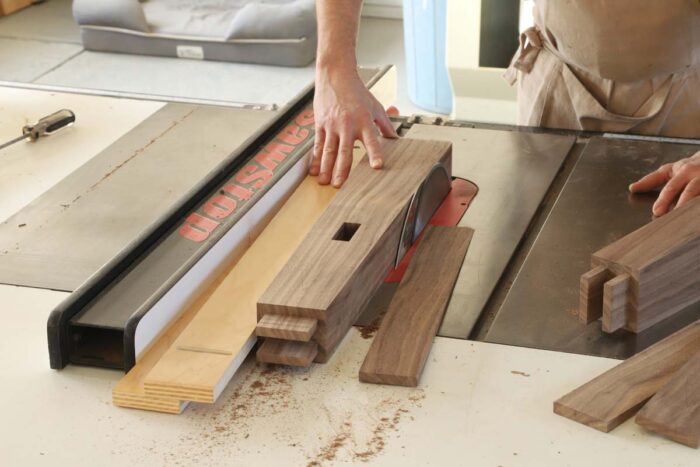
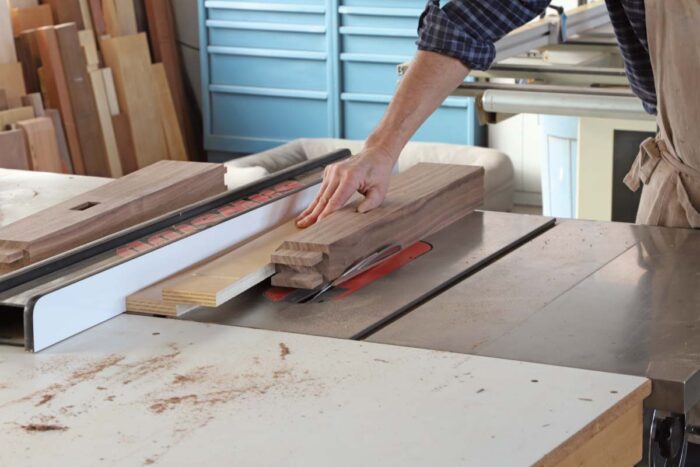
With all the primary joinery cut and fitted, the next step was to taper the posts using a shopmade tapering jig on the table saw. Once the posts were tapered I added tapered chamfers using the same simple jig on the table saw. Afterward, the tapered faces and the chamfers all were cleaned up with a few strokes of a block plane.
 |
 |
After the posts were done, I shaped the feet and braces. To make for clean transitions, I began by cutting a series of cross-grain coves using a fluting bit in a router.
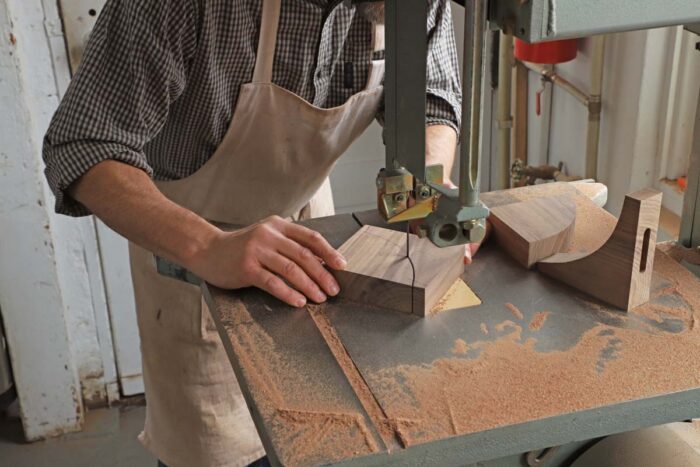
I then removed the waste at the bandsaw and finished up by fairing the curves with a rasp, scraper, and sandpaper.
Routing the stopped chamfers on the stretcher was the next step in the shaping process. I could have run the chamfers from end to end, which would have produced a more horizontal emphasis. But I wanted a resting place for the eye in the center of the stretcher, something to balance out the visual focus on the legs.
So I made stopped chamfers that terminate in lamb’s tongues. I cut them with a large chamfer cutter on the router, and the lamb’s tongues were created by the radius of the cutter. They’re not true lamb’s tongues in the traditional sense, which are made with hand tools and have a double curve, but the shape created by the stopped cutter seemed to serve the overall design quite well.
To detail the ends of the through-tenons I used a truncated pyramid shape, echoing the taper of the posts. I cut these using the sliding table saw and a tilted blade and cleaned them up with a block plane.
Corbel time
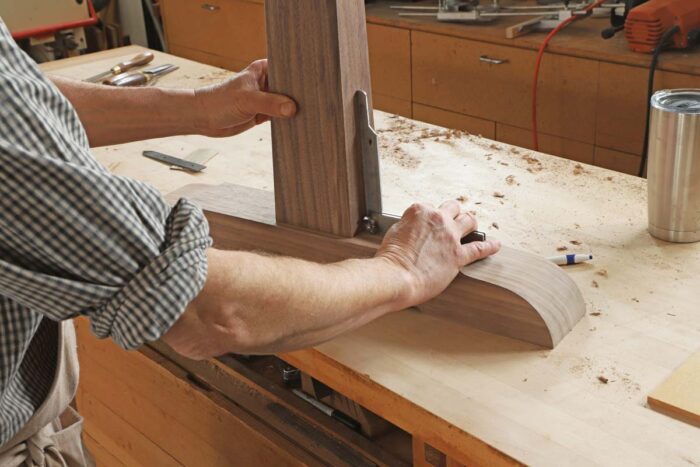
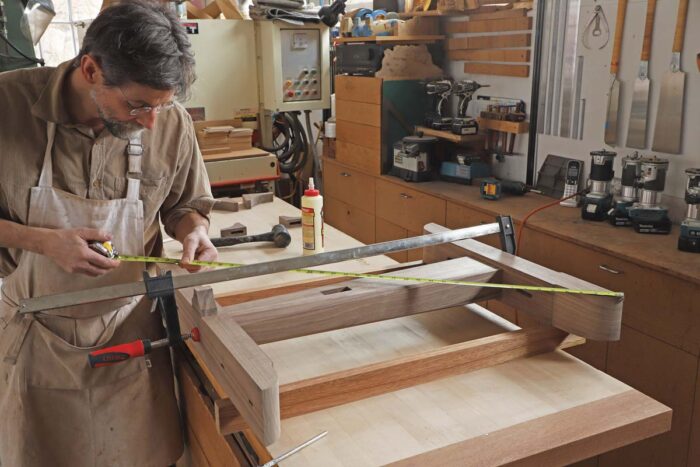
To find the exact angle at which to cut the inside corner of each corbel blank, I dry-assembled the post, foot, and brace. Then I measured with a bevel gauge and made the angled cuts on the table saw. The corbels get edge-glued to the post and joined with a slip-tenon to the foot or brace.
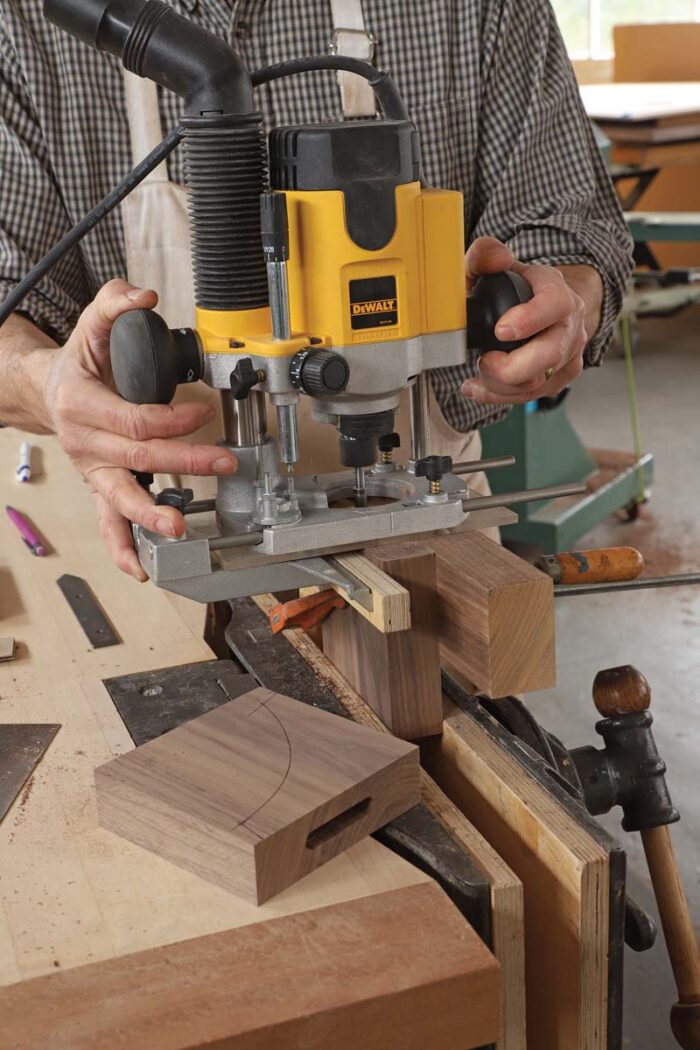
I cut the slip-tenon mortises with a plunge router; the mortise on the corbel was cut into the end grain. Then I bandsawed the curve of the corbel blanks; I cleaned up the curves using a pattern bit in a router and a template fashioned out of MDF fastened to the blank with double-sided tape.
It was now time to start thinking about the top and how it attaches to the base. My preferred method is to use screws through elongated slots in the braces so the solid top can expand and contract unhindered. I like to anchor the top in the center with a screw in a regular hole, effectively cutting the amount of top movement in half.
Because the post is centered I can’t screw through the brace there, so I added a small screw block on the inside face of the brace. The block is shaped with some curves to mirror the corbels and the hole is counterbored so the screw can’t be seen.
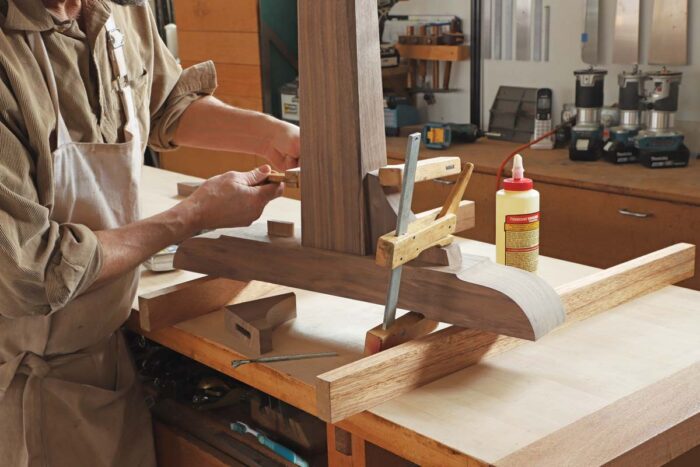
At this point, with all the parts shaped and sanded, it’s time for assembly. The glue-ups are straightforward and done in stages. The feet and braces are glued to the post while lying flat and supported on winding sticks. This allows for clamp placement and also ensures there is no twist between the brace and the foot.
Once both trestle assemblies have dried, the corbels can be added. I apply glue to the long grain edge of the corbel and the slip tenon and its mortises, and then exert pressure with light clamps toward both the post and the foot or brace.
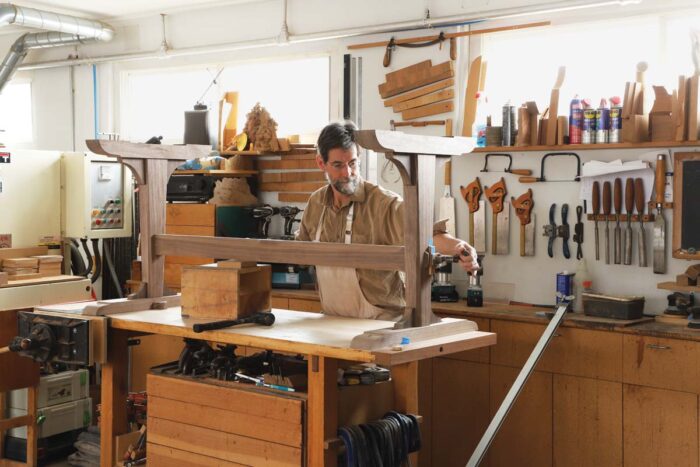
Finally, once the corbels are cured, the two trestles can be joined by the stretcher. To avoid squeeze-out, I apply glue only to the faces of the stretcher tenon.
The top is the final element. The boards are cut overlength, sized to thickness and width, and joined for gluing to full width. After cleanup, scraping sanding, and cutting to final length, the edges are sanded and then routed top and bottom with a small-radius coving bit in a trim router.
This little detail serves subtly to frame the top and define the edge, tying it to the shape of the corbels and helping to unify the entire design. With the top completed, I place it upside down on the bench and secure the base to the top with screws. (For how Throop makes custom screew blocks for this table: Shop-made screw blocks)
The home stretch is in sight with any final sanding to be done at this point and then the finish applied. For this sort of form, I tend to use a satin sheen finish such as Osmo Polyx-Oil, which stands up well in use and ages quite nicely.☐
Tom Throop designs and builds custom furniture in New Canaan, Conn.
Exploring the versatile trestle table
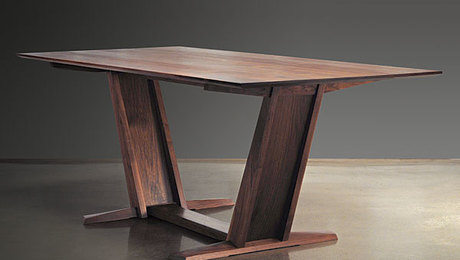
A Personal Angle on the Trestle Table
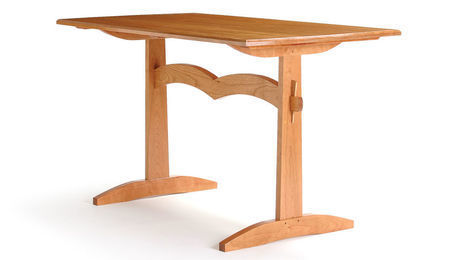
The Versatile Trestle Table
Sign up for eletters today and get the latest techniques and how-to from Fine Woodworking, plus special offers.

