Plan: Entryway Mirror – FineWoodworking
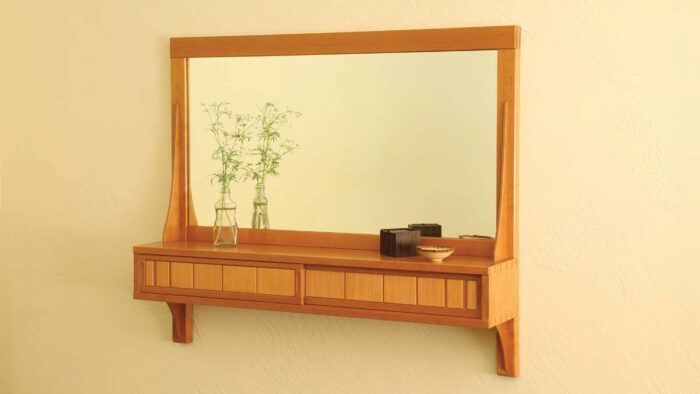
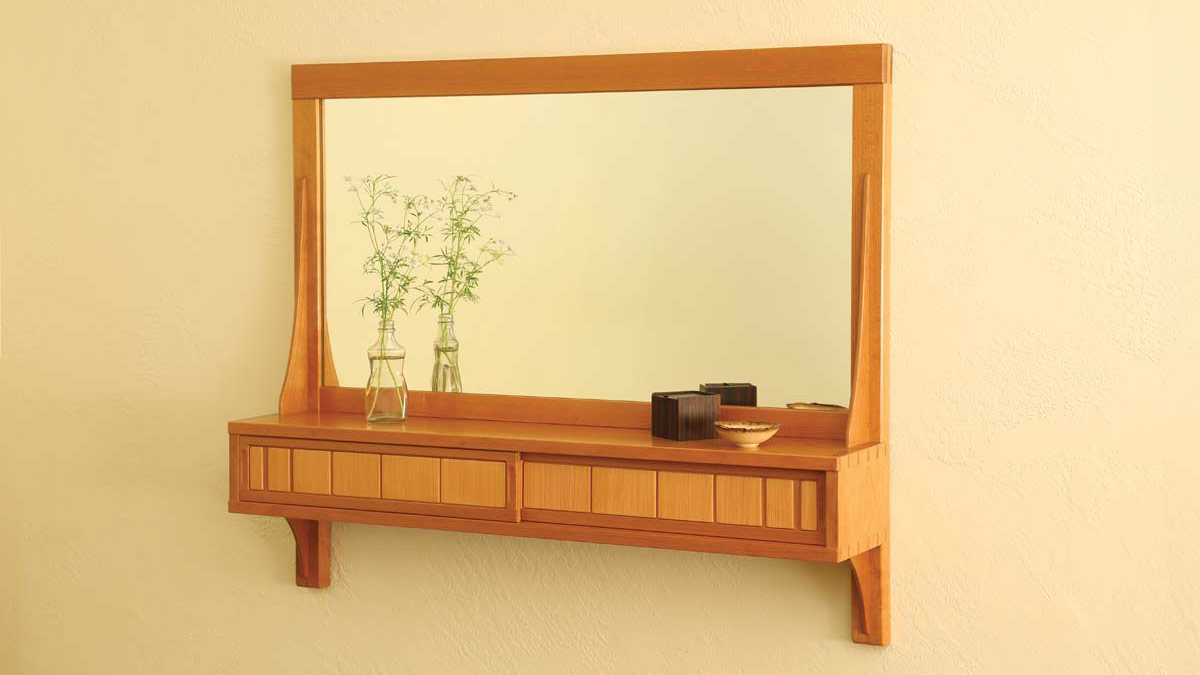
It’s common for an entryway mirror to be accompanied by a small table beneath it to collect keys, wallets, and phones. This piece combines the two to take up less space and keep the floor clear. Hang the mirror low and add a chair and it becomes a compact bedroom vanity. The utility of the design veils the original motivation for building it, as an opportunity to experiment with geometrically interesting door panels. The small panels can be made from cutoffs. They can be solid wood or veneer, pierced with holes or carvings. Think of them as a blank canvas to fill after completing the straightforward traditional joinery of the project.
Start with the box
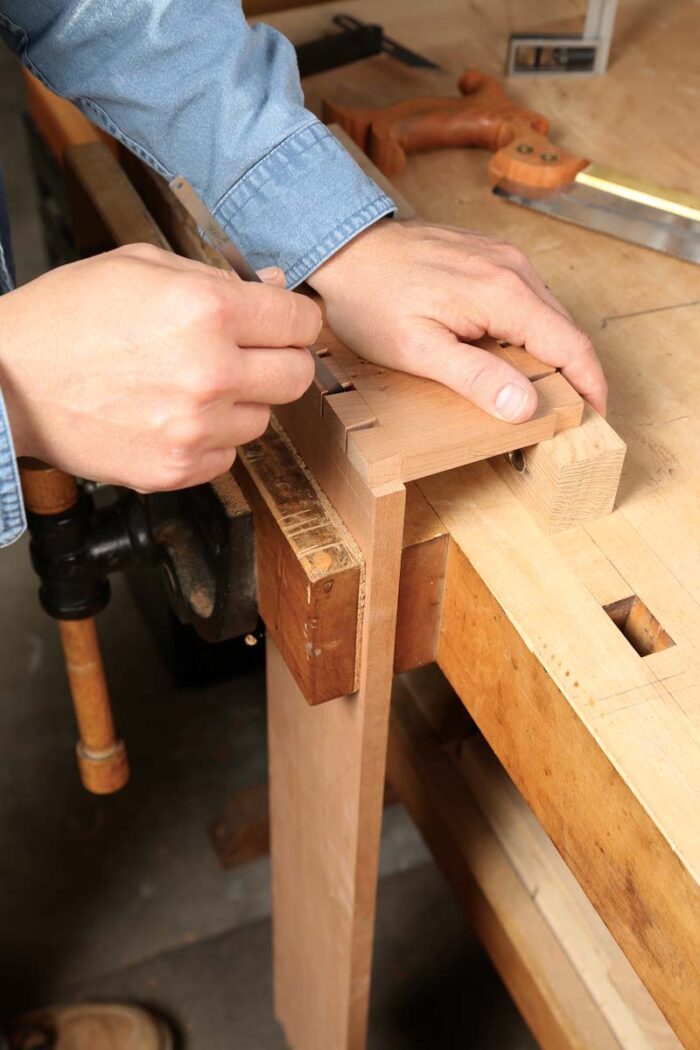
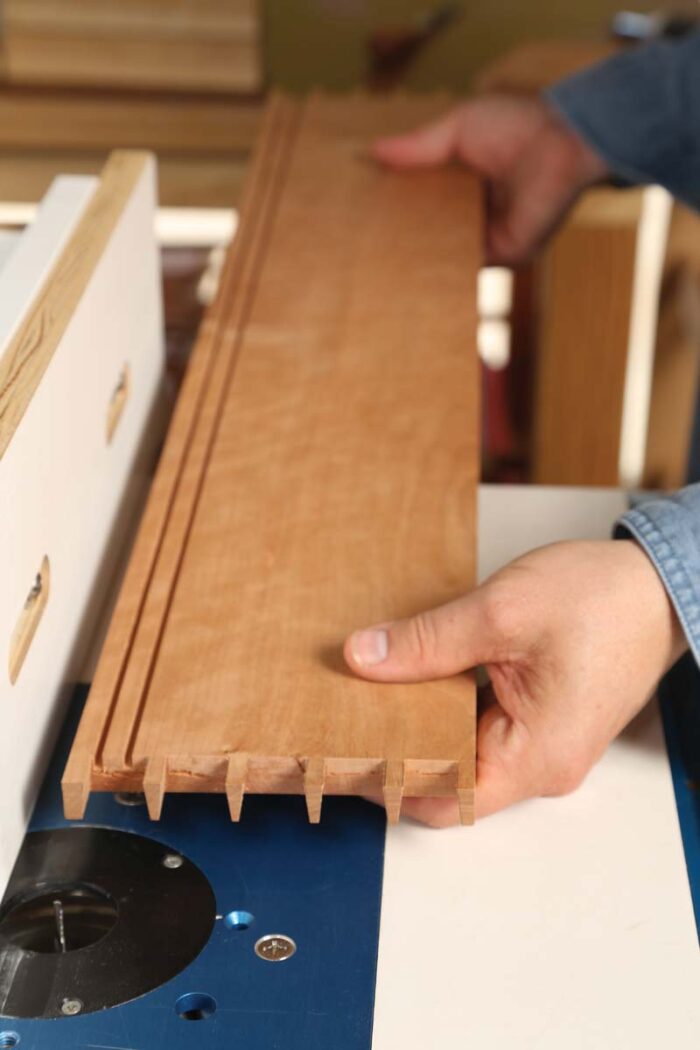
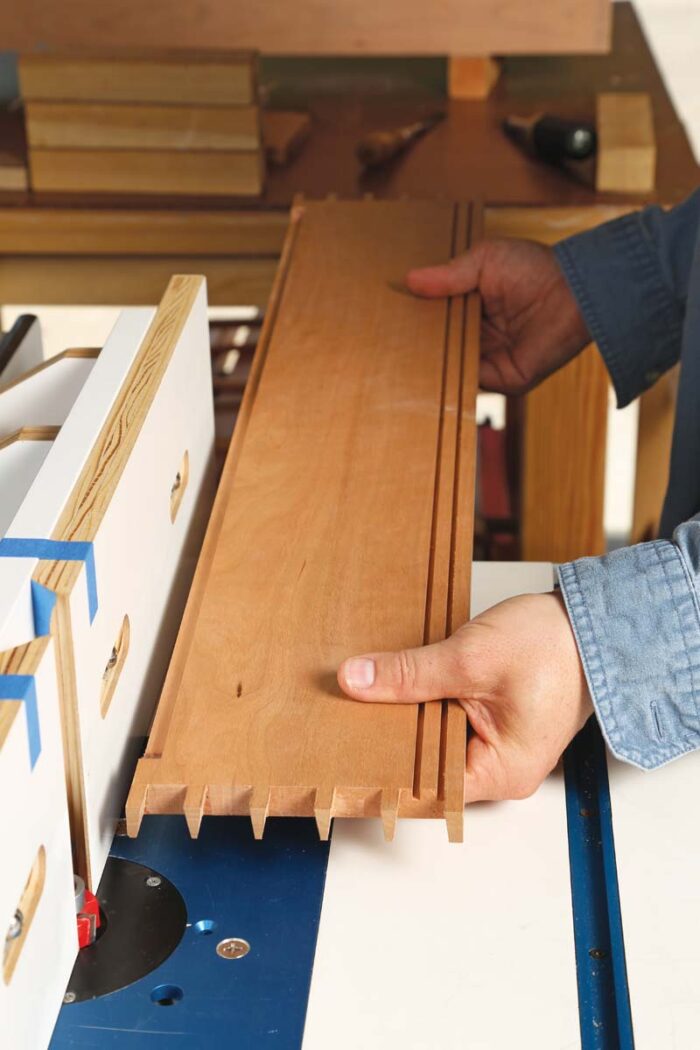
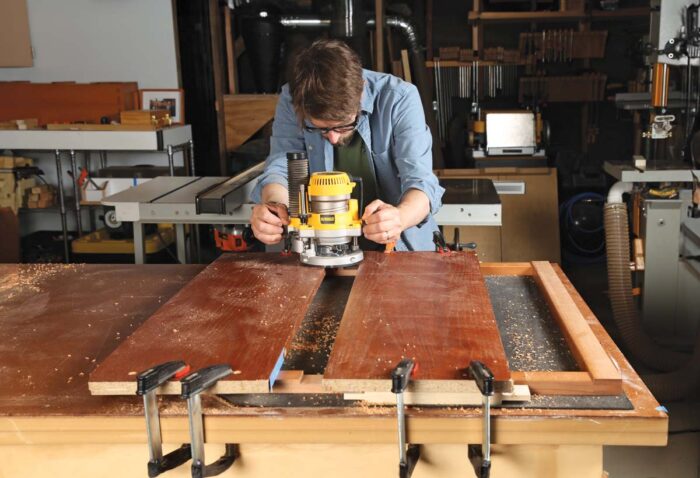
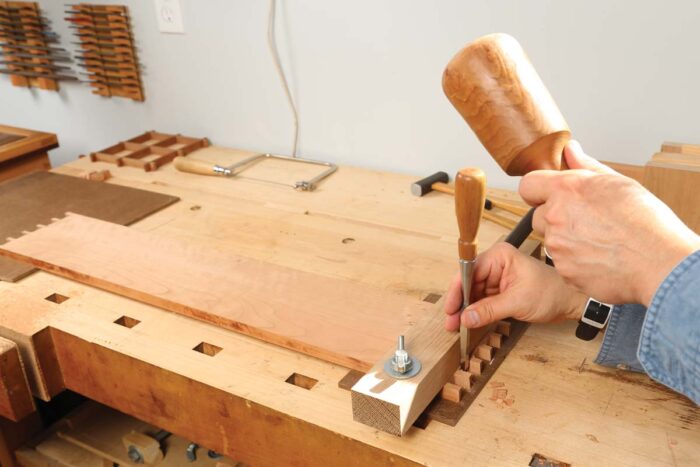
Mark out a pleasing dovetail pattern, and cut the tails on the sides. Transfer that layout to the top and bottom, and cut the pins. At the router table, rout grooves in the top and bottom for the sliding doors. Remember to make the bottom groove shallower than the top groove. Rout a rabbet in the back of the box to accept the frame-and-panel back.
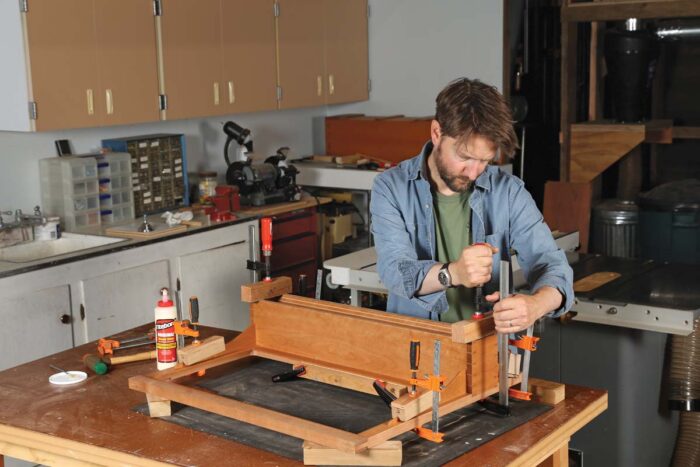
Glue up the carcase
 |
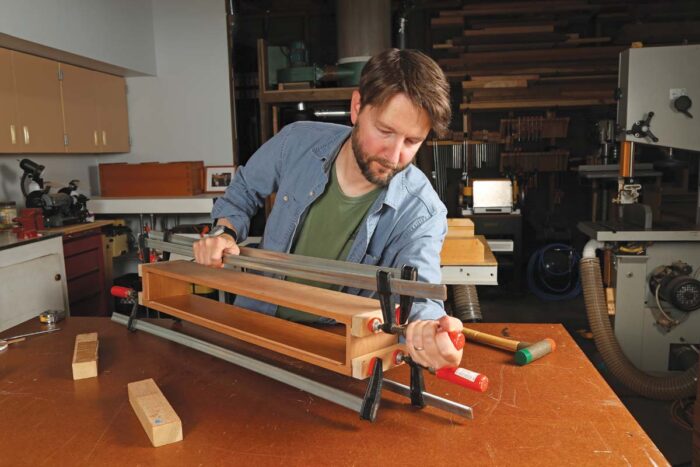 |
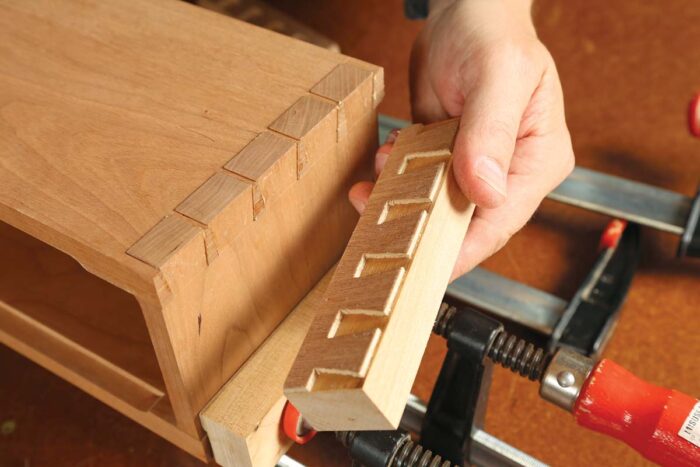
After pre-finishing the interior, glue the sides to the top and bottom. A caul with a thin copy of the tail layout applied to it allows you to exert pressure on the dovetails without interfering with their fit. Wax the caul to avoid gluing it to the case.
Back frame and panel
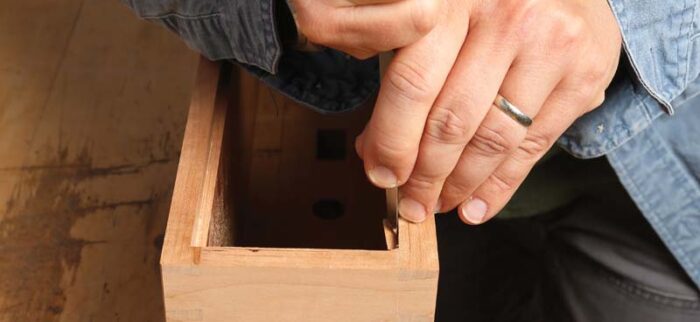
Measure the rabbeted opening in the back of the completed box and mill the back panel rails and stiles to size. At the table saw, cut the bridle joints in the frame parts and route a groove to accept the panel.
The panel material and graphics are up to you, but be sure to follow the rules of wood movement. The panel can match the carcase material, which helps it fade into the background, or it could complement the door panels.
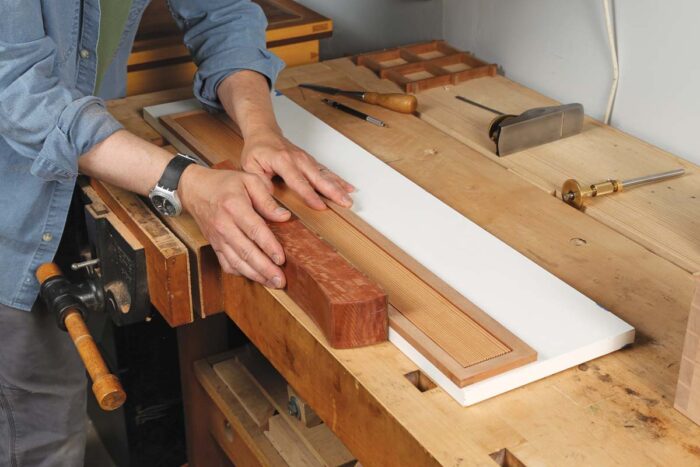
At the router table, raise the panel. Then dry-fit the frame and panel. When assembled, it should be about 1⁄32 in. longer and wider than the rabbeted opening. Pre-finish the back panel and the interiors of the frame members and glue them up. Then clean up the joinery, sand, and finish the frame. Fit the back to its opening with a hand plane and glue it in place. Plane the back panel flush with the back of the box. Chamfer the edges of the box, and to 320 grit, and finish the exterior with shellac.
Mirror frame has two types of joinery
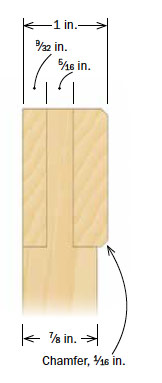
Tackle the frame’s bridle joints first. The bridle tenons are centered in the stiles, but because the top rail is thicker than the stile, the bridle mortise in it is offset. To cut the bridles in the top rail, first, mark out the bridle tenons on the stiles and transfer those marks to the rail. Be sure to reference off the back of all pieces. With bridle joints, cutting test pieces is imperative. Once you’ve dialed in the test fit, cutting the joints is simple.
 |
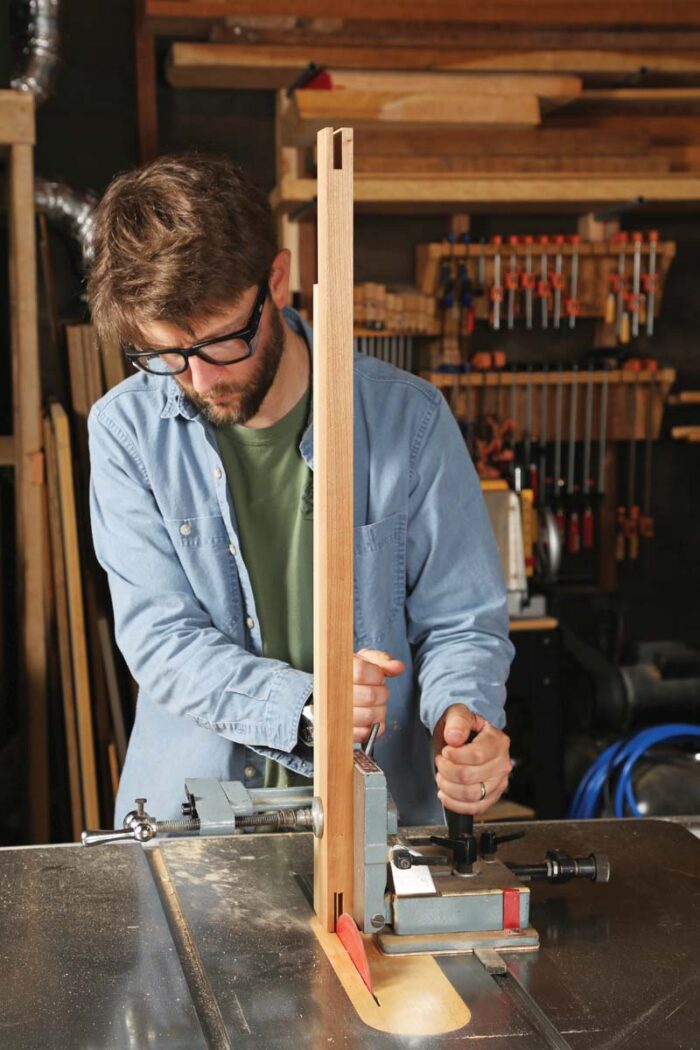 |
The bridle tenon is centered in the stile (drawing above left). But because the top rail is thicker than the stile, the bridle slot in it is offset. Referencing off the back of the pieces, first lay out the tenon on the stile, then transfer that layout to the rail. Sterns uses a tenoning jig at the table saw and multiple passes to cut the bridle slot (above the middle).
After cutting the cheeks at the table saw (top left), take the stiles to the bandsaw and saw off the waste, cutting close to the shoulder line (top right). Head back to the table saw and cut all the shoulders (bottom left). Finally, back at the bandsaw, trim the tenons to width, being careful not to overcut into the shoulders (bottom right).
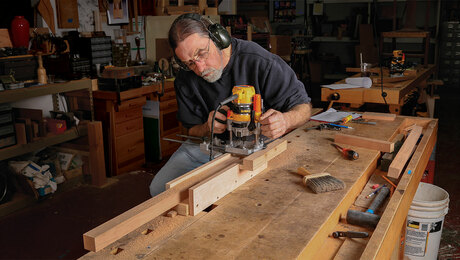
Next, cut the mortises in the stiles for the bottom rail tenons. I use a router and a mortising box, a method I borrowed from “Quick and Accurate Mortises” by Bob Van Dyke. Then, at the table saw, cut the tenons on the bottom rail. Chamfer the edges, sand, and pre-finish the interior surfaces.
Quick and Accurate Mortises
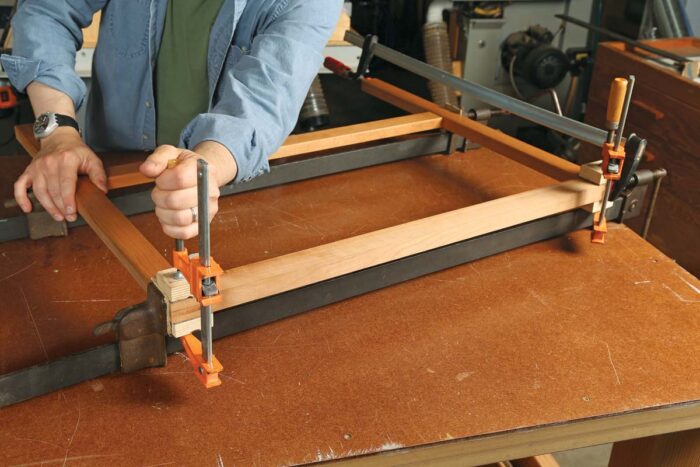
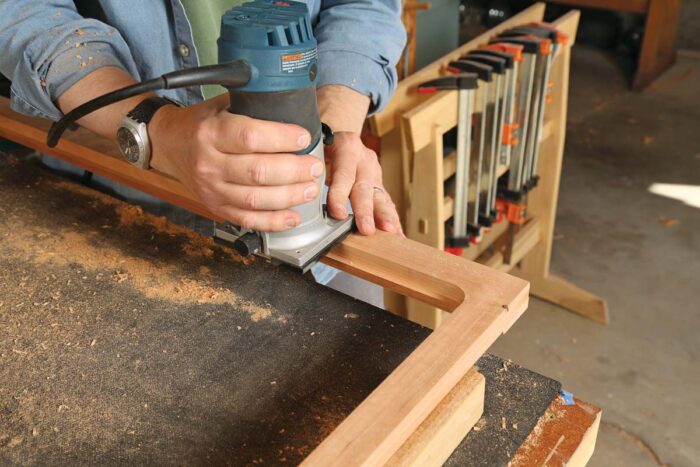
Once you’ve prepared all the parts, glue up the mirror frame. When the glue is dry, rout a rabbet deep enough to match the thickness of the mirror, the backing plywood, and the French cleat. It should leave at least a 1/8-inch. lip on the front of the frame. Chisel the corners of the rabbet square.
Next, rout away material for the ends and the top edge of the French cleat, which extend beyond the mirror to allow space for screws. Rout this second rabbet deep enough so that after the mirror is installed the cleat will lie flat on the plywood backer. Leave the top corners of the French cleat rabbet round, to avoid removing too much of the bridle joints. Clean up the joints and chamfer the top and ends of the top rail.
Dadoes and grooves
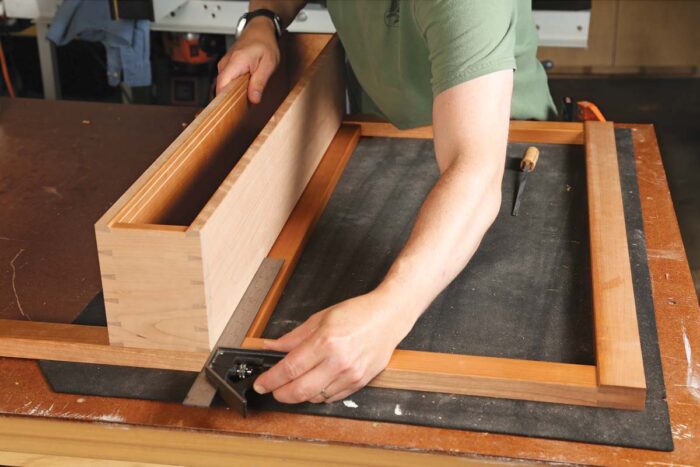
There’s more to be done on the mirror frame: Rout dadoes to accept the box and grooves to accept the corbels.
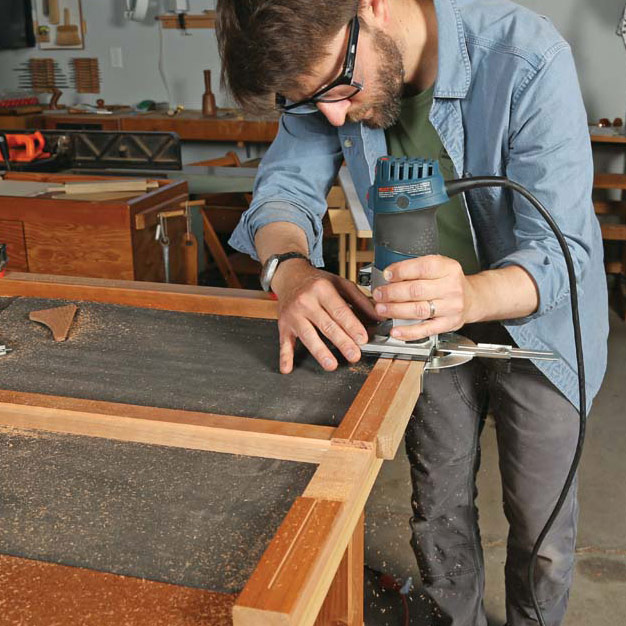
I cut the dadoes by setting up fences on each side and riding the router against the fences. To ensure the router is fully supported, I cut half the dado and then moved the fence and cut the other half.
 |
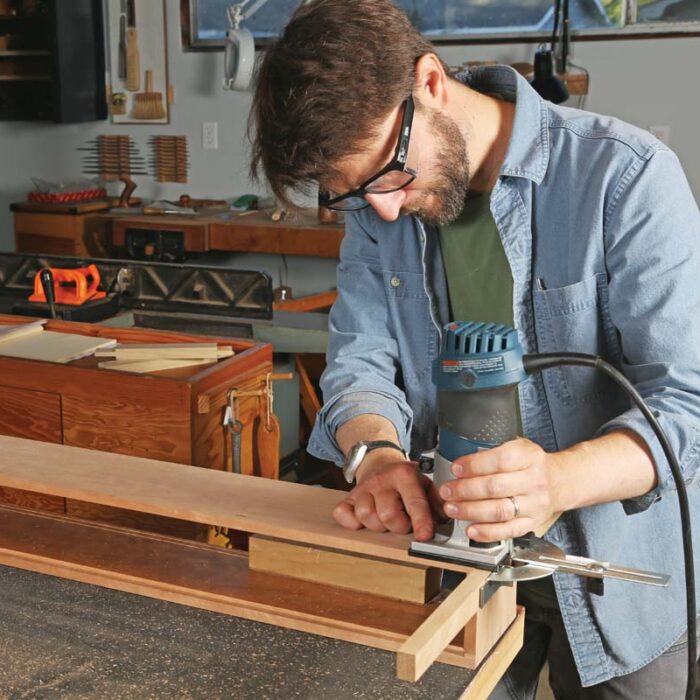 |
Next, use a router and fence to cut grooves down the center of the stiles to house the corbels (above left). Fit the box into the dado in the exact position where it will be glued, and transfer the corbel grooves to the top and bottom of the box with a knife. Adjust your router fence and cut the corresponding grooves (above right).
 |
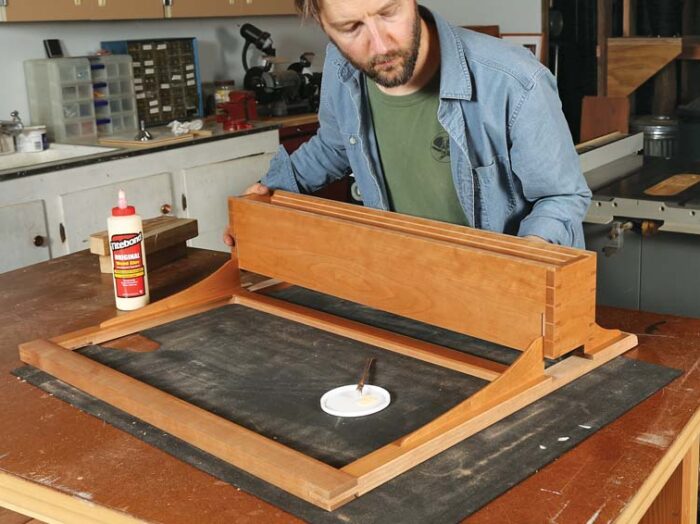 |
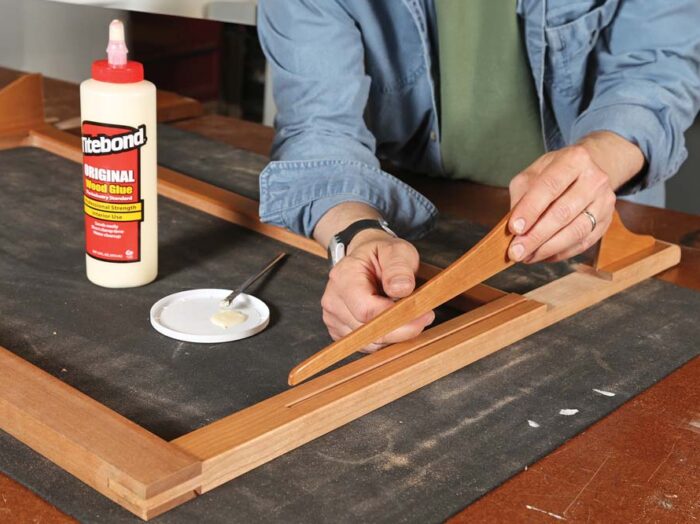
Shape, sand, and finish the corbels. They must fit gap-free in the grooves and fit to the frame and box grooves at the same time. It will probably take several tries at dry-fitting each one before they fit nicely. The box and corbels are attached to the mirror frame in a single glue-up. Glue in the corbels first, then slide in the box and tap it home.
Once the assembly is complete and everything is cleaned up, the mirror can be installed.
Sliding doors
The doors lift in and out of the grooves in the box, and they must slide easily without rattling around. I make the doors run on the bottom of the groove, rather than having the shoulder at the bottom of the door run on the surface of the box. This allows you to match the gaps on the bottom and top of the doors, and avoid the door cutting a visible groove into the box over the years.
Mill the door frame members to the final size. I set the width so that when the doors are closed the stiles in the center overlap by the width of the stile. When determining the height of the doors, take the top and bottom tongues into consideration. Cut the bridle joints on the table saw, and then rout a groove on the inside edge of all door members to accept the panel. Sand and pre-finish the inside edges of the door parts.
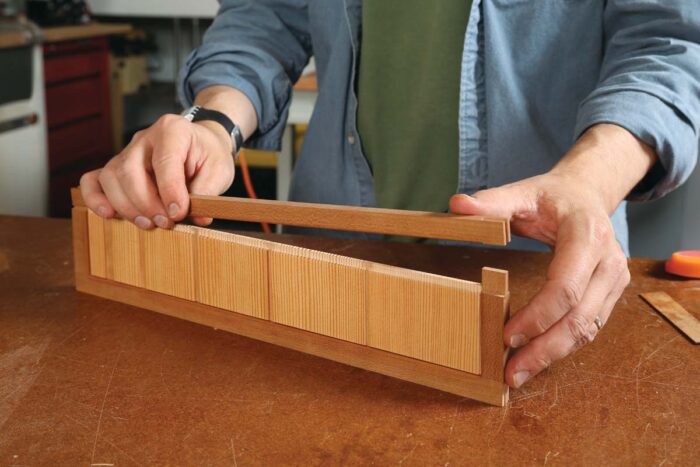
Now lay out and cut the individual panel pieces. For the long horizontal panels, I played with the idea of separated vertical pieces that go from narrower to wider and back again. At the table saw, cut slots in the edges of the pieces to accept splines.
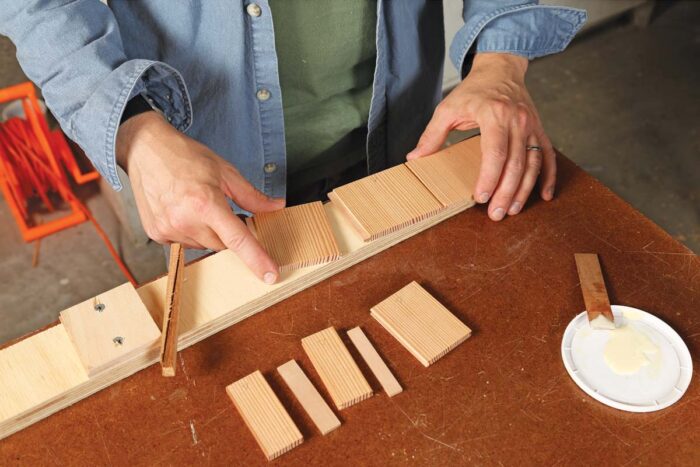
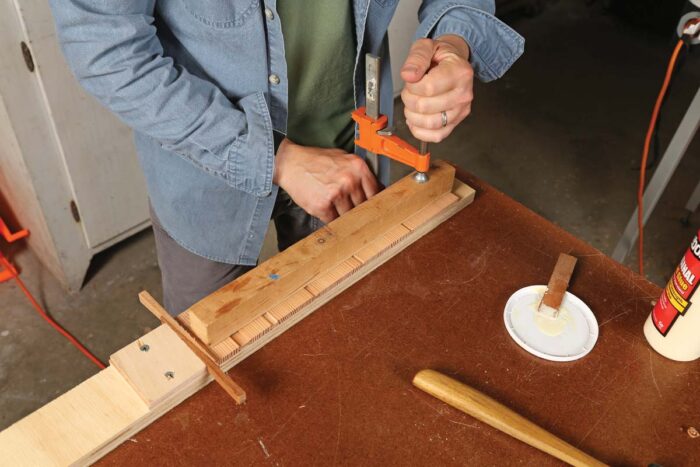
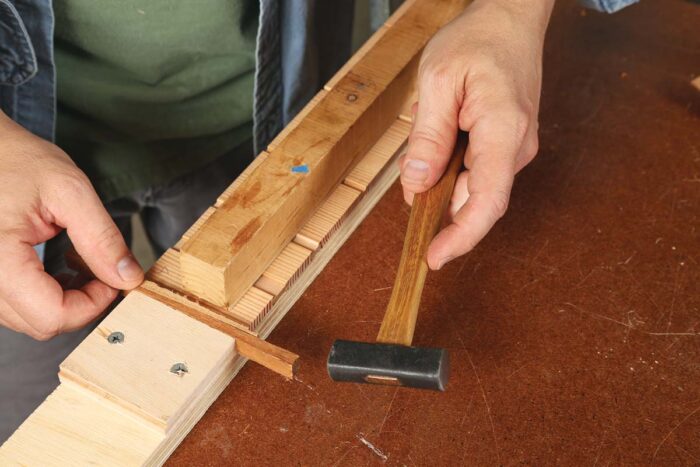
To simplify assembling the many small panel parts and splines into one wide panel, do the glue-up on a piece of plywood long enough to accommodate all the pieces plus a stop block, two opposing wedges, and a little extra space for the wedges to do their magic.
Clamp one end. As you apply glue, assemble all the panel parts and splines on the jig with the two opposing wedges against the stop block (but not yet tightened). Set a caul across the width of the pieces, and apply clamp pressure at the end of the caul farthest from the stop block.
 |
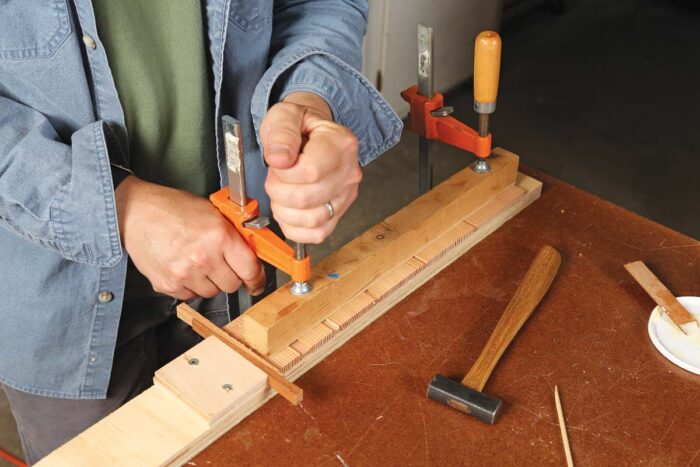 |
Engage the wedges. Tap the wedges toward each other (left), filling up the extra space between them and the panel pieces. This pushes all the pressure toward the clamped end. Once the pieces are all tight to each other, clamp the other end of the caul to keep the pieces flat while they are drying (right).
Glue the pieces together to create solid panels. Raise the panels by routing a tongue to fit grooves cut in the frame members. To avoid chipping out wood that isn’t backed up (where pieces are connected by splines), use a marking gauge or knife to cut the wood fibers in these areas. Sand and pre-finish the panels, and then glue up the frame-and-panel doors.
Once the glue is dry, clean up the joinery and cut tongues on the tops and bottoms of the doors to fit the box groove.
The pulls are indentations routed into the door stiles. I use a round-nose router bit to cut a groove at the router table, then blend it with sandpaper.
Install the mirror and French cleat
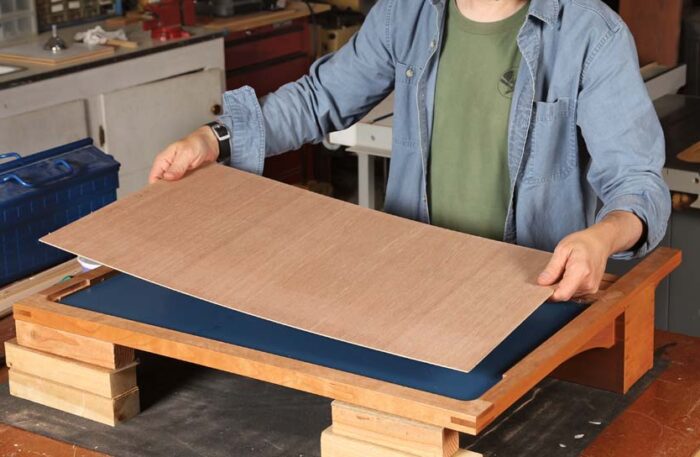
For anything other than a very small mirror, use 1⁄4-in.-thick glass. Too thin, 1⁄8-in. glass flexes and distorts, and while 3⁄16-in. glass is sometimes available, it tends to be harder to find and more expensive.
 |
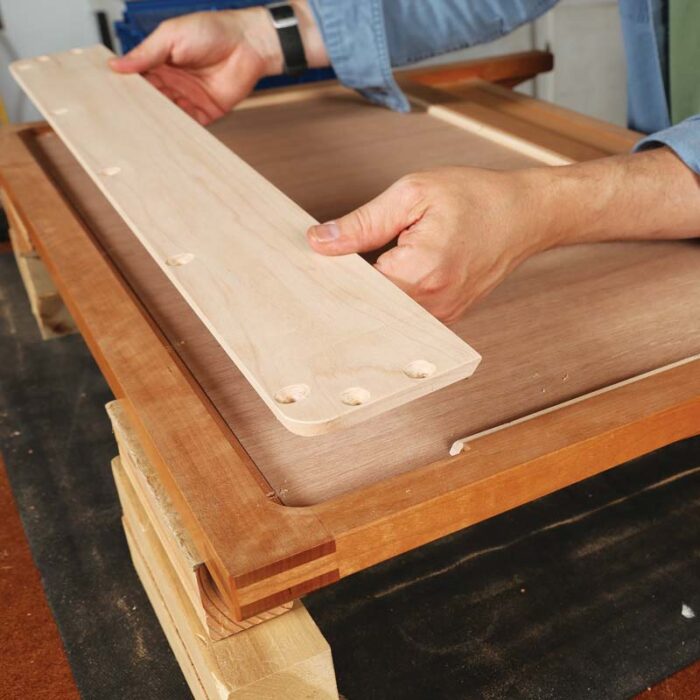 |
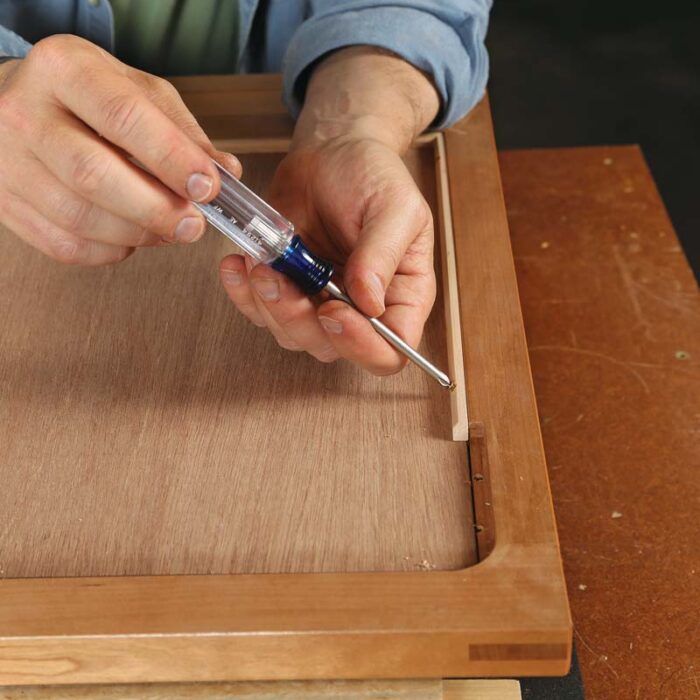
Once the mirror and plywood are in place, install the stops and the French cleat. The cleat acts as a stop at the top of the mirror, so stops are only needed on the sides and bottom. Drill pilot holes and countersinks for all screws, making sure the drilling angle is steep enough that the screws won’t contact the mirror. Secure the stops to the sides and bottom, and attach the cleat to the top.
When installed, the French cleat should be flush with the back of the frame, so its exact thickness is determined by the rabbet that has been routed for it. I use hard maple for French cleats as it’s readily available and strong, but many other hardwoods, such as oak, would also work.
To make the interlocking two-part French cleat, mill a piece of wood to the exact thickness but twice its final width. Then rip it in half on the table saw with the blade tilted to 45°. Install the cleat with screws.
Mill the stop strips at the same time as the French cleat as they will be the same thickness. Rip them to a square profile, then chamfer one edge to accept screws. Nails are more traditional for attaching stops, but I like screws for the ease of removal if necessary. Cut stops to length and install.
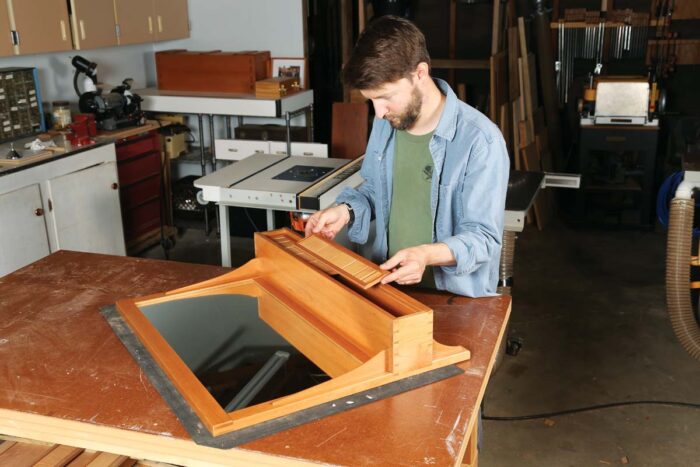
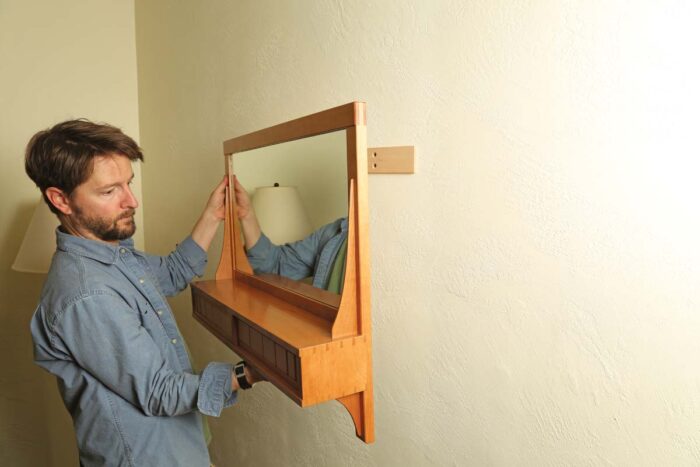
—Joshua Sterns designs and makes furniture in Fort Bragg, Calif.
To view the entire article, please click the View PDF button below.
Build a Chippendale Mirror
Designer’s Notebook: The Passage of Time

Quick and Accurate Mortises
Sign up for eletters today and get the latest techniques and how-to from Fine Woodworking, plus special offers.
Download FREE PDF
when you enter your email address below.

