Different ways to dry wood
All wood contains moisture in its cellular structure, and much of that moisture needs to be removed before the wood is ready for use. The wood’s application will determine the amount of moisture that needs to be removed from the cells. The goal is to reach a level of moisture in the cells equal to the relative humidity where the wood will be used. When a tree is felled and the green log is cut into planks, the wood’s moisture content (MC) can range from roughly 40% to 160% depending on the species. For use in framing a house or building outdoor furniture, the MC needs to be lowered to 20% or below. For furniture and other indoor use, the MC target is closer to 6% to 8%. Here I’ll describe the two primary methods for drying wood to these moisture levels—air-drying and kiln-drying.
I run a wood business that’s been in my family for four generations. We saw logs into planks and then air-dry and/or kiln-dry the lumber.
Air-drying
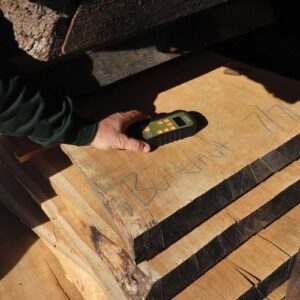
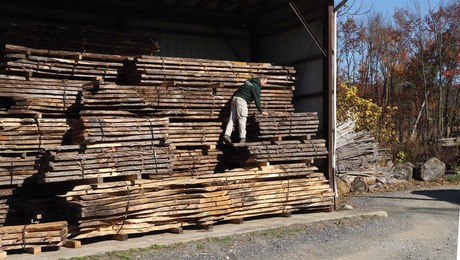
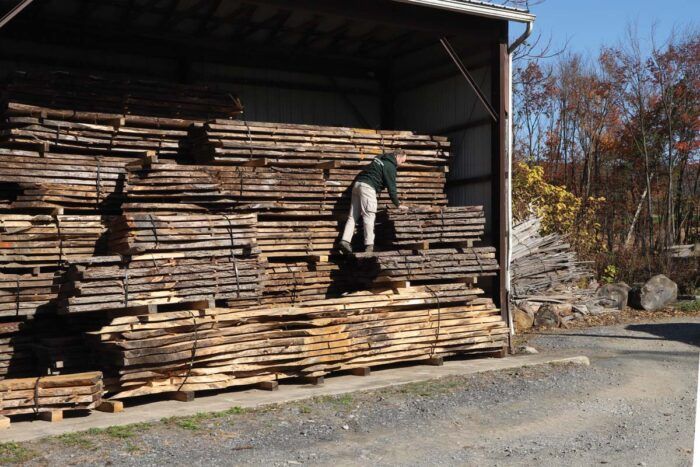
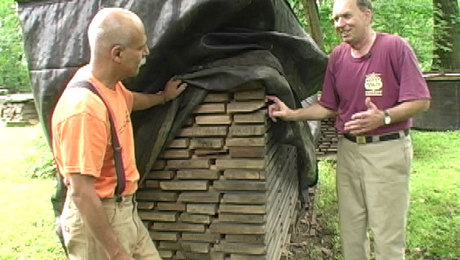
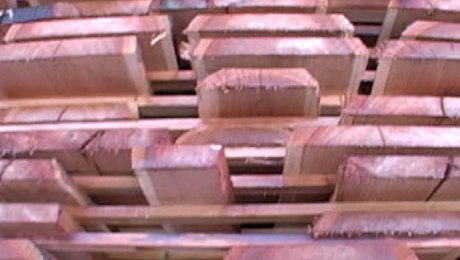
The first method of removing moisture from the wood is simply to stack the lumber on drying sticks—stickers—so air can pass over and around the surface of each board. Nearly all lumber drying starts with some air-drying. This allows “free water” contained inside the wood’s cells to migrate to the surface of the lumber and evaporate. It will occur naturally, and will stop when the lumber’s MC is equal to the relative humidity of its surroundings. In the northeastern U.S., where I live, most air-dried lumber will eventually reach a moisture content of somewhere between 12% and 16%.
Depending on the species of wood, and the thickness of the planks, this process can take several months to several years. The thicker the lumber, the longer it takes for the moisture in the center of the wood to be removed. The rule of thumb is to expect the drying to take a year per inch of thickness. Even lumber that will be kiln-dried is generally air-dried first for a while to begin the drying process.
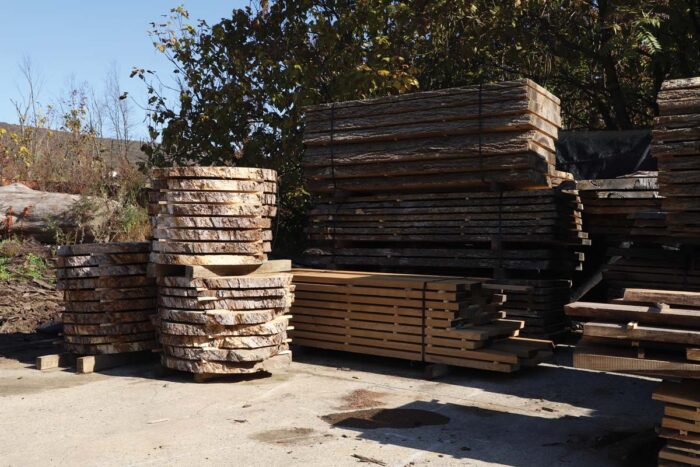
Air-drying doesn’t cost a lot to do, and given time, good results can be achieved. If the wood is going to be used for an exterior application, once it has reached equilibrium with the environment, it is ready for use.
Kiln-drying
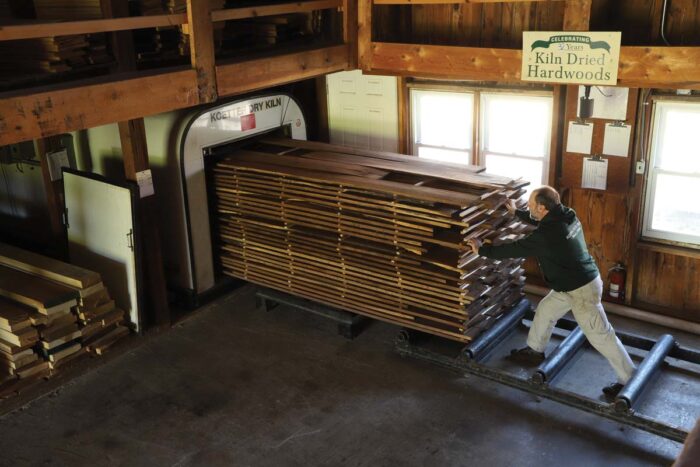
For indoor use, however, wood needs to be dried to a lower moisture content than can be achieved by air-drying alone (unless the air is extremely arid, as in the desert Southwest). In order to do that, the wood needs to be subjected to heat, and a dry kiln is the vehicle that makes that happen. There are many types of kilns (see “A diversity of dry kilns” on p. 78), including solar, dehumidification, microwave, vacuum, and conventional. The kilns I use are the conventional type, which are the most widely used for commercial seasoning of lumber.
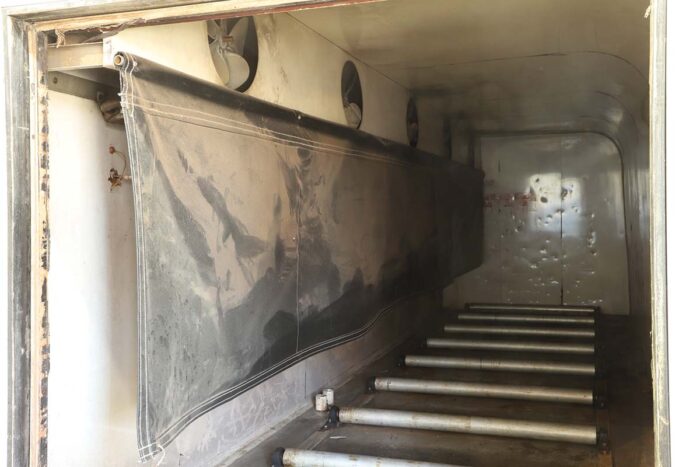
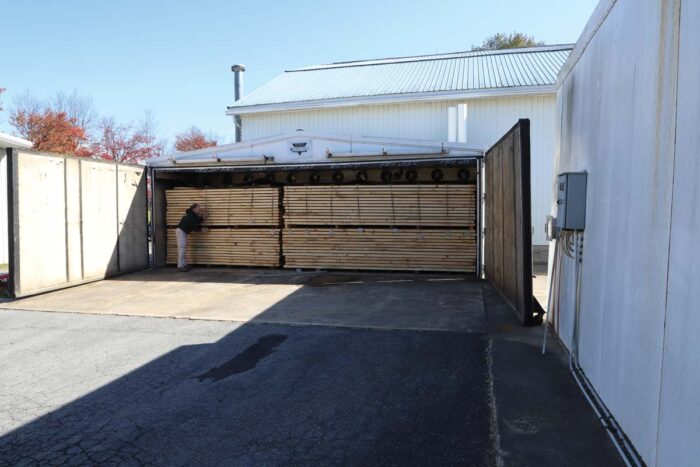
In a conventional kiln the lumber is stacked and stickered in an enclosed chamber where fans circulate heated air across and through the load of wood, and excess moisture is vented out of the chamber. The MC of the wood and the relative humidity of the air in the kiln are carefully monitored and adjusted to keep the wood drying evenly, steadily, and not too quickly. Depending on the species of wood being dried, in a conventional kiln the process takes roughly several weeks.
Through kiln-drying, the wood fibers will reach equilibrium with the relative humidity in your home. In the Northeast that moisture content is 6% to 8%, depending on the season. Winter is when the relative humidity is at its lowest, because the air, in colder temperatures, isn’t able to carry as much moisture.
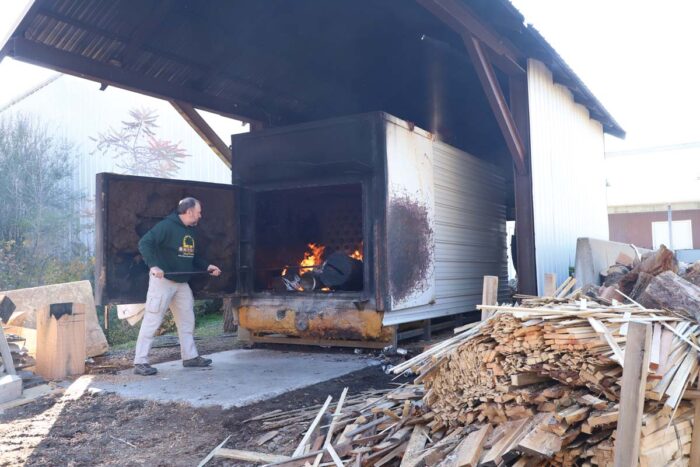
Near the end of the conventional kiln-drying cycle, an important process called conditioning takes place. As the wood dries in these kilns, the moisture content of the fibers in the center of a plank is always a few percentage points higher than those on the surface where evaporation occurs. Conditioning introduces steam to the kiln to regulate the final stage of drying.
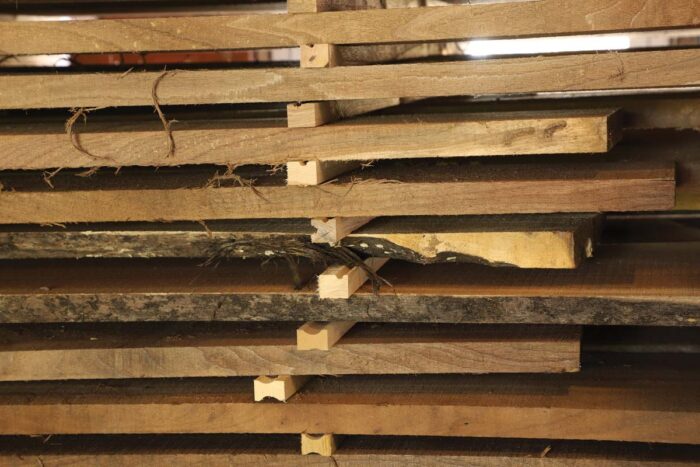
When the fibers in the center have reached the 6% to 8% range, the steam is introduced, raising the moisture content of the surface fibers. When conditioning is done correctly, the MC of the wood will be the same from the center to the surface.
If you have sawn up improperly conditioned wood, you’ll know it—the workpiece will either bind on the sawblade or split apart as the blade cuts through. The severity of these reactions relates directly to the amount of drying stress that remained in the wood, which could have been relieved with proper conditioning.
|
|
|
Even when lumber has been properly kiln-dried and conditioned, it is important to bring the material into the shop for several days or even a week before beginning to work on it. This allows the wood to adjust to its new environment. During the winter, if wood is stored at a colder temperature, it is even more important to allow it to acclimate to your shop.
-Jeffrey Schucker cuts, dries, mills, and sells wood at Bailey Wood Products in Kempton, Pa.
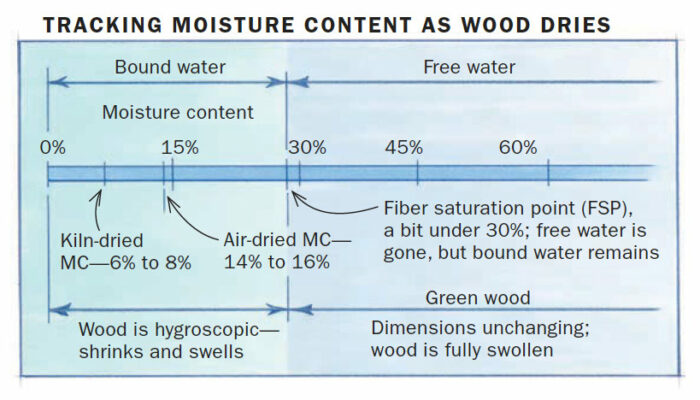
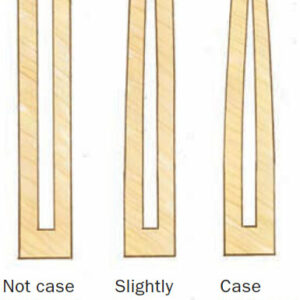
What happens when wood dries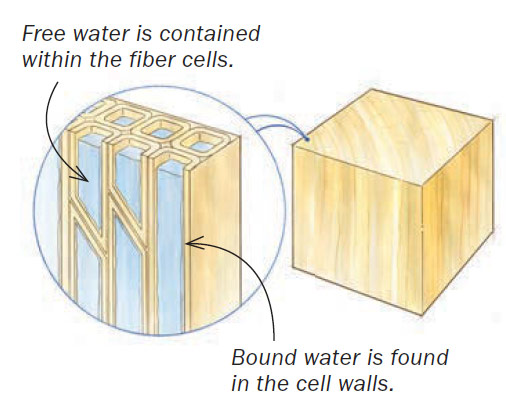 Once a tree is cut and begins to dry, moisture in the wood’s cell cavities, known as free water, evaporates first. When that water is gone the cells are empty, but the cell walls are still fully saturated, and the wood has reached “fiber saturation point,” or FSP. The moisture that remains, known as bound water, is what air-drying and kiln-drying are designed to remove. The cell walls are at their weakest when they are saturated; the strength of the wood increases as the bound water is removed. And it is only after the bound water has begun to evaporate that wood will swell and shrink with changes in relative humidity. The Prong test for case hardeningIn kiln-drying, failure to even out wood’s MC creates stresses that are exposed when the wood is worked. If a dried plank’s core is wetter than its outer shell, it is “case hardened.” The fibers in the center want to expand but are constrained by shell fibers that want to contract. Kiln operators use a prong test—cutting a slice of wood from near the end of a plank, then sawing a notch in it—to assess how evenly a load of wood has dried.
|
A diversity of dry kilns
All wood kilns generate heat to evaporate moisture from the wood, but they differ widely in the ways they produce the heat and in how they deliver it. In a field with a long history, there has been a fair amount of recent innovation; here’s a brief taxonomy of the major types of wood kilns.
Conventional kilns
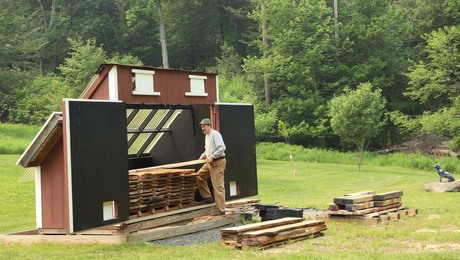
Long the standard of the lumber industry, conventional kilns typically use steam or hot water in pipes to radiate heat in the kiln chamber. Fans blow the heated air around and through the pile of lumber, inducing surface evaporation of the water in the wood. Each layer of planks is laid on stickers, separating it from the layers above and below so the air flows across all surfaces. Moisture drawn from the wood exits the kiln as humid air via vents. The steam or hot water is typically generated by burning wood, oil, or gas, or using electricity.
Solar kilns
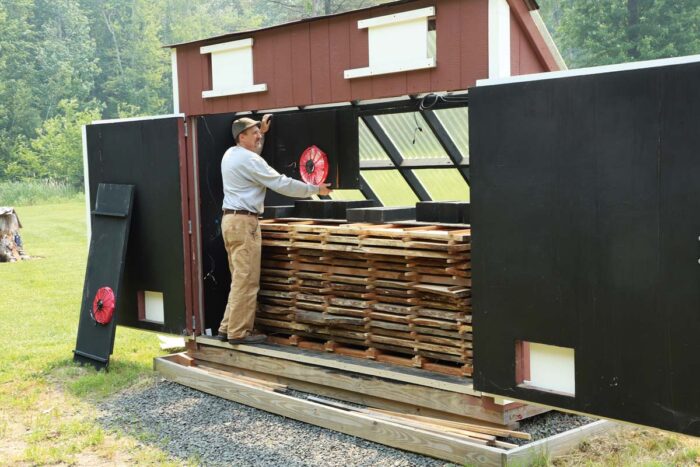
These operate just like conventional kilns, but using heat from the sun in place of steam or hot water. Hot air is circulated by fans through a stickered stack of planks to produce surface evaporation, and the resultant moist air is vented from the kiln. If the fans are powered by batteries or solar panels, the solar kiln can be operated completely off the grid. Placement of a solar kiln is key to capture the amount of sunlight required to dry wood; these kilns tend to operate more slowly, if at all, in winter months.
Dehumidification kilns
Like conventional kilns, dehumidification kilns work by surface evaporation. The wood is stacked on stickers and hot air is circulated by fans. In these kilns, however, the moist air is not vented from the chamber; instead, the air passes over the dehumidification unit’s cold pipes and moisture condenses and exits the chamber as water through a drain hose. Because the DH kiln doesn’t vent hot air, it conserves energy, requiring less heat to maintain a particular temperature.
Radio frequency kilns
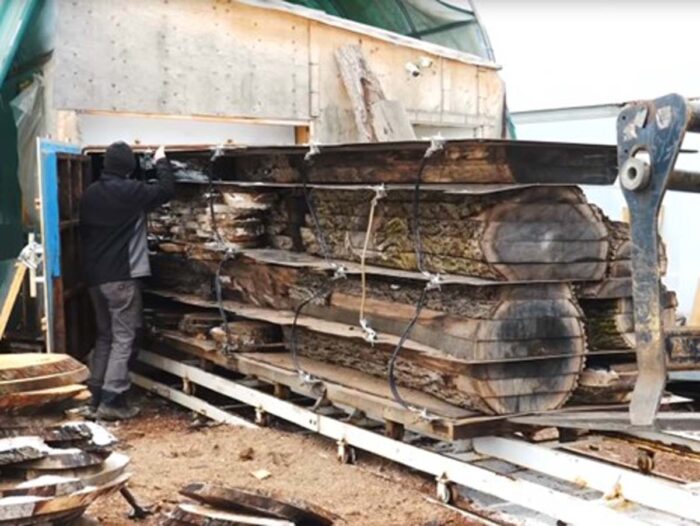
Radio frequency (RF) kilns, also known as high frequency (HF) or microwave kilns, unlike nearly all other types of kilns, don’t withdraw water from the wood through surface evaporation. Instead, RF kilns send electromagnetic waves through the wood that polarize the water molecules within. The water molecules begin oscillating rapidly, producing friction that heats the wood from the center outward, vaporizing the water. Since RF kilns don’t rely on airflow for evaporation, the lumber can be dead stacked. And as a result, RF drying can be combined with a press system—often a hydraulic plate or a bladder mounted on the ceiling of the drying chamber—that exerts powerful downward pressure on the lumber stack during drying, producing very flat planks. RF kilns also typically include vacuum technology so the evaporation temperature (and electricity costs) are reduced.
Because RF technology can penetrate deeply and dries the wood from the center out, it can dry thick boards as easily as
thin ones. Drying processes that rely on surface evaporation struggle to dry planks much more than 3 in. thick without significant cracks and other defects. RF kilns are well suited to drying thick planks and cookies, and are capable of drying timbers up to 9 in. thick.
Heating plate kilns
 |
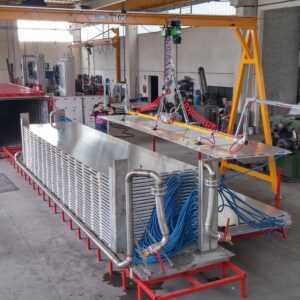 |
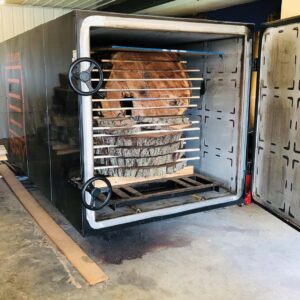
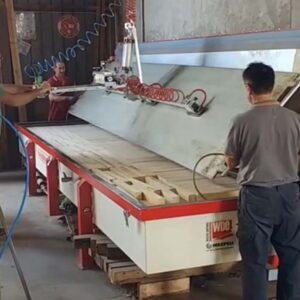
A recent innovation, these kilns work by inserting thin, hot-water-filled metal platens between layers of lumber. The drying is done in a vacuum, lowering the temperature needed and exerting pressure to keep the boards flat. This technology is used in large-scale kilns and in smaller ones that resemble freezer chests, like the one above right, which can be used to dry pre-milled blocks and blanks.
Vacuum kilns
The term “vacuum kiln” is a bit of a misnomer. It doesn’t describe a standalone category of kilns. Instead, vacuum technology—which reduces the temperature at which water will vaporize—is incorporated in a variety of disparate heating systems. However you heat the kiln, if you pull a vacuum first, you can dry the wood at a far lower temperature, reducing heating costs and making for a shorter and gentler drying process. In addition to a compressor, creating a vacuum requires an airtight and very stout drying chamber.
Sign up for eletters today and get the latest techniques and how-to from Fine Woodworking, plus special offers.

