
Essential Bench Jigs: DIY Shooting Boards

Shooting Board for Squaring End Cuts
I depend on this shooting board to square up the ends of parts perfectly. In the past, I’ve tried to attach a fixed fence at exactly 90°, but I’ve always needed to shim it square later. On this version, though, I made the fence adjustable so that I can square it up as needed.
The heart of the jig is the plywood base, which has two layers glued together to create a bed for the plane. The subbase is dadoed to receive a cleat that registers against the edge of my bench. The top layer has a groove along the top edge
to guide a speed square that I use while shooting miters. The hardwood fence pivots on a steel pin, and it has a knob on the opposite end to lock in the setting. Drill the clearance hole for the knob’s threaded shaft slightly oversize to allow some adjustment.
Because there’s just a small range of adjustment, the fence holes need to be drilled so that the fence is roughly square to begin with. To do this, pre-drill the fence and clamp it in place as square as you can with its end just overhanging the step in the base. Then use the fence as a guide as you drill into the base. Drive the steel pin into the smaller hole in the base, and thread an insert into the larger hole. Once the fence is in place, plane its end flush with the step in the base to create a zero-clearance backstop for planing.
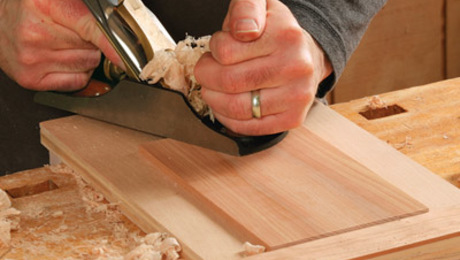
When working end grain I use a low-angle smoothing plane on its side. It rides on the bed and registers against the edge of the base. Place the plane on the bed and snug it up to the edge. Then place the workpiece against the fence and slide it until it contacts the plane sole ahead of the blade. Set the plane for a light cut so that it doesn’t get bogged down in the end grain.
For shooting miters I use a speed square with a wood fence attached to it. You need to trim a corner of the square, so buy a plastic one. The base of the square rides in the groove, and you can dial in the miter angle by adjusting the shooting-board fence.
Assembly Tip
 |
 |
Drilling for the fence. Because the oversize hole only allows for slight adjustment, the fence holes in the base should be drilled as accurately as possible. To make this easier, pre-drill the fence, clamp it square to the jig with its end extending slightly from the edge of the jig, and use it as a guide for drilling. Tap the pin into the small hole and thread an insert into the larger hole.

Squaring up is easy. To set up for shooting, loosen the adjustment knob and square the fence to the edge of the jig with a combination square. The first few passes with the plane will flush the fence to the edge of the jig, creating a zero-clearance back stop for planing parts.
Do’s and Don’t’s of Using a Shooting Board
 Push Down Against The Base, Not Into The Fence
The reference face for the plane is its side, so to maintain a square cut and avoid paring into the fence, exert pressure downward.
 Keep The Workpiece Flush to The Edge
Overhanging the workpiece will result in an angled cut and tearout along the back edge. Instead, set the plane in place and slide the workpiece against the sole ahead of the blade, and then make the cut.

Speed square makes for accurate miters. Adapting a Methods of Work tip from Sean Montague, Pekovich uses a plastic square with a hardwood fence to shoot mitered ends of parts. The base of the square slides in a groove in the base and registers against the fence.
To view the entire article, please click the View PDF button below.


Fine Woodworking Recommended Products
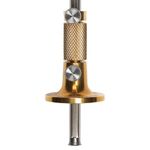
Tite-Mark Marking Gauge
These gauges can be easily and precisely adjusted with one hand, which allows you to set the tool while holding a ruler or workpiece in the other. The quality is exceptional, and all have sharp cutters that offer great visibility.
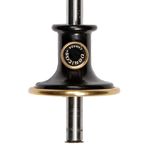
Veritas Wheel Marking Gauge
A wheel-type gauge is the easiest to use, and this wonderful Veritas model is a steal at $38.
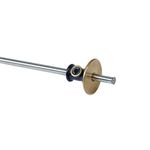
Veritas Standard Wheel Marking Gauge
The gauge is very easy to set, since it has an internal O-ring to keep light but constant friction on the rod. A very comfortable gauge to use.
Sign up for eletters today and get the latest techniques and how-to from Fine Woodworking, plus special offers.
Download FREE PDF
when you enter your email address below.


