Build a classic Ming table, part 1
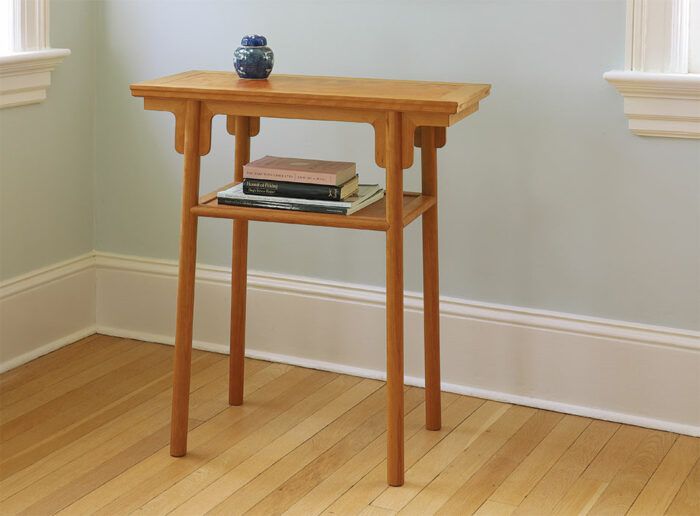
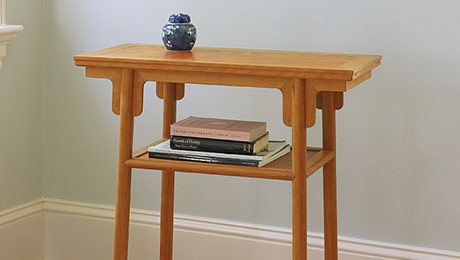
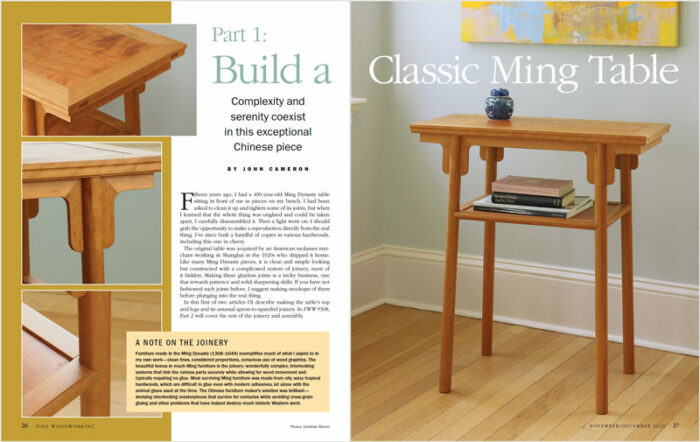
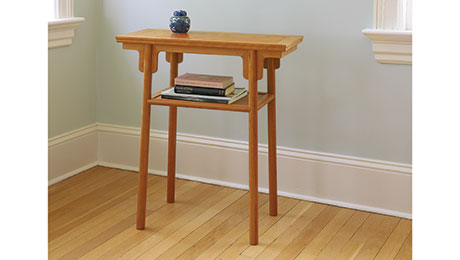
Synopsis: Copied directly from a 400-year-old Ming Dynasty table, this piece looks clean and simple but is constructed with a complicated system of joinery, most of it hidden.
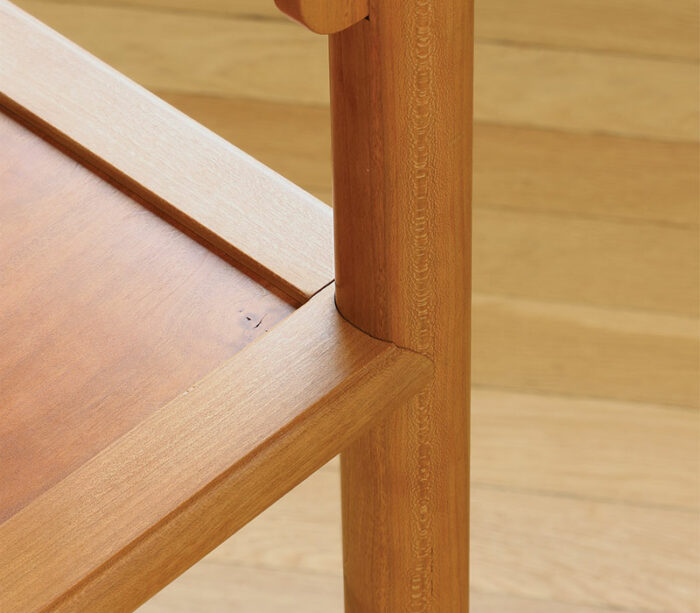
The glueless joints mitered through-tenons, a tongue-and-groove top panel with cross braces connected by sliding dovetails, splayed legs, and a complex apron and spandrel system are tricky and require patience and acute sharpening skills. The reward is great: a beautiful table with a wonderfully complex, interlocking system of joinery accomplished without glue.
Fifteen years ago, I had a 400-year-old Ming Dynasty table sitting in front of me in pieces on my bench. I had been asked to clean it up and tighten some of its joints, but when I learned that the whole thing was unglued and could be taken apart, I carefully disassembled it. Then a light went on: I should grab the opportunity to make a reproduction directly from the real thing. I’ve since built a handful of copies in various hardwoods, including this one in cherry.
The original table was acquired by an American molasses merchant working in Shanghai in the 1920s who shipped it home. Like many Ming Dynasty pieces, it is clean and simple looking but constructed with a complicated system of joinery, most of it hidden. Making these glueless joints is a tricky business, one that rewards patience and solid sharpening skills. If you have not fashioned such joints before, I suggest making mockups of them before plunging into the real thing.
In this first of two articles, I’ll describe making the table’s top and legs and its unusual apron-to-spandrel joinery. In FWW #308, Part 2 will cover the rest of the joinery and assembly.
A note on the joineryFurniture made in the Ming Dynasty (1368–1644) exemplifies much of what I aspire to in my work—clean lines, considered proportions, and conscious use of wood graphics. The beautiful bonus in much Ming furniture is the joinery: wonderfully complex, interlocking systems that link the various parts securely while allowing for wood movement and typically requiring no glue. Most surviving Ming furniture was made from oily, waxy tropical hardwoods, which are difficult to glue even with modern adhesives, let alone with the animal glues used at the time. The Chinese furniture maker’s solution was brilliant—devising interlocking masterpieces that survived for centuries while avoiding cross-grain gluing and other problems that have helped destroy much historic Western work. |
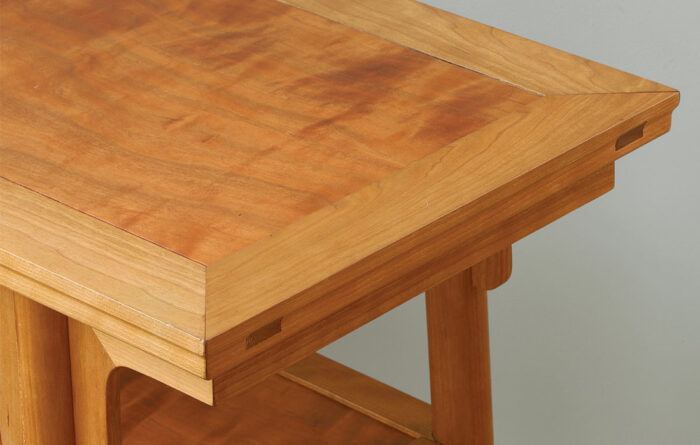
Top frame: miters with through-tenons
Begin the table by laying out the top’s frame joinery. Then cut a through-mortise in the short frame members with the sharpest, most accurate tool you have. For many, it will be a hollow chisel mortiser or a router; for me, it is a small Bridgeport milling machine. I cut the miters on the short frame pieces at the table saw and plane them clean on a shooting board with a miter jig.
Now turn to the long frame members, where the hand joinery begins. With the workpiece clamped at an angle in a vise, cut the cheeks of the tenon; saw close to the lines, but leave a little waste. Then flip the piece on its face and saw along the miter line, leaving a bit of waste that you’ll pare to the line later.
The inside edge of the tenon is not shouldered, but the outside edge needs to be cut—first ripped, then sawn along the miter. Saw as your grandfather taught you—slowly, letting the saw do the work.
I go next to the router table and, with the workpiece face down, use a straight bit to make a skim cut across the tenon’s top cheek. The bit height should be exactly 5⁄16 in. above the table—the distance from the top cheek of the tenon to the top face of the frame.
This gives me a surface I can trust as I do the rest of the trimming and fitting with chisels and a shoulder plane. As you trim the tenon look for a fit that requires just hand pressure to assemble (not a mallet), but that is secure, not sloppy.
Fit each joint independently, and then assemble the whole frame and tweak where necessary to achieve tight miters and nicely aligned corners. With the frame still assembled, plane the top surface so the joints are flat and flush. This has the added benefit of providing a reference surface to run against the fence when you cut the grooves for the top panel. Do that next, at the table saw.
—John Cameron builds furniture in Gloucester, Mass.
Photos: Jonathan Binzen.
Drawings: John Hartman.
For more photos and illustrations, click on the “View PDF” button below:
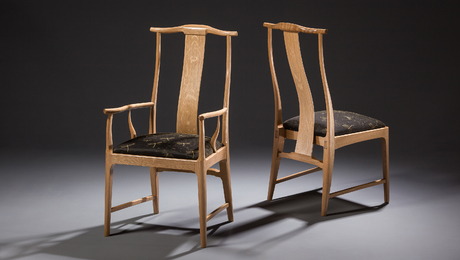
John Cameron’s Ming Chairs
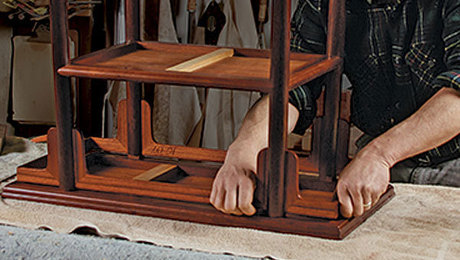
Ming Masterpiece, Joint by Joint
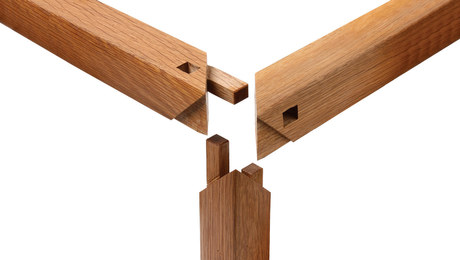
Interlocking Chinese Joinery
Sign up for eletters today and get the latest techniques and how-to from Fine Woodworking, plus special offers.
Download FREE PDF
when you enter your email address below.

