How to build an artful easel
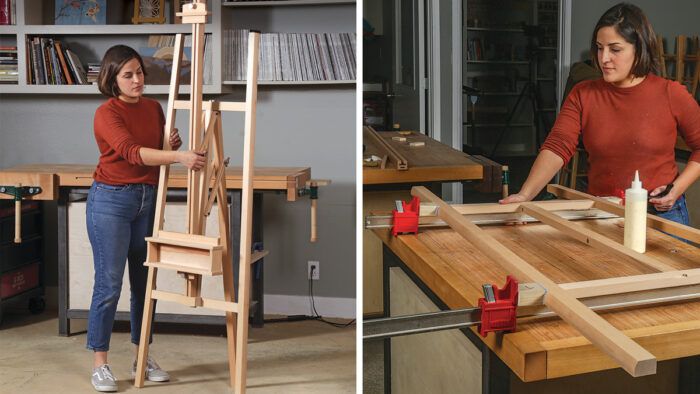
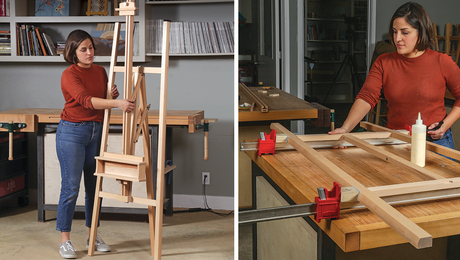
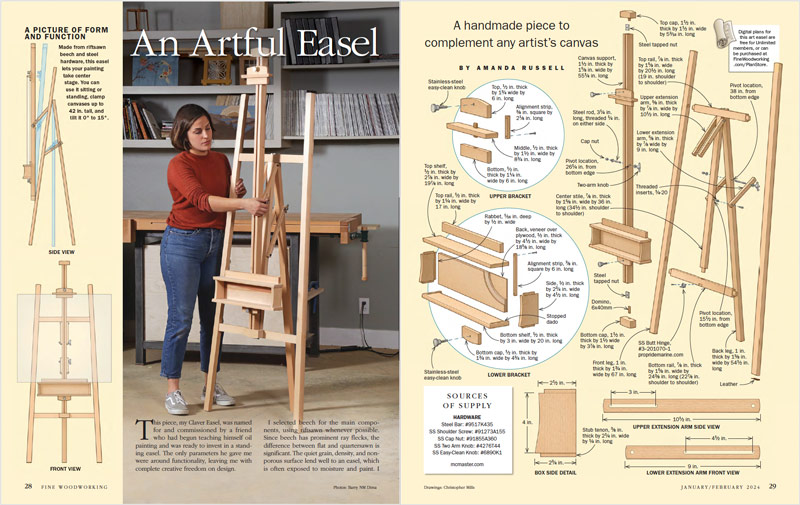
Synopsis: Made using riftsawn beech and steel hardware, this easel has an A-shaped frame with angled legs. The central support tilts to accommodate the painter’s ergonomics, with sliding brackets that clamp the canvas in place. It can be used sitting or standing. A cubby holds brushes and paint. Together, the elements of this piece form an elegant, understated design that does not detract from the artwork.
This piece, my Claver Easel, was named for and commissioned by a friend who had begun teaching himself oil painting and was ready to invest in a standing easel. The only parameters he gave me were around functionality, leaving me with complete creative freedom in design.
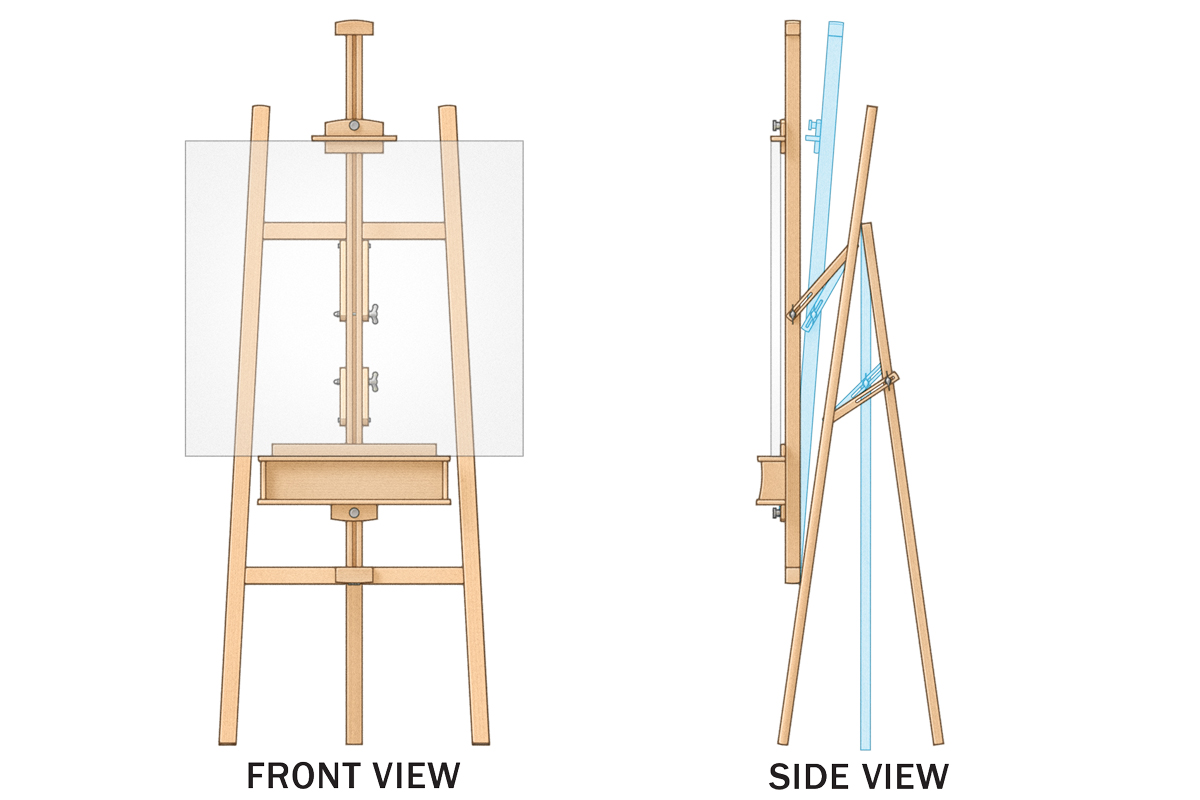
I selected Beech for the main components, using Riftsawn whenever possible. Since beech has prominent ray flecks, the difference between flat and quartersawn is significant. The quiet grain, density, and nonporous surface lend well to an easel, which is often exposed to moisture and paint. I chose stainless-steel hardware for the same reasons.
The density and strength of the hardwood allowed me to scale down the angled legs and canvas support, two key components, for a much more elegant frame. I opted for locally harvested pear for a decorative panel in a cubby that holds brushes and paint.
It complements the beech and makes a statement without distracting from the overall piece. Together, my friend and I landed an understated piece that would not compete with the artwork but still stand beautifully on its own.
Master wedge ensures matching angled joinery
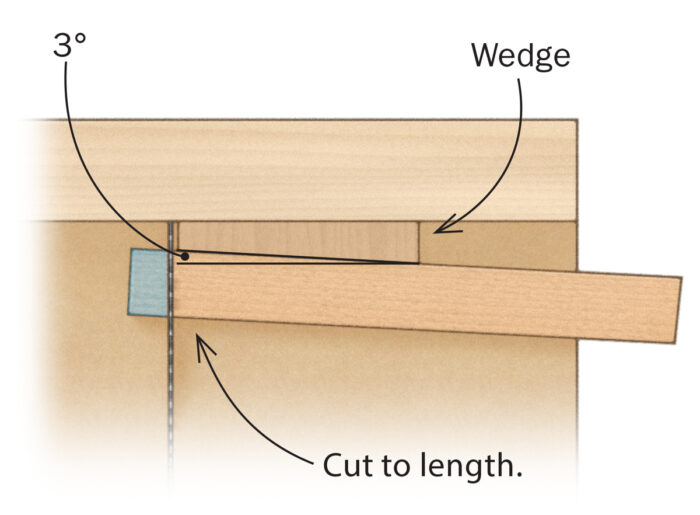
The main frame is A-shaped, with its angled legs providing a steady stance. This, in turn, means angled mortise-and-tenons. To minimize the hassle of angled joinery, I cut out a 3° plywood master wedge with my chop saw. A taper jig on the table saw would work as well. The key is to use only this wedge when angling parts for joinery.
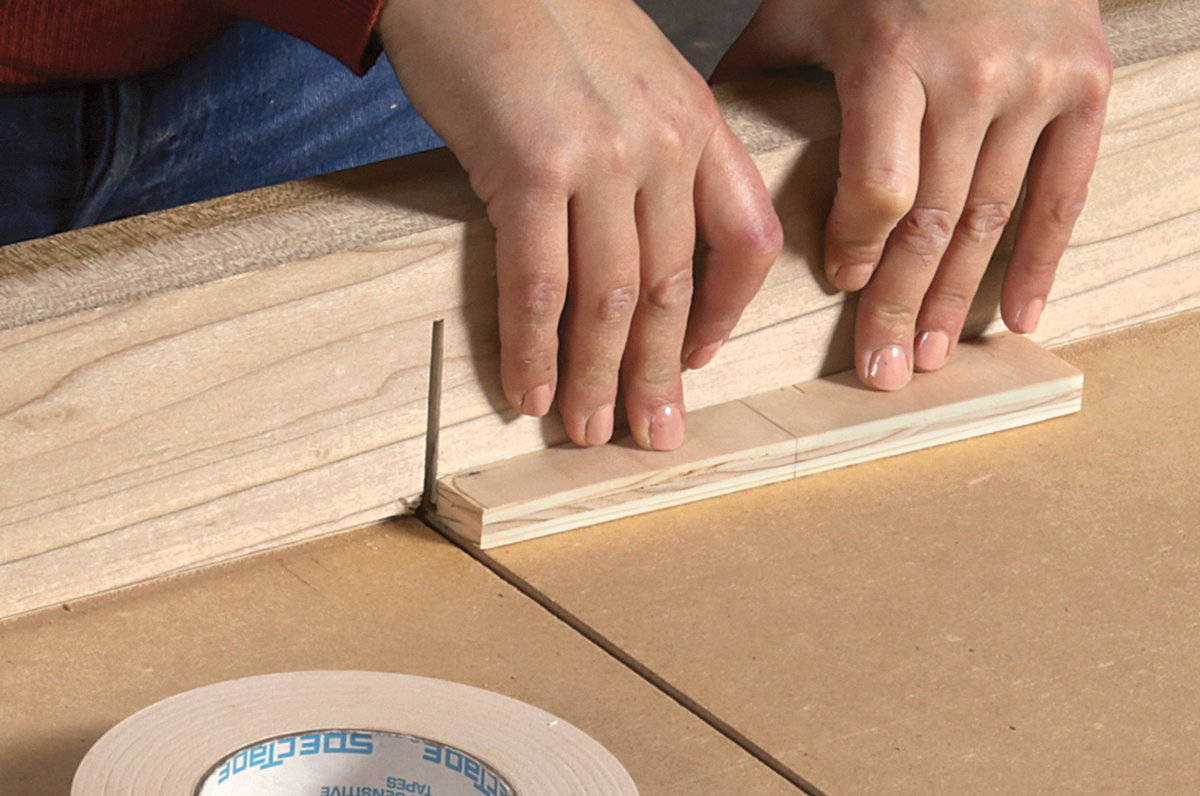
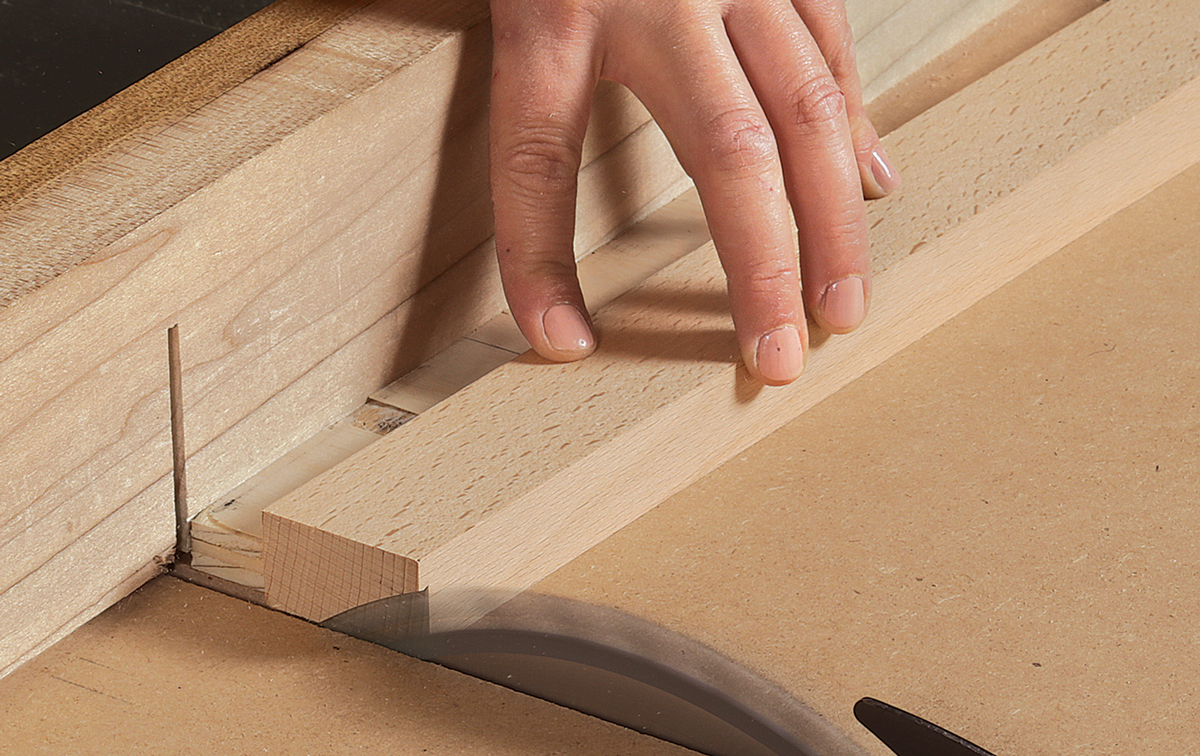
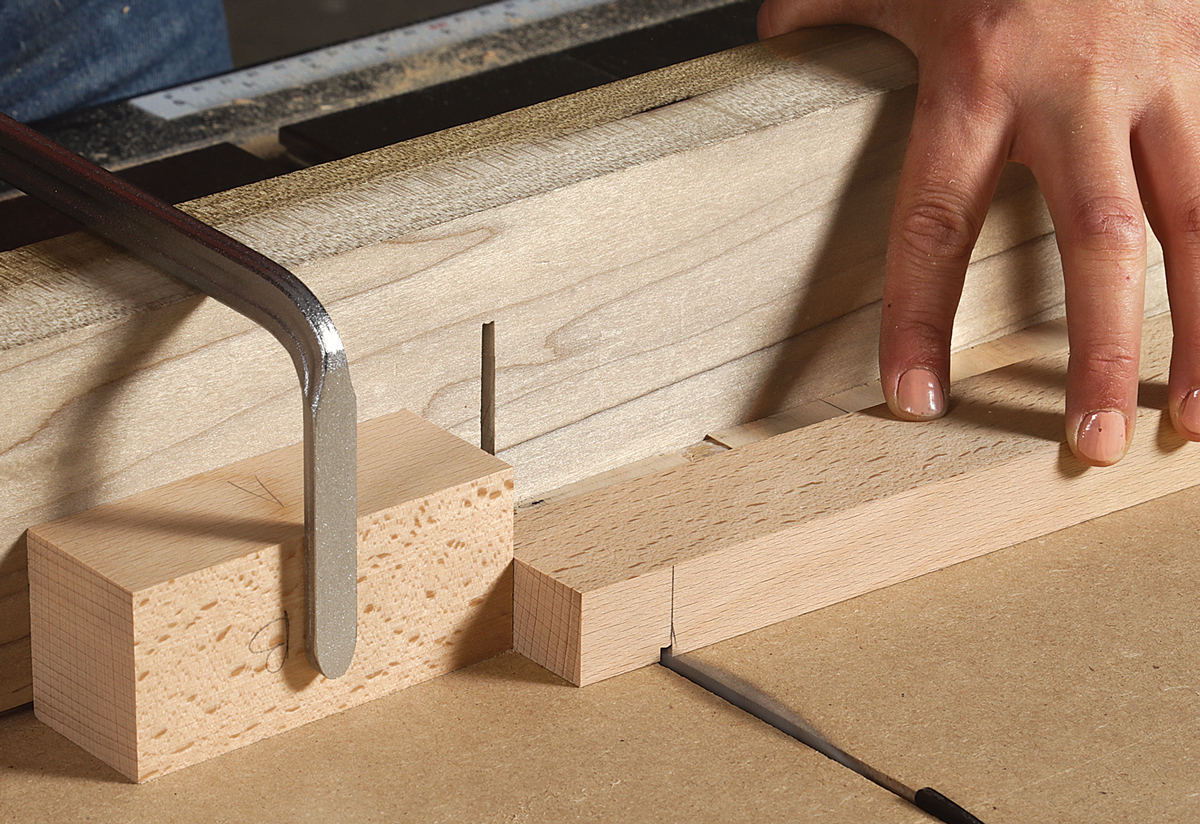
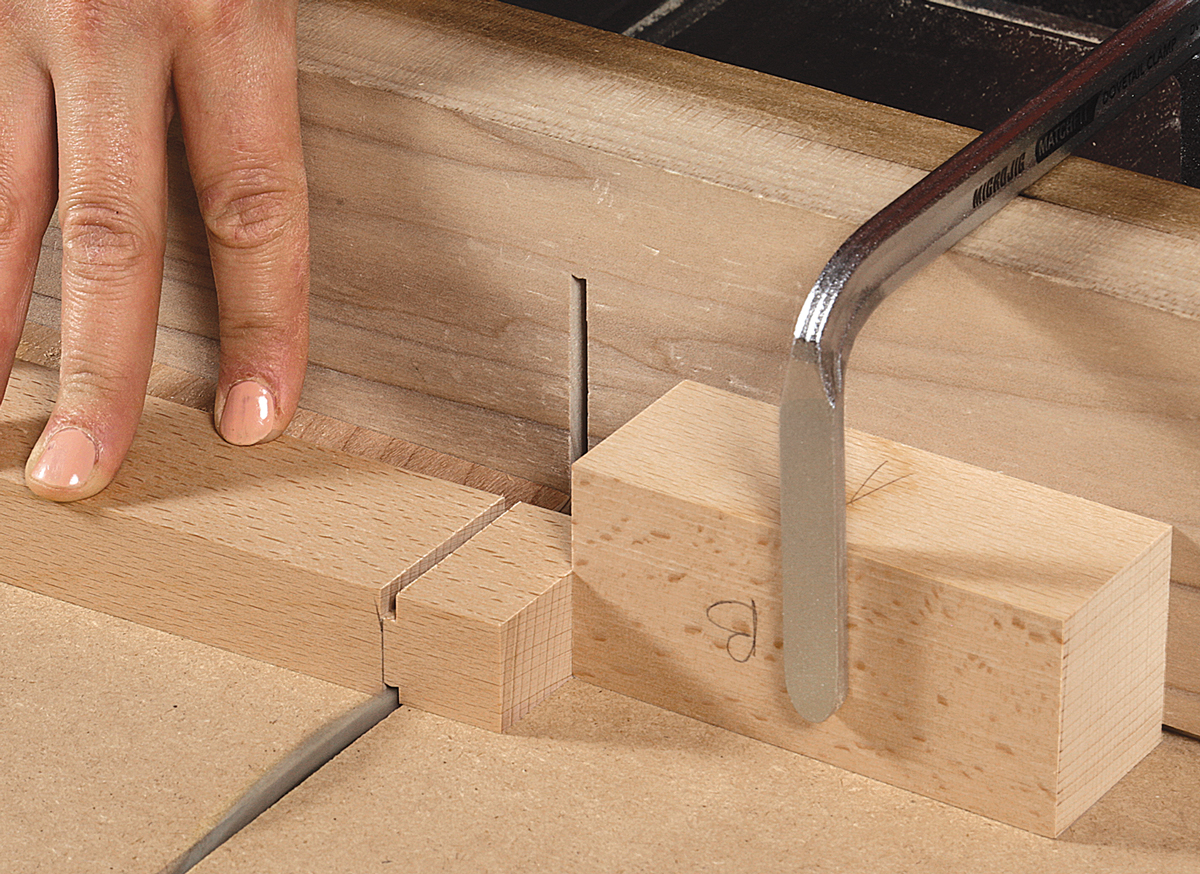
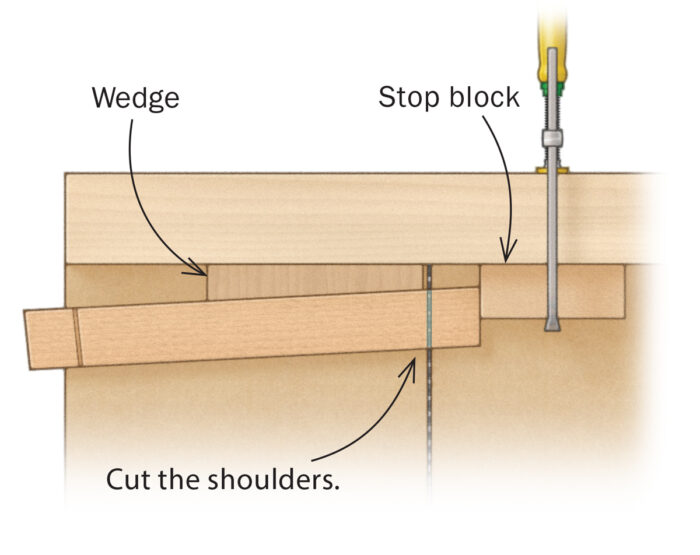
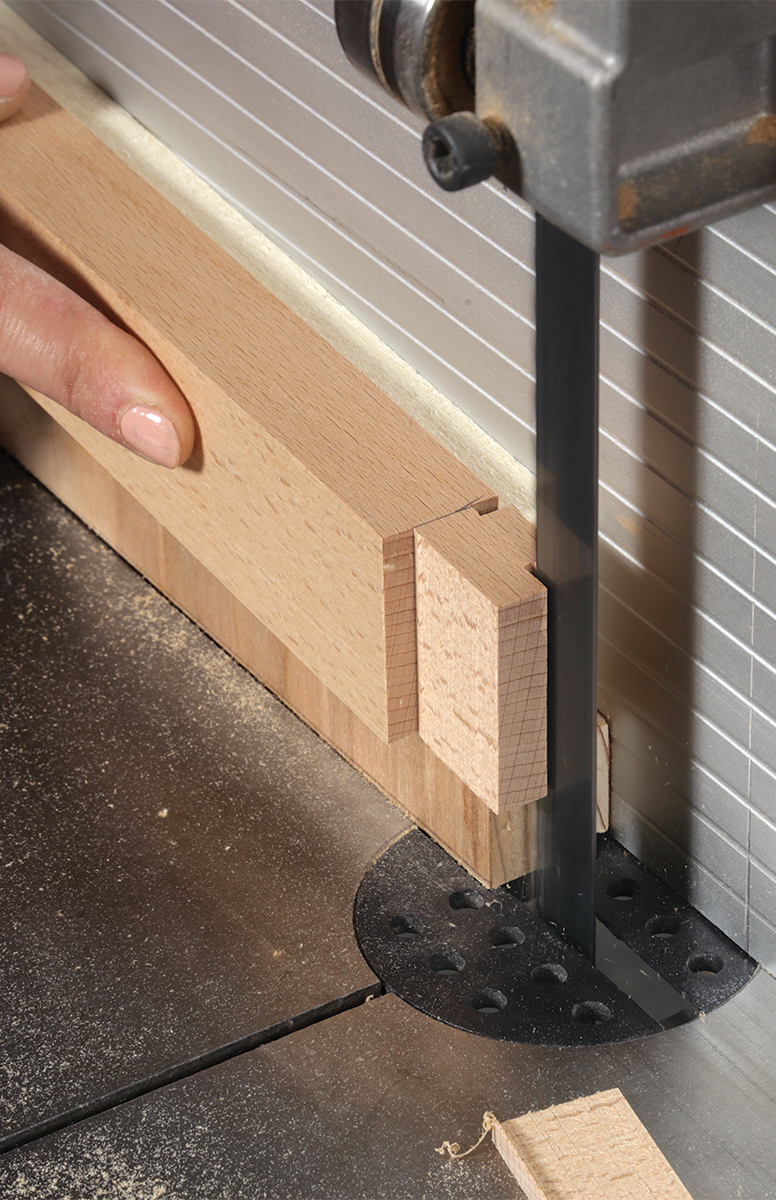
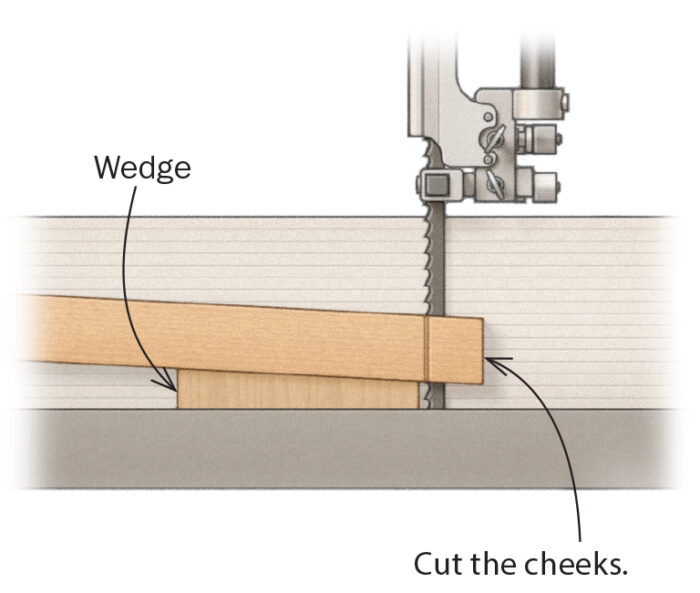
Angled tenons with a 3° wedgeCut to lengthA wedge taped to the sled holds the rails at the correct angle. By using the same wedge throughout the process, Russell guarantees all cuts are to the same angle, simplifying the complexity of the joint. She starts by cutting the angled ends to length. Cut the shouldersUse the wedge and a stop on both sides of the blade to cut the shoulders. After cutting the first shoulder, transfer the kerf to the other face with a square and knife. Reset the wedge and stop the block for the second cut. Cut the cheeksCut the cheeks at the bandsaw with the wedge under the rail. Tape the wedge to the fence to avoid damaging it. After sawing to the shoulder, Russell rounds the tenons to fit their routed mortises. |
For the tenons, start with the shoulders. Use a standard crosscut sled and just tape the wedge in place, flipping it from right to left between shoulder cuts. The cheek cuts are equally simple. At the bandsaw, place the wedge on the table and tape it to the fence. Then use it as an angled platform when ripping the cheeks. The wedge also comes in handy when cutting angled mortises.
The rails connect to an intermediary stile with straight mortise and tenons. To get the stile’s shoulder-to-shoulder length, dry-fit the A-frame and then measure between the rails. Before gluing up the A-frame, install the threaded inserts and hinges, and drill the through-holes for the extension arms.
More shaping is needed before glue-up. The legs get a slight curve at the top that matches the curved pieces on the brackets and end caps. At the bottom, they get cut with the same 3° master wedge at the crosscut sled, so they sit flush to the floor. Then slightly radius the bottoms and line them with leather. The legs’ outside edges get profiled with a 1-3⁄4-in. fingernail bit with a center bearing. Use this profile as a reference to shape the top of the extension
Photos: Barry NM Dima
Drawings: Christopher Mills
To view the article, please click the View PDF button below.
Craftsman Rocking Chair
Video: Angled Joinery Made Simple
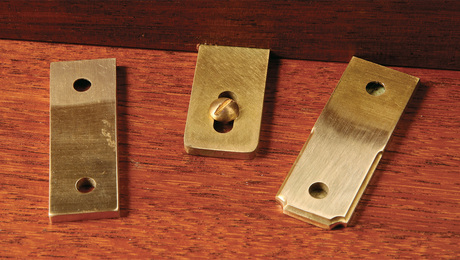
Making custom brass hardware
Sign up for eletters today and get the latest techniques and how-to from Fine Woodworking, plus special offers.
Download FREE PDF
when you enter your email address below.

