How to Replace Planer Blades on a Hand-Held Power Planer
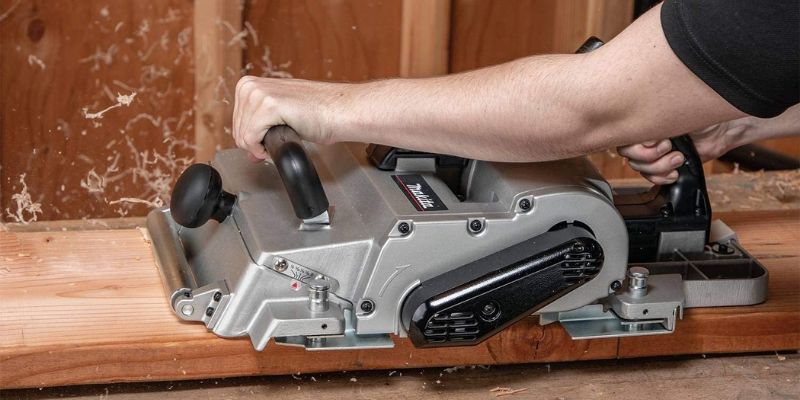
Designed with a blade or set of blades specifically positioned to finely shave the surface of a board or plank of wood, a hand-held power planer is used to create flat, even surfaces or to remove imperfections from a piece of wood. Of course, for the tool to deliver the smooth, uniform results required by carpenters and woodworkers, a planer’s blades must be sharp as a tack (or, perhaps, just as sharp as a sharp blade).
Accordingly, it is important to the functionality of your planer and the outcome of your projects, that you replace your planer blades as they become dull or damaged.
Fortunately, it is quite simple to replace planer blades in a hand-held power planer. The procedure requires little more than some caution, a screwdriver or ratchet, and the correct replacement blade for your tool. In many cases, because most planer blades are reversible, the correct replacement is simply on the other side of the existing cutter. If not, finding the right replacement blade requires the model number of your planer and very little else.
Although the specifics of each planer blade replacement procedure will vary slightly by model and manufacturer, the general steps are the same. To begin this procedure, you must first entirely disengage the tool. Second, loosen the fastening bolts that secure the blade.
Following this, you simply need to remove the blade from the blade slot. Because planer blades are sharp and reasonably difficult to handle as one attempts to juggle them from a tool, it is wise to use a flat-head screwdriver to guide them out and then in again. Of course, you must remove the blade entirely.
Next, you simply repeat this process on the opposite side of the planer’s drum (or, the cylindrical piece that holds and rotates the blades). Rotate the drum 180 degrees to the second blade. Loosen any fastening bolts and carefully slide the second blade from its slot. Properly dispose of any blades not being reused.
After both blades have been safely removed, you may now begin installing the new ones. First, each blade should have a notch that aligns with a slot in the drum. Simply match the notch to the slot and slide the blade (with the sharp edge facing the nose of the tool) into its slot on the drum.
Partially tighten the bolts that secure the cutters to the drum but do not entirely tighten them until the blade has been centered. Visually inspect the position of the blade to ensure there is no overhang on either side of the cylinder. The blade should be the same length as the drum, accordingly, if the blade is not perfectly aligned with that drum, it will rub against one (or the other) side of the planer. Once the blade is perfectly centered, completely tighten the bolts.
Rotate the drum another 180 degrees and repeat this process to install the center, and secure the second blade. After ensuring all bolts are completely tightened, engage the planer in a little wood action to ensure all is well between the planer and its cutting counterparts.


