How to weave a wooden tile seat
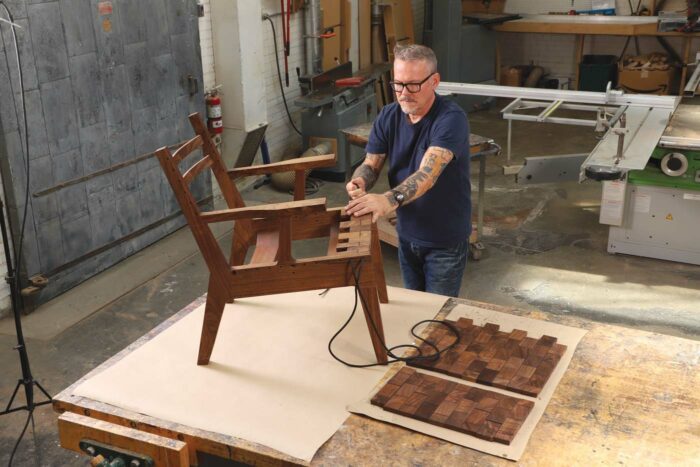
The solid wood tiles on my chairs are strung on high-grade polyester rope pulled taut between the sides of the chair. I arrange the tiles in a running-bond pattern (borrowed from brickwork), which is visually attractive but also links the tiles together in an interlocking web.
Tilemaker
The wood I use for the tiles is predominantly cutoffs, so the process of tilemaking begins at the bandsaw, where I cut scraps to rough width before milling them to thickness. Then it’s on to the table saw, where I rip and crosscut the tiles to final size. Afterward, I rout all the edges with a 1/8-in.-dia. roundover bit.
|
|
|
To produce a running-bond pattern, you need to start every other lengthwise row of tiles with a half tile. To make this work, I produce a batch of one-and-a-half-length tiles, joining two full tiles end to end with Domino tenons and then cutting them to length.
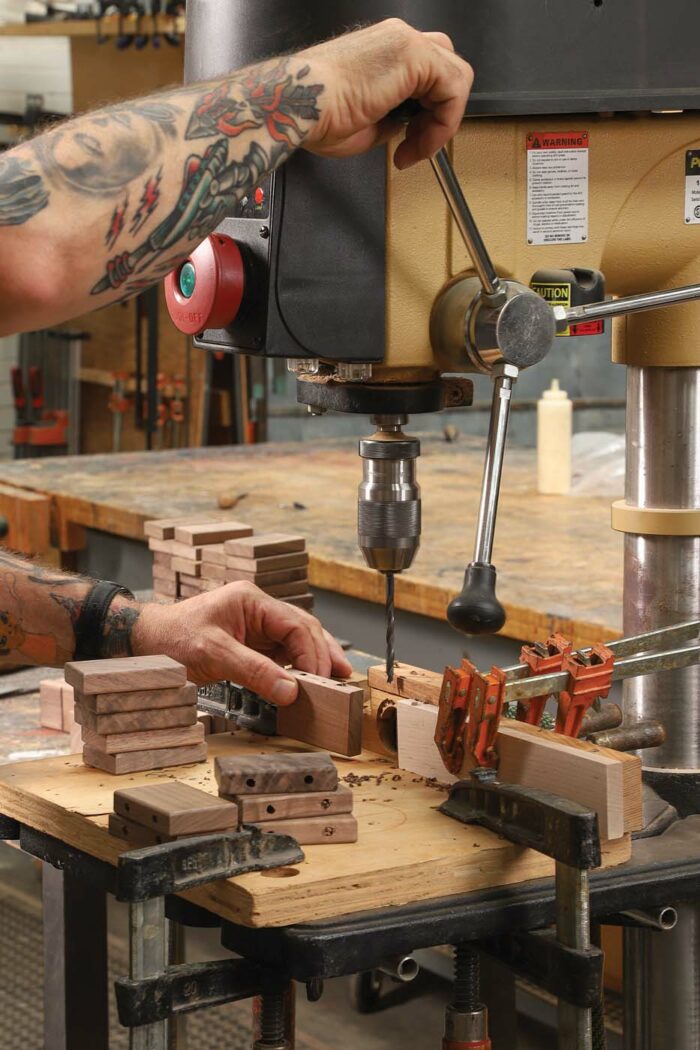
Next, I drill rope holes through the tiles. Hole patterns are intuitive for running bond: two holes in each regular tile, drilled a quarter of the tile’s length from each end. (For example, a 4-in.-long tile would have its holes 1 in. from each end.) I center the holes in the tile’s 5/8-in. thickness, so I don’t have to worry about which face of a tile is up when I’m stringing them.
There’s a lot of drilling involved in one of these chairs! I made a fence for my drill press with a vacuum port positioned so it holds the tile tight to the fence during drilling, then sucks up chips afterward. I use a 1/4-in.-dia. bit and drill halfway through from one edge, then finish the hole from the other edge. Clean holes are imperative, but with my system it’s pretty easy.
 |
 |
| The running bond begins. After tying a square knot at one end and passing the rope through the first hole at the front of the seat, thread on nine tiles to make the first row, alternating full-length and one-and-a-half-length tiles. | |
I run the grain of the tiles parallel to the sides of the chair, so there is some tightening and loosening across the width of the tile fields according to the seasons. I make the seats 18 in. wide—nine rows of 2-in.-wide tiles—which makes for a good, comfortable seat while keeping the total seasonal wood movement moderate. When I build a chair in the summer, I make sure the tiles are tight side to side; in the winter I like the tiles to be loose and wiggly when they are strung together. To adjust the fit, I alter the length of the struts and back rails by up to 1/8 in. if need be.
Preparing to weave
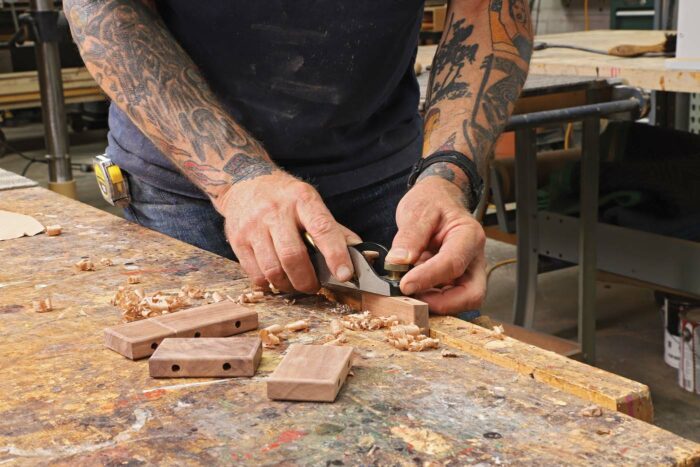
I always lay out the full tile fields on the worktable next to the chair frame I’ll be weaving. Because they’re made from scrap, the tiles typically have a good amount of contrast in color and figure, and I try to arrange them in a pleasing, random composition. Once I know which tiles will be where, I cut a 5° bevel on the outside edge of each tile that will be adjacent to a chair side. The bevel allows the seat’s tile field to flex downward and the back’s field to flex back. The exposed end grain of the end tiles also gets finely sanded at this point. Next, I oil all the tiles one by one, picking them up and replacing them in the composition.
Weaving wood
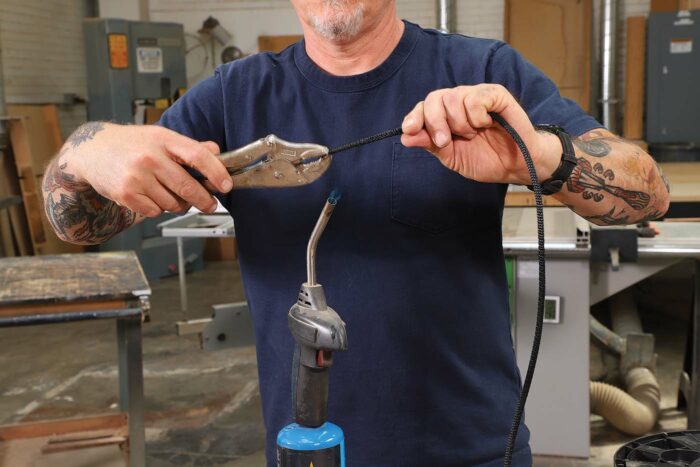
Polyester rope comes in various colors, but I use black. The standard 1/4-in.-dia. rope I use (which I order in 500-ft. rolls) is the best that I’ve found—tough and no stretch. I’ve tried high-tech sailing rope, such as Dyneema, but the poly beats it for chairs.
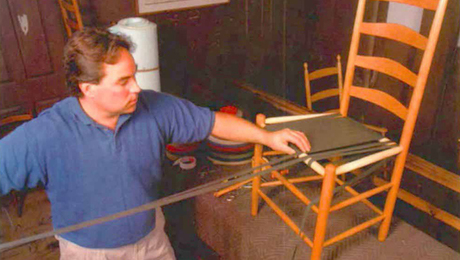
After determining the lengths of rope needed, I cut pieces for the seat and back. I carefully melt a couple inches at the leading end of the rope with a propane torch, pulling and stretching as I apply the heat. This stiffens and thins the rope, making it easier to thread through the tiles and the frame. I’m careful not to melt it entirely or set it on fire. At the trailing end of the rope I tie a square knot, which will stop the rope from pulling all the way through the frame.
After threading the prepared end through the chair side, I start adding tiles, picking them up in the order that they are laid out. I typically start at the front of the chair seat and work my way to the middle, occasionally pulling everything taut. Once I get half the tiles laced, I thread the rope through the extra hole at the middle of the chair side and secure it to the cleat attached inside.
|
|
|
Then I start weaving from the back of the seat, working my way to the middle. Once all the seat tiles are strung, I tighten the rope, carefully but forcefully pulling it taut with needle-nose pliers at each hole in the chair side—think lacing an ice skate. I finish by pulling the slack through the cleat and cinching it tight. After trimming the excess, I melt the end so it won’t fray.
 |
|
|
|
|
The back is woven in much the same manner as the seat, but with a single length of rope threaded through the whole field. Once all the back tiles are strung, I use the needle-nose pliers again to remove the slack and then tie off the rope with a square knot, pulling it as tight as I can since there isn’t the benefit of a cleat on the chair back. I leave about 4 in. of rope dangling from the top knot and slide on three or four turned beads as a decorative element; then I tie another square knot to hold the beads. To complete the chair, I trim and torch the rope ends.
-Scott McGlasson is a professional furniture maker in Minnesota.
To view the entire article, please click the View PDF button below.
Sign up for eletters today and get the latest techniques and how-to from Fine Woodworking, plus special offers.
Download FREE PDF
when you enter your email address below.


