Turning A Wooden Mallet
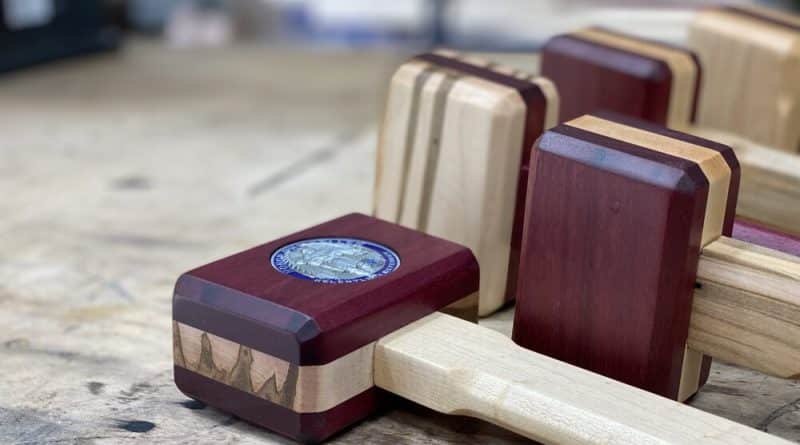
One good thing about the wooden mallet is that it is simple to make and is suitable for many hammering needs in a home or shop. Due to its simplicity in nature, one can easily craft it as a hobby. When making a wooden mallet, you need to have several tools that will make your work easier. To complete the mallet project woodturning tools are important; you require a parting tool, skew, caliper, and a roughing gouge.
When making a mallet, you will require a length of wood of about 6″ long by 3 1/4″ square for the mallet head, and another piece with a length of 12″ and a width of 1 1/4″ square for the handle. The next step you now need to do so is to mark the center of both ends of these pieces of wood to locate the center. This is easily done by measuring from corner to corner, where the lines cross in the center. Mount the large square to the wood lathe using the located centers to align the piece.
Rotate the mallet head by hand, this is meant to test the blank’s stability and alignment on the wood lathe before you switch on the lathe, and begin turning the mallet. As the wood becomes rounded and balanced you can increase its speed gradually, higher speed will result in a smother cut. With the help of calipers insure that the wood has an even diameter along the length of the piece. Use the parting tool to locate both ends of the mallet head, you should leave a short tendon then remove it with a saw
You can now make some decorative patterns close to both ends of the blank, and then release the blank from the wood lathe. Use a saw to cut off the remaining tendons. You now need to precisely drill a hole in the center of the mallet head where the handle will be fitted into.
To do this, you can use a drill press to drill the hole for the handle. Make a jig to hold the mallet head to keep the head stable, usually, a large “V” notch in another piece of wood will suffice to hold the round head. Drill a vertical hole for the handle in the center, both end to end and side to side.
The next step is to make the mallet handle. Mount the small square wood into the wood lathe, the procedure is the same as for the mallet head. Use the roughing gouge, round the blank, and shape the handle to your design. Ensure that the handle diameter meets your requirements; fits your hand.
Create a short tendon to match the diameter of the hole you drilled into the mallet head. The tendon should have a slight taper, from smaller than the drilled hole to larger than the drilled hole, this will insure a tight fit. Again remove the tendons with a saw.
Both the Mallet head and Handle have been sanded and the tendons removed you can how glue the two pieces together. After the glue is dry apply a coat of oil to preserve the mallet. Mineral Oil, Linseed Oil, Tung Oil, or whatever you would like, I shy away from varnish as it tends to be slick and makes a good grip difficult.


