Carve Spoons from pre-bent blanks
Synopsis: A chance meeting with Wille Sundqvist sparked a love of spoon carving in Curtis Buchanan, but as time went by, practical considerations had him searching for a spoon-making method that didn’t involve so much time and energy searching for bentwood. He decided to bend it himself, creating spoon blanks with steam-bending. Now, with unlimited blanks available, carving a spoon is part of his daily routine.
Late one night in 1990 I got a call from Drew Langsner. He was in a panic. The Swedish spoon carver Wille Sundqvist was arriving on a flight from overseas to teach at Country Workshops, the school on Drew’s farm in North Carolina, and Drew had driven to the wrong airport to meet him. The airport where Wille was waiting was only 30 minutes from me, and I left right away to pick him up.
It was wonderful meeting Wille and having him spend the night at our house before Drew came to get him the next day. And not long after that chance encounter, Wille sent me a copy of his book Swedish Carving Techniques; it was from that book that I learned how to carve a spoon.
For many years afterward, I carved spoons the traditional way. I liked the minimalism of using just the hatchet, hook knife, and Sloyd knife, and I liked not being tied to my workbench. I also enjoyed spending time walking around the forest looking for spoon stock: branches with the perfect natural crook to make good spoons.
But fast-forward 25 years and I found that I wasn’t getting out into the woods, and working with the hook knife inflamed my elbow tendonitis. So, I decided to apply some of my chairmaking techniques and tools to making spoons.
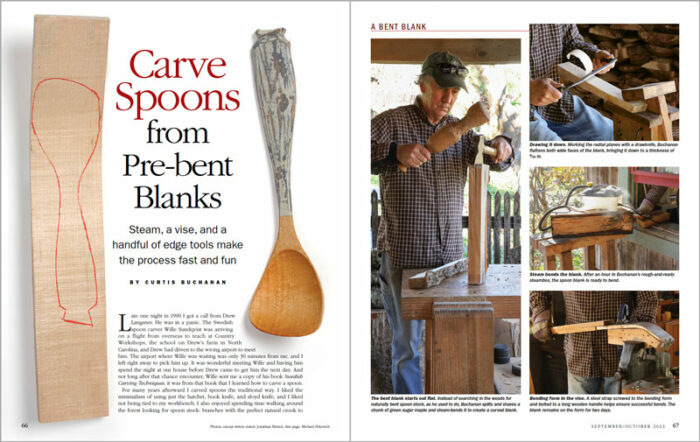
I started riving wood from green log stock, then steam-bending the blanks to just the crook I wanted. Instead of holding the spoon freehand to carve it, I used a vise, and I began using a bandsaw, drawknife, spokeshave, and gouges to shape the spoons before making a few finessing cuts with a sloyd knife at the end. The process became so enjoyable and so fast that I soon found myself carving a spoon to start each day. And I’m still doing that.
A spoon a day
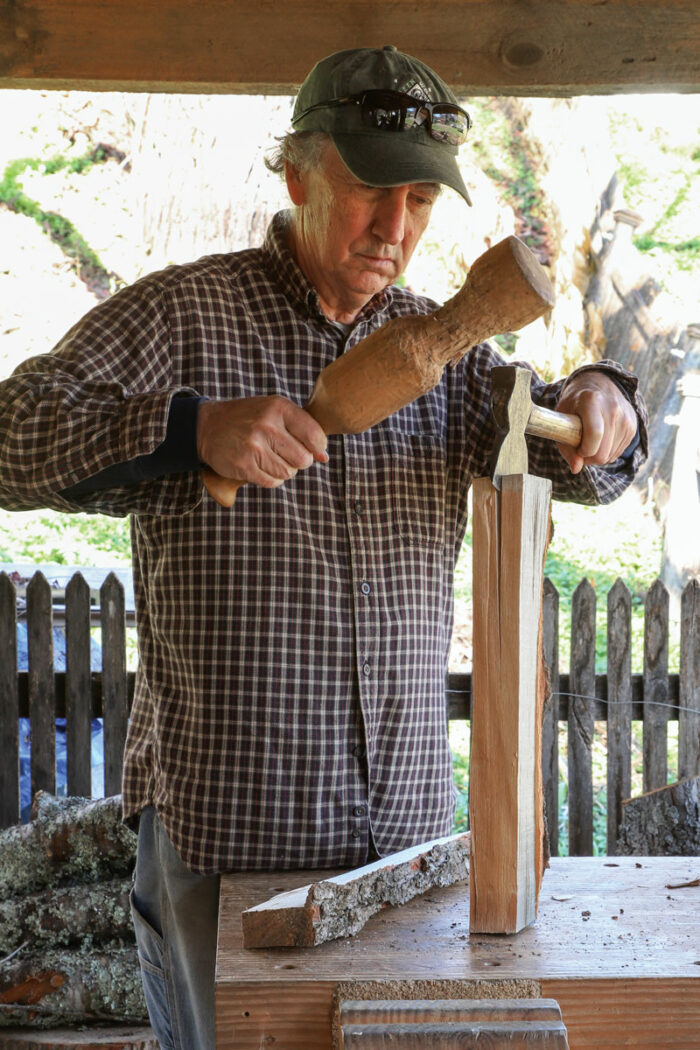
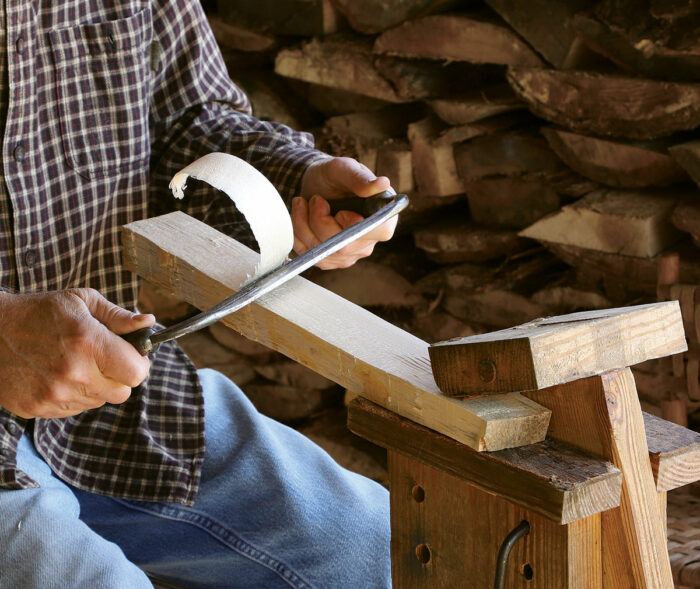
The morning begins with spitting out a piece of sugar maple or cherry, my favorite woods for spoon carving. Then I sit on the shaving horse and, using a drawknife and making sure to follow the long wood fibers perfectly, I shape a blank to 9⁄16 in. thick and
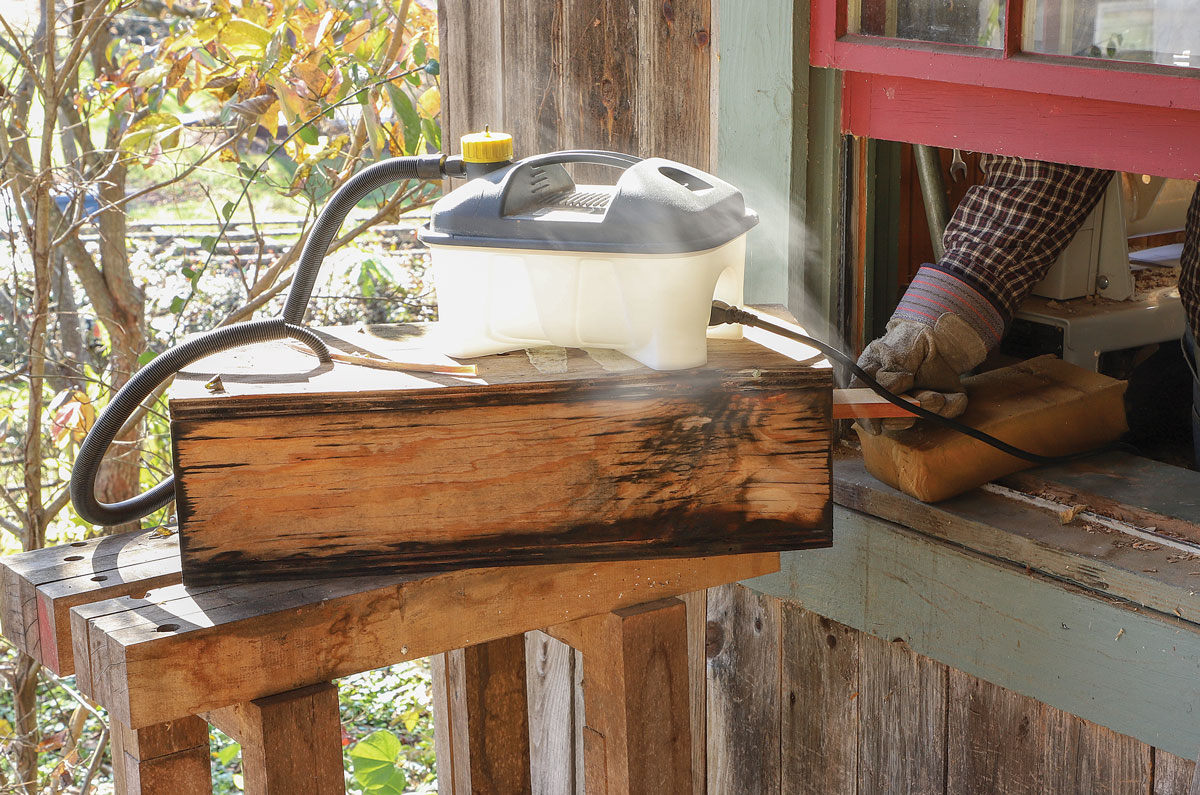
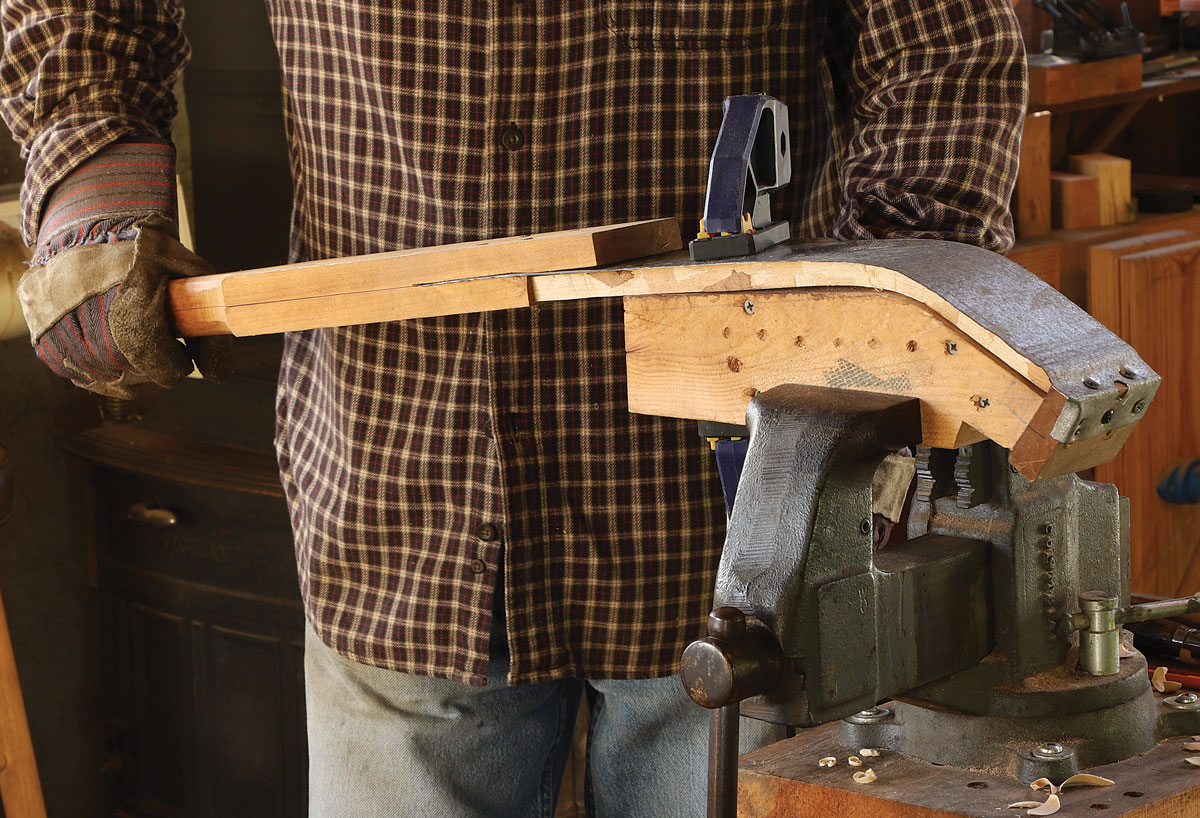
3 in. or so wide. After cutting the blank to 10 in. or 12 in. long, I put it in the steam box for an hour, then bend it into a simple form. I’ll leave this blank on the form for a couple of days. To get started carving today’s spoon, I find the blank I bent two days before and take it off its form.
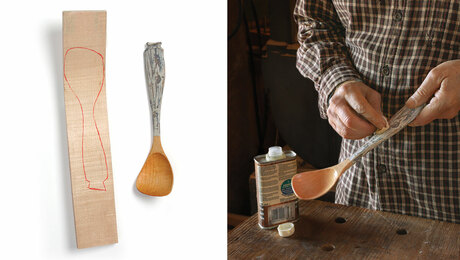
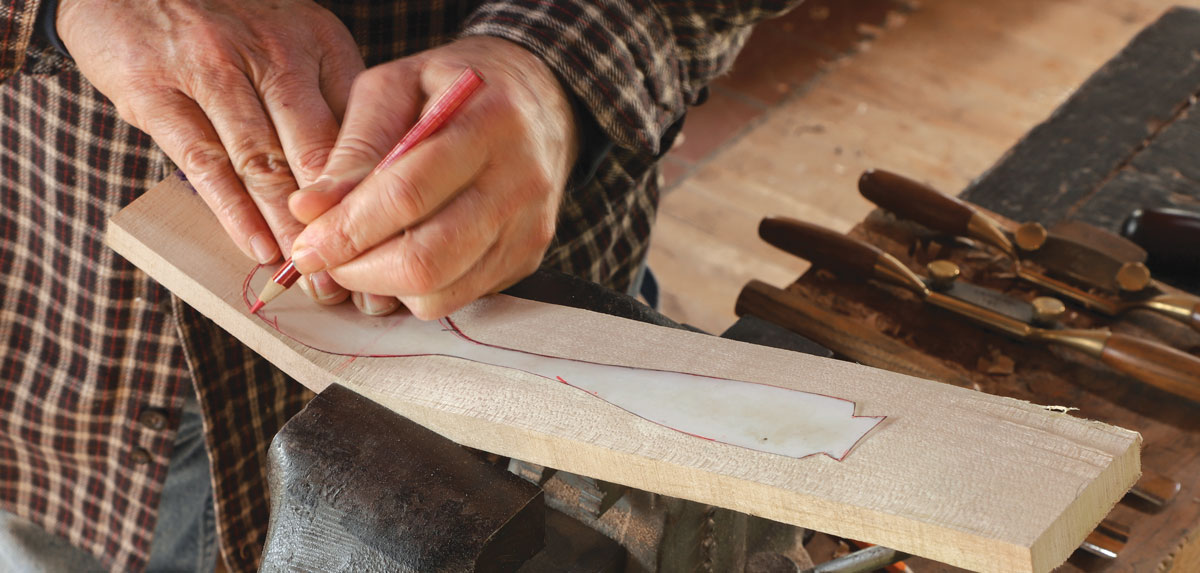
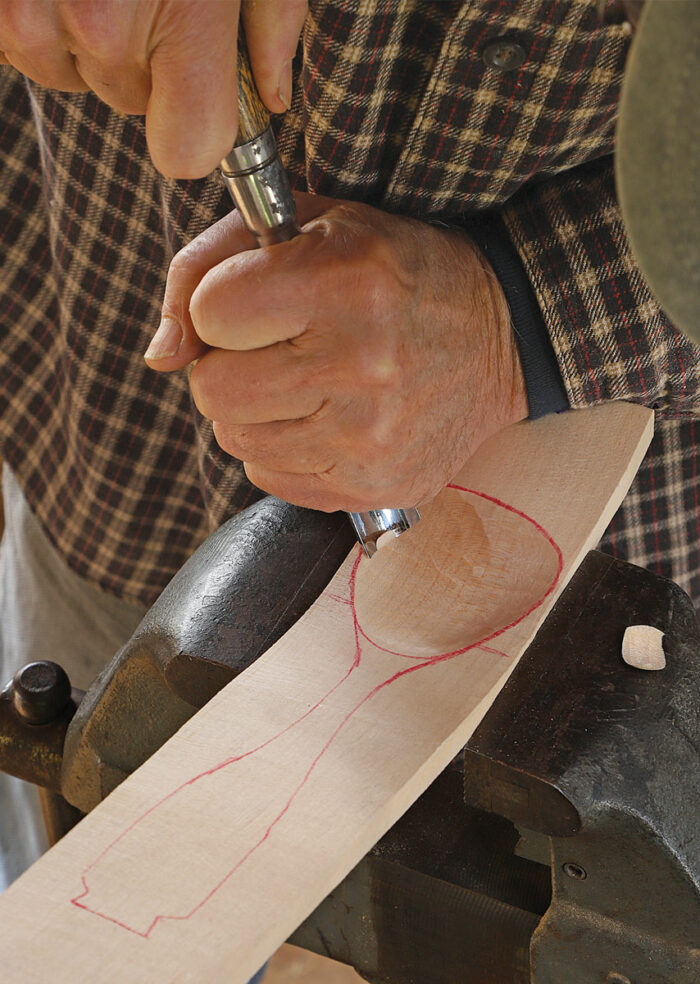
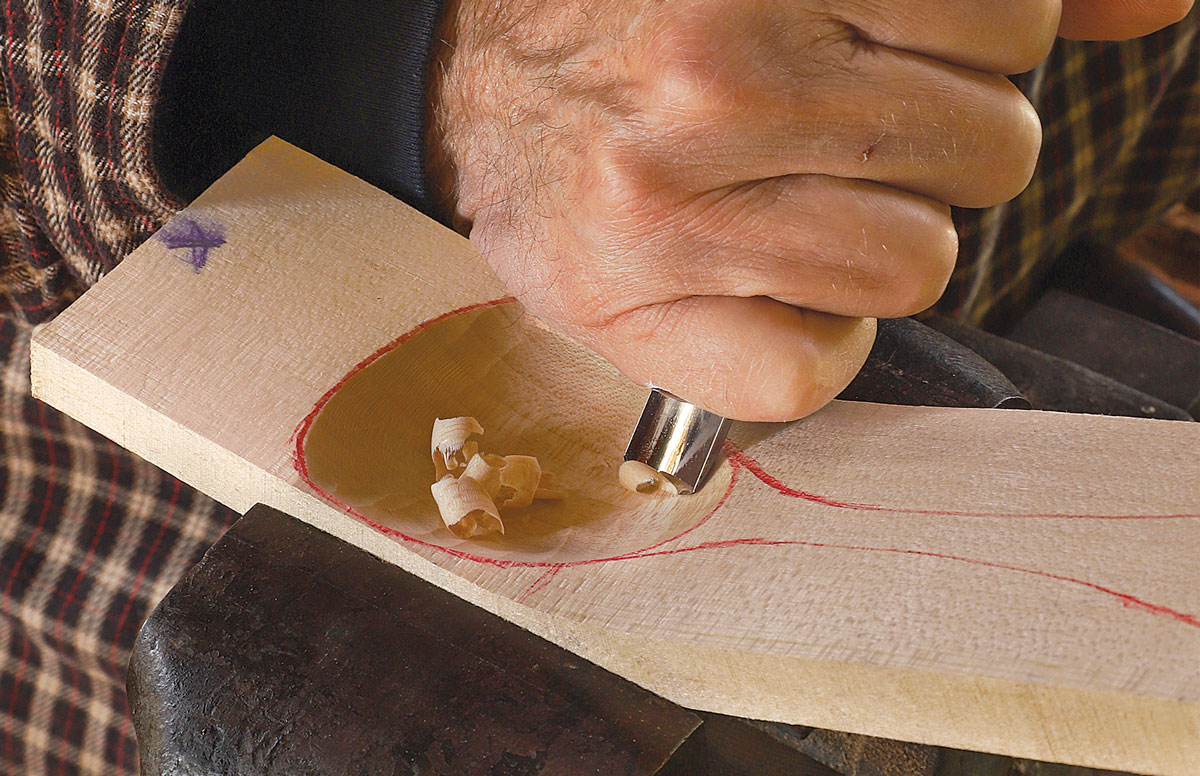
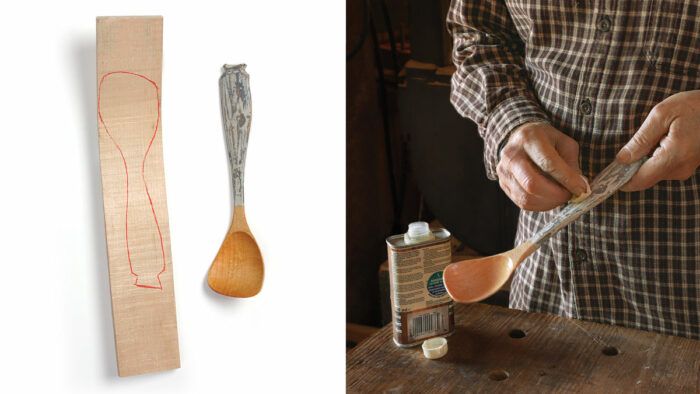
I’ve made spoons in a wide variety of shapes, and I keep paper patterns of various shapes. So now I select a pattern and trace its outline onto the blank. Before doing anything else, I clamp the blank in a vise that sits up above my bench at a comfortable height and carves the spoon’s bowl with a gooseneck gouge. After the bowl has been roughed out, I come back with a flatter gouge for the finish cuts.
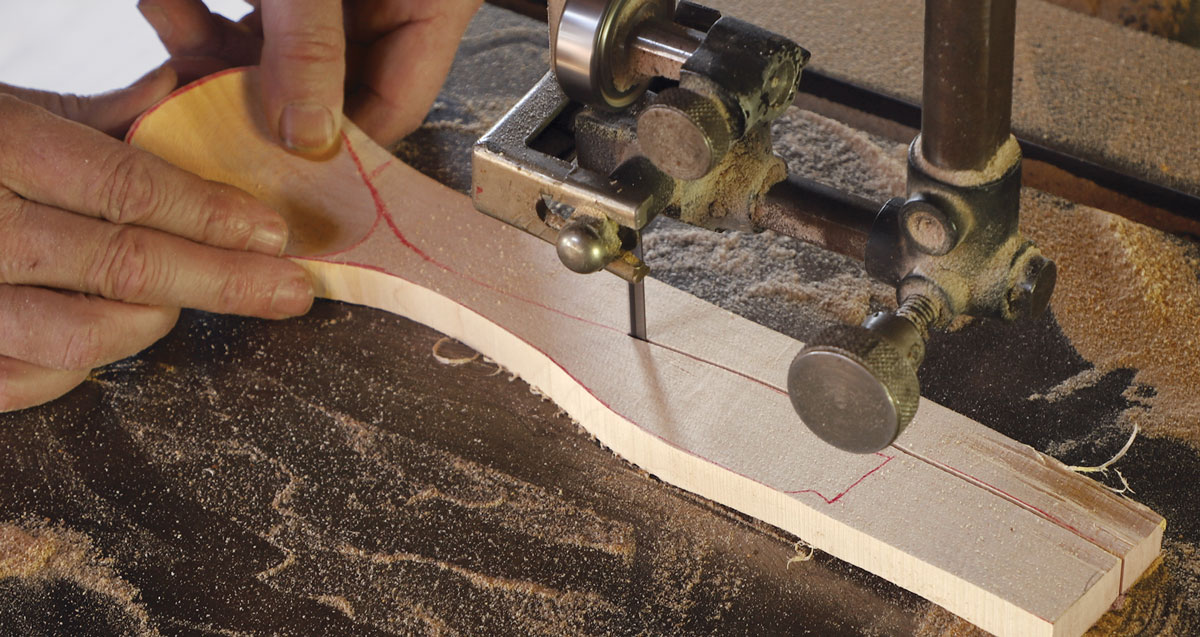
Now I rough saw the spoon’s perimeter shape at the bandsaw. I leave a few inches of waste at the end of the handle for the time being to provide extra purchase for the vise during carving. Clamping the spoon with the inside of the bowl facing down, I carve the outside of the bowl with a drawknife and finish it up with a spokeshave.
The handle is then shaped with the drawknife and spokeshave. Often, I’ll set the spoon aside at this point and pick it up again that evening—in front of a fire in the winter, or on the porch in the summer—to put the finishing touches on it with a sloyd knife. Back in the shop the next day, I apply milk paint on the handle, and after that dries, I rub the whole spoon with tung oil. Placing the spoon in my 140° light-bulb kiln dries the oil and sets the bend.
I’ve always tried to keep the fun factor high in my shop, but starting each day with spoon carving before turning to chairmaking has set a new standard.
Curtis Buchanan makes chairs and spoons in Jonesborough, Tenn. Photos, except where noted: Jonathan Binzen
To view the entire article, please click the View PDF button below.
Sign up for eletters today and get the latest techniques and how-to from Fine Woodworking, plus special offers.
Download the FREE PDF
when you enter your email address below.

