A small shop with big ideas
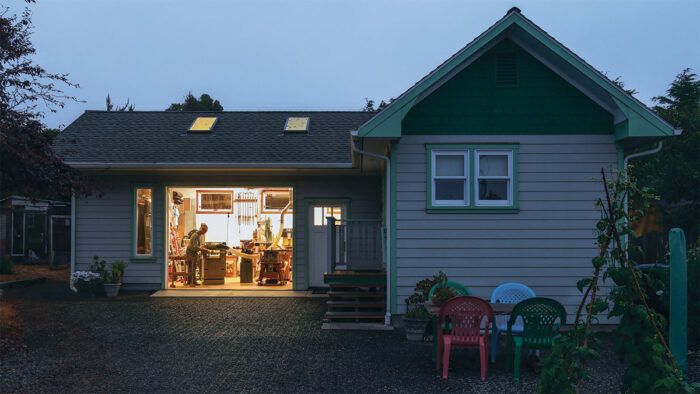
Synopsis: David Welter spent 30 years working at what is now The Krenov School, so it makes perfect sense that when designing his shop, he drew upon details in the shop designed for James Krenov’s program: lots of light, separate machines, and bench rooms, plenty of electrical outlets, and sufficient storage space. He managed to get everything he wanted and fit it into a small space as well. As a bonus, he made his hygrometer.
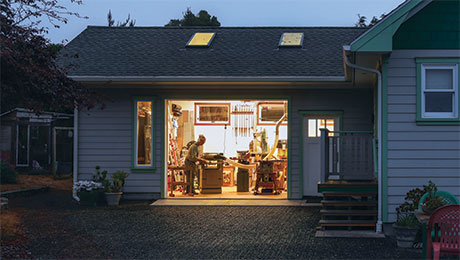
After 30 years working at the College of the Redwoods, when the time came to build a shop of my own, I drew upon details in the shop designed for James Krenov’s Fine Woodworking program. Most salient were a cathedral ceiling, windows high on the wall, skylights, and separate machine and bench rooms.
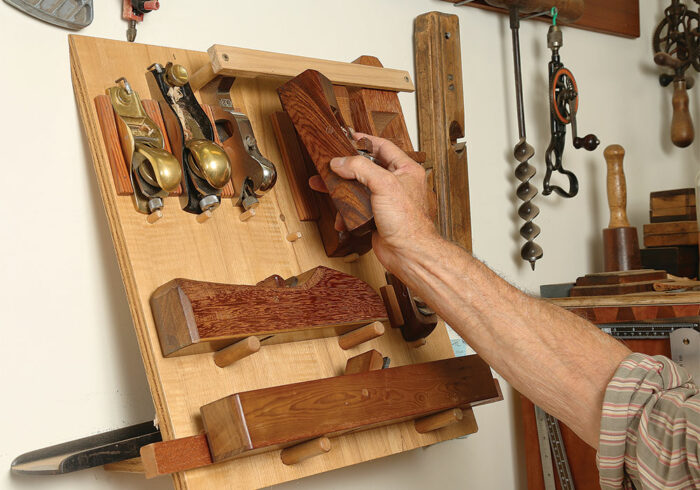
I wanted lots of light, more than enough electrical outlets, and good enough storage space. In the end, I have got everything I could want and more—even a place to display my collection of eggbeater drills, a wonderful example of a simple machine.
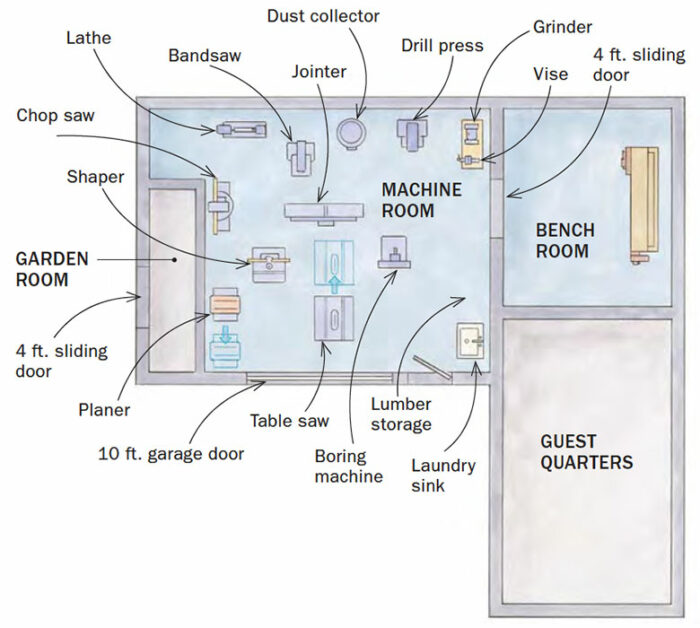
Mine is not a large shop; the machine room is 360 sq. ft., and the bench room is 154 sq. ft. And my layout will not meet the needs of all. But whatever the size of your shop, its efficiency will be enhanced if motion and effort are minimized, and options maximized.
A hand-me-down bench
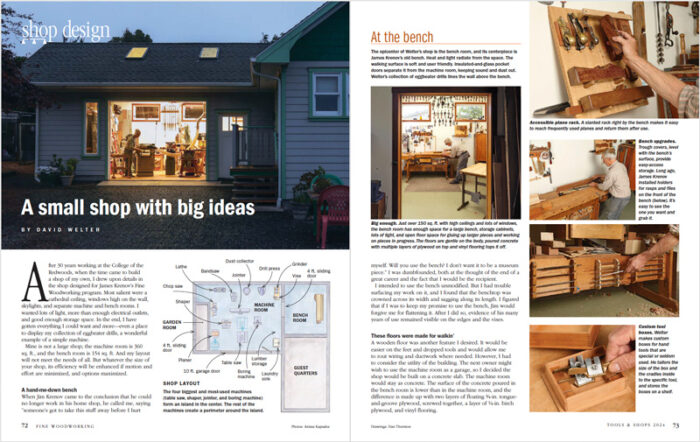
When Jim Krenov concluded that he could no longer work in his home shop, he called me, saying “Someone’s got to take this stuff away before I hurt myself. Will you use the bench? I don’t want it to be a museum piece.” I was dumbfounded, both at the thought of the end of a great career and the fact that I would be the recipient.
Shop layout
The four biggest and most used machines (table saw, shaper, jointer, and boring machine) form an island in the center. The rest of the machines create a perimeter around the island.
I intended to use the bench unmodified. But I had trouble surfacing my work on it, and I found that the benchtop was crowned across its width and sagging along its length. I figured that if I was to keep my promise to use the bench, Jim would forgive me for flattening it. After I did so, evidence of his many years of use remained visible on the edges and the vises.
These floors were made for walkin’
A wooden floor was another feature I desired. It would be easier on the feet and dropped tools and would allow me to route wiring and ductwork where needed. However, I had to consider the utility of the building. The next owner might wish to use the machine room as a garage, so I decided the shop would be built on a concrete slab. The machine room would stay as concrete.
The surface of the concrete poured in the bench room is lower than in the machine room, and the difference is made up of two layers of floating 3 ⁄ 4-in. tongue-and-groove plywood, screwed together, a layer of 1 ⁄ 4-in. birch plywood, and vinyl flooring.
Light and heat
Though the temperature only occasionally gets below freezing on the idyllic Mendocino Coast, I over-insulated the walls, ceilings, and floors. An 80,000 BTU gas-fired heater in the bench room provides all of the heat for the building. Once the shop space is warmed, it stays warm. Even with the heat off overnight, the shop is significantly warmer than the outside temperature in the morning.
The insulation has its impact also on the warmest days of late summer when the relative coolness of the shop is welcoming. Keeping heat in the bench room and dust in the machine room are reasons I decided to separate those areas. A custom-made 4-ft.-wide insulated-and-glass pocket door divides the two rooms.
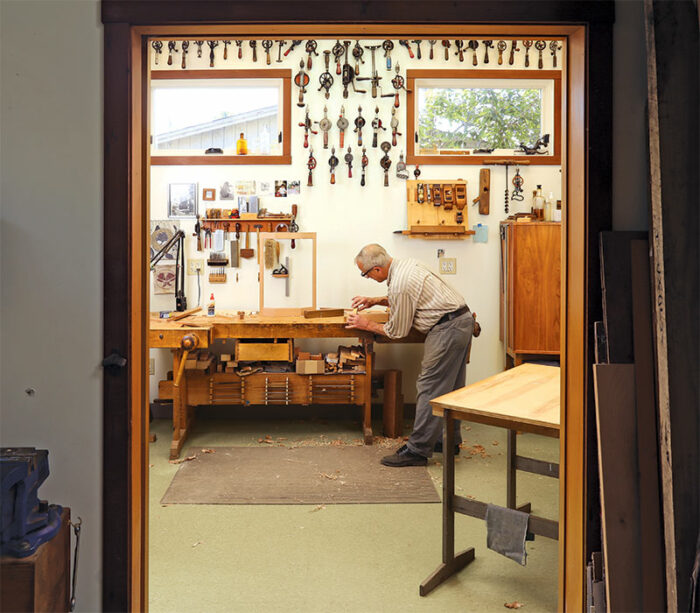
Natural light is key in my shop. I installed awning windows, opening inward at the top, on the east wall of the machine room and the south wall of the bench room. The bench room’s west wall, with the garage door, had limited potential for light, so I placed skylights on the west ceiling.
The bench room has a skylight on its south-facing roof. A tall east-facing sliding window adds interior bench room light. I’ve spent many hours in the shop without turning on overhead lights.
—David Welter is enjoying retirement in his California shop.
Photos: Anissa Kapsales.
Drawings: Dan Thornton.
To see more photos and information, click on the “View PDF” button below:
More shop tours
Video tour and tips for a small woodworking shop
Shop Tour: Ben Strano’s Dream Shop
Shop Tour: Tim Coleman
Sign up for eletters today and get the latest techniques and how-to from Fine Woodworking, plus special offers.
Download FREE PDF
when you enter your email address below.

